
1. Ifihan
This manual provides detailed instructions for the safe and effective use of your xTool Mini Heat Press Machine. Please read this manual thoroughly before operating the device and retain it for future reference. The xTool Mini Heat Press is designed for heat transfer applications on various materials, including fabrics, wood, and ceramics.
2. Alaye Aabo
Lati rii daju iṣiṣẹ ailewu, ṣe akiyesi awọn iṣọra wọnyi:
- Always place the heat press on a heat-resistant surface.
- Do not touch the hot plate during or immediately after use. Use the insulated safety base provided.
- Jeki kuro ni arọwọto awọn ọmọde ati awọn ohun ọsin.
- Yọ ẹ̀rọ náà kúrò nígbà tí o kò bá lò ó tàbí kí o tó sọ ọ́ di mímọ́.
- Ma ṣe fi ẹrọ naa bọ omi tabi awọn olomi miiran.
- Ensure the power cord is not damaged and avoid placing heavy objects on it.
- The device features an automatic shut-off function after 11 minutes of inactivity for enhanced safety.
- Lo ni agbegbe ti o dara daradara.

Aworan: The xTool Mini Heat Press highlights its safety features, including an 11-minute auto-off, V0 flame-retardant materials, an insulated safety base, and overheat protection, ensuring safe operation for users.
3. Package Awọn akoonu
Jẹrisi pe gbogbo awọn ohun kan wa ninu package:
- xTool Mini Heat Press Machine
- Ipilẹ Aabo ti o ya sọtọ
- Okun agbara
- Afowoyi Olumulo (iwe-ipamọ yii)
4. Ọja Ipariview
Familiarize yourself with the components of your xTool Mini Heat Press:
- Awo Ooru: The heating surface for transfers.
- Mu: Ergonomically designed for comfortable grip and pressure application.
- Bọtini agbara: Controls power on/off and temperature settings.
- Awọn imọlẹ Atọka: Display current temperature level and heating status.
- Ipìlẹ̀ Ààbò Alábò: Provides a safe resting place for the hot press.
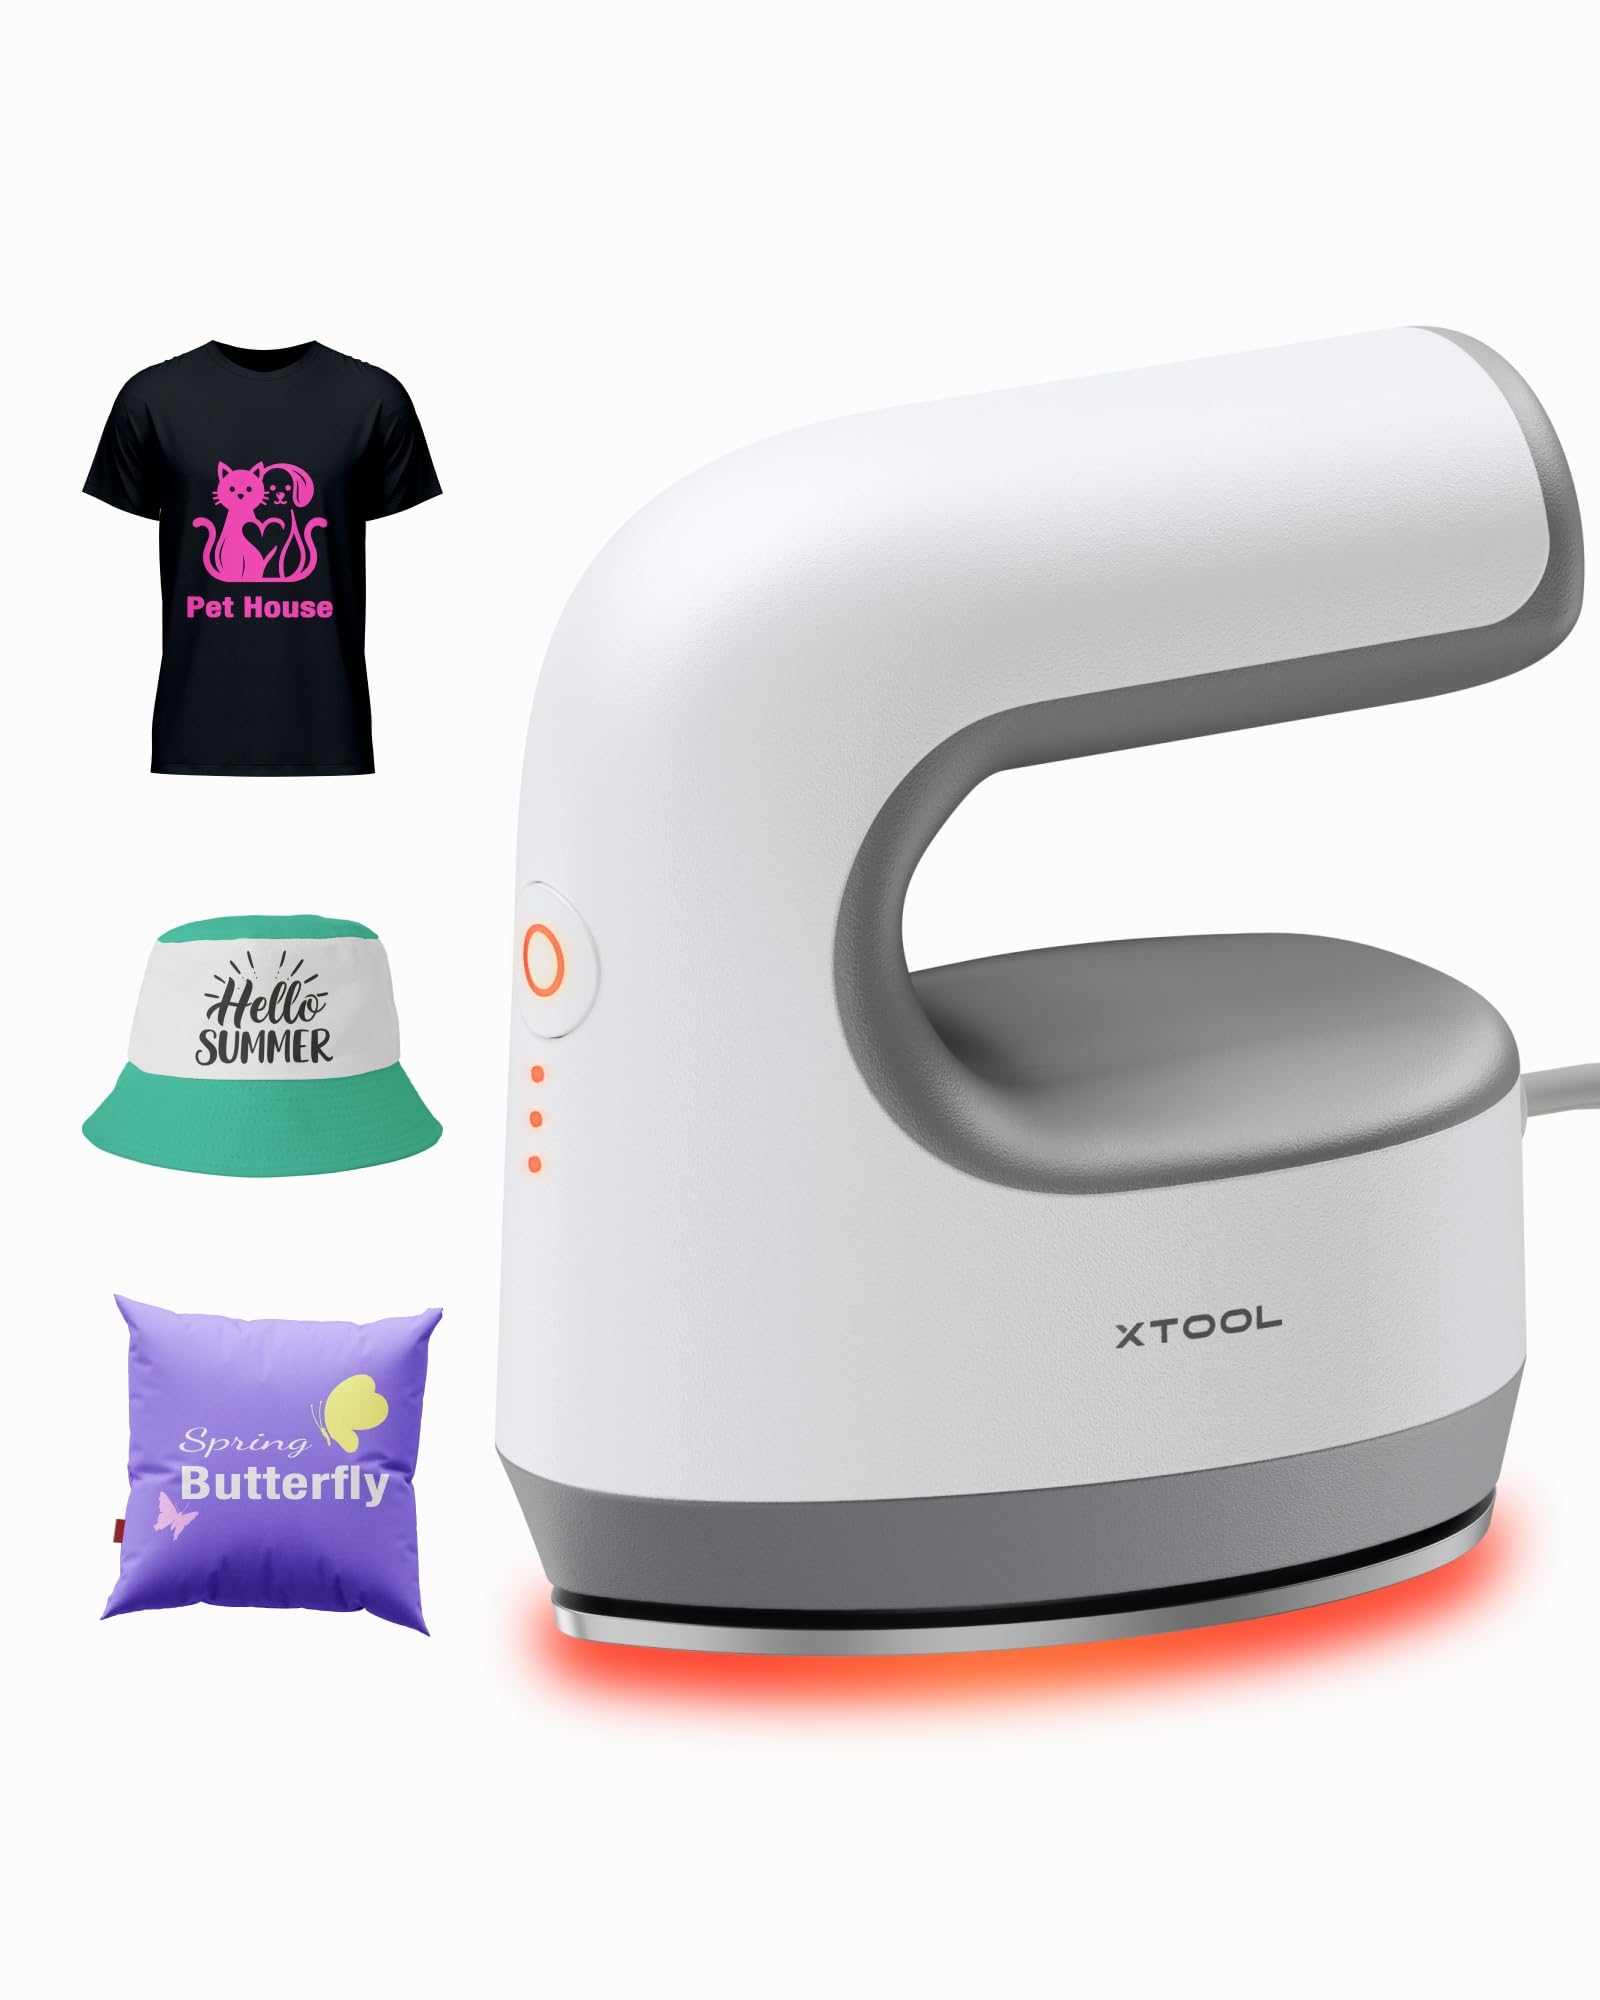
Aworan: The xTool Mini Heat Press Machine shown resting on its insulated safety base, highlighting its compact design.

Aworan: A visual comparison illustrating the ergonomic open handle of the xTool Mini Heat Press, designed for easier and more comfortable holding compared to a closed-handle design.

Aworan: A visual comparison showing the xTool Mini Heat Press with a larger heat plate (platen) compared to another mini press, indicating its suitability for a wider range of project sizes.
5. Eto
Follow these steps to set up your xTool Mini Heat Press:
- Unpack the xTool Mini Heat Press and its accessories.
- Place the insulated safety base on a stable, heat-resistant surface.
- Plug the power cord into the heat press and then into a standard electrical outlet. The device will beep once, and the power indicator light will illuminate.
- If using the optional Control Pod (not included), insert the transceiver from the Control Pod into the designated port on the Mini Heat Press. The Control Pod allows for precise temperature and time control.
Fidio: This video demonstrates the compatibility of the xTool Mini Heat Press with an optional Control Pod (not included), showing how to connect the transceiver for advanced temperature and time control.
6. Awọn ilana Iṣiṣẹ
6.1. Power On and Temperature Selection
- Press the Power Button once to turn on the device. The orange indicator light will show, indicating low-level preheating.
- Press the Power Button repeatedly to cycle through the three temperature settings:
- Ipele Kekere: 295°F (145°C)
- Middle Level: 355°F (180°C)
- Ipele giga: 400°F (205°C)
- The indicator lights will change to green when the selected temperature is reached.

Aworan: A visual representation of the xTool Mini Heat Press's three heat settings, indicating the corresponding temperatures for Low, Medium, and High levels.
Fidio: This video demonstrates the rapid heating capability of the xTool Mini Heat Press, showing it reaches operating temperature in approximately 2 minutes.
6.2. Heat Transfer Application
The xTool Mini Heat Press is suitable for various heat transfer materials, including HTV, DTF, and sublimation projects. Always refer to the specific instructions for your transfer material for optimal temperature and time settings.
- Prepare your material (e.g., T-shirt, shoe, hat) by ensuring it is clean and wrinkle-free.
- Place your transfer design onto the material in the desired position.
- Cover the design with a protective sheet (e.g., parchment paper, Teflon sheet).
- Once the Mini Heat Press reaches the desired temperature, place it firmly over the design. Apply even pressure.
- Hold the press in place for the recommended time (typically 10-60 seconds, depending on the material and transfer type). For larger designs, move the press in sections, overlapping slightly to ensure full coverage.
- Carefully lift the heat press and place it back on its safety base.
- Allow the material to cool according to your transfer material's instructions (cold peel or warm peel).
- Gently peel off the protective sheet and transfer film.

Aworan: A visual guide illustrating the simple three-step process for heat transfer using the xTool Mini Heat Press: Set the design, Press with the device, and achieve a successful transfer on a plush toy.

Aworan: A akojọpọ showcasing the wide range of applications for the xTool Mini Heat Press, including customizing shoes, acrylic keychains, canvas bags, socks, stuffed toys, t-shirts, and earrings.
Fidio: Fídíò yìí fi àlàyé hànview of the xTool Mini Heat Press, demonstrating its ease of use and effectiveness for various heat transfer projects.
Fidio: This video illustrates the process of using the xTool Mini Heat Press to create custom fall-themed shirts, showcasing its application on fabric.
7. Itọju
Proper maintenance ensures the longevity and performance of your heat press:
- Ninu: After the device has cooled completely, wipe the heat plate with a soft, damp asọ. Ma ṣe lo abrasive ose tabi epo.
- Ibi ipamọ: Store the Mini Heat Press on its insulated safety base in a dry, cool place, away from direct sunlight and moisture.
- Itọju okun: Avoid wrapping the power cord tightly around the device. Store it loosely to prevent damage.
8. Laasigbotitusita
Ti o ba pade awọn ọran, tọka si awọn iṣoro ti o wọpọ ati awọn ojutu wọnyi:
| Isoro | Owun to le Fa | Ojutu |
|---|---|---|
| Ẹrọ naa ko ṣiṣẹ. | Okun agbara ko ni asopọ daradara; ko si agbara lati iṣan. | Ṣayẹwo asopọ okun agbara; igbeyewo iṣan pẹlu ẹrọ miiran. |
| Heat plate not heating up. | Incorrect temperature setting; device malfunction. | Ensure correct temperature level is selected; contact customer support if issue persists. |
| Transfer not adhering properly. | Insufficient heat or pressure; incorrect time; material incompatibility. | Increase temperature/time/pressure as per transfer material instructions; ensure material is suitable for heat transfer. |
| Ẹrọ naa yoo wa ni pipa laifọwọyi. | 11-minute inactivity safety feature activated. | This is normal operation. Press the power button to restart. |
9. Awọn pato
| Ẹya ara ẹrọ | Ẹ̀kúnrẹ́rẹ́ |
|---|---|
| Nọmba awoṣe | xTool Mini Heat Press |
| Brand | xTool |
| Iwọn otutu ti o pọju | 400°F (205°C) |
| Awọn Eto Ooru | 3 (Low: 295°F, Mid: 355°F, High: 400°F) |
| Alapapo Time | Approx. 2 minutes to 400°F |
| Iwọn Nkan | 0.77 lbs (1.94 lbs with packaging) |
| Ọja Mefa | 7.48 x 5.12 x 8.66 inches |
| Aabo Awọn ẹya ara ẹrọ | 11-min Auto-off, V0 Flame-retardant materials, Overheat Protection, Insulated Safety Base |
| Niyanju Lilo | T-shirts, bags, ceramic coasters, wood, acrylic, hats, shoes, keychains, socks, stuffed toys |
10. Atilẹyin ọja & Atilẹyin
For warranty information and technical support, please refer to the official xTool webojula tabi kan si wọn onibara iṣẹ taara. Tọju iwe-ẹri rira rẹ bi ẹri rira fun awọn iṣeduro atilẹyin ọja.
- Atilẹyin Ayelujara: Visit the xTool official webojú òpó wẹ́ẹ̀bù fún àwọn ìbéèrè tó máa ń wáyé nígbà gbogbo, àwọn ẹ̀kọ́, àti ìwífún nípa àwọn ènìyàn.
- Imeeli Atilẹyin: Reach out via email for assistance with product issues.
- Atilẹyin foonu: Contact the dedicated support line for immediate help.