
Ọrọ Iṣaaju
This manual provides detailed instructions for the installation, operation, and maintenance of your Chieftec AZ-01B-OP Mini Tower Computer Case. Please read this manual thoroughly before beginning any installation or operation to ensure proper use and to prevent damage to the product or other components.
The Chieftec AZ-01B-OP is an m-ATX Mini-Tower PC case designed for optimal hardware and cooling compatibility, featuring a brushed front panel and soundproofing material for reduced noise levels.
Alaye Aabo
Ṣe akiyesi awọn iṣọra ailewu atẹle lakoko fifi sori ẹrọ ati iṣẹ:
- Nigbagbogbo ge asopọ ipese agbara lati inu iṣan ogiri ṣaaju fifi sori ẹrọ tabi yiyọ awọn paati eyikeyi kuro.
- Wọ okun ọwọ-atako-aimi lati ṣe idiwọ isọjade elekitirotatiki (ESD) ibajẹ si awọn paati ifura.
- Handle components carefully, avoiding contact with pins or circuit boards.
- Ensure all cables are properly routed and secured to prevent interference with cooling fans or moving parts.
- Do not operate the computer case in environments with excessive dust, humidity, or extreme temperatures.
Package Awọn akoonu
Jẹrisi pe gbogbo awọn ohun kan wa ninu package:
- Chieftec AZ-01B-OP Mini Tower Computer Case
- Accessory kit (screws, standoffs, cable ties)
- Afowoyi Olumulo (iwe-ipamọ yii)
- 1 x 120 mm PWM fan (pre-installed)
Eto ati fifi sori
1. Nsii Ọran naa
Remove the side panels to access the interior of the case. Typically, this involves unscrewing thumbscrews at the rear of the case and sliding the panels backward.

olusin 1: inu ilohunsoke view of the Chieftec AZ-01B-OP, showing the main compartment for motherboard and components.
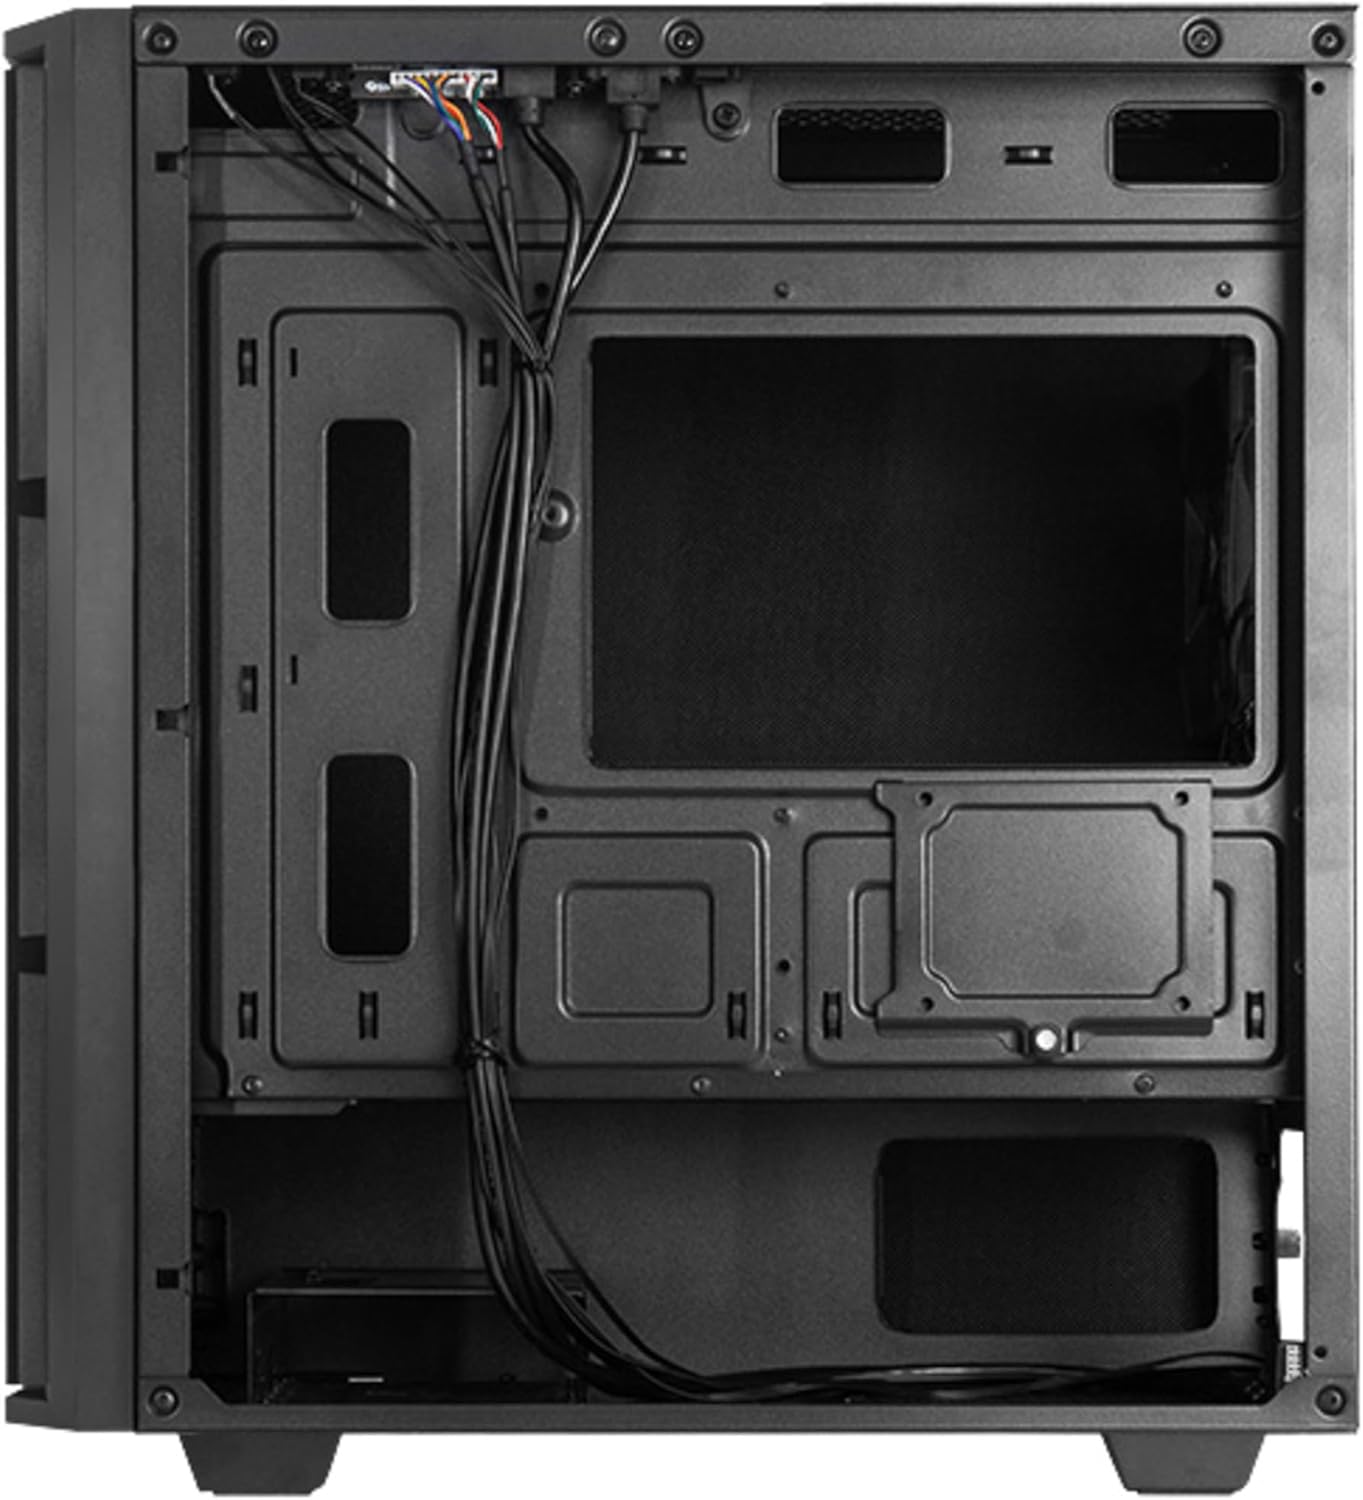
olusin 2: Ru inu ilohunsoke view, illustrating cable management space and additional drive mounts.
2. Modaboudu fifi sori
- Fi I/O shield sinu ẹhin šiši ọran naa.
- Align the motherboard with the standoffs inside the case. Ensure the standoffs match the motherboard's form factor (Micro ATX).
- Ṣe aabo modaboudu pẹlu awọn skru ti a pese.
3. Fifi sori Ipese Agbara
- Position the power supply unit (PSU) in the designated bottom-mount area.
- Secure the PSU to the rear of the case with screws.
- Rí àwọn okùn agbára tí ó yẹ kí ó wà ní orí àwọn ibi tí a ti gé àwọn okùn ìṣàkóso.

olusin 3: Ẹyìn view of the case, indicating the PSU mounting location.
4. Storage Drive Installation (HDD/SSD)
The case supports multiple drive configurations. Refer to the internal layout for specific mounting points.
- For 3.5" HDDs: Mount drives in the drive cage, typically located at the bottom front or behind the motherboard tray.
- For 2.5" SSDs: Mount drives on dedicated SSD trays or directly onto the motherboard tray using screws.

olusin 4: Isalẹ view, showing potential HDD/SSD mounting areas and the PSU dust filter.
5. Fifi sori Kaadi Imugboroosi
- Yọ awọn ideri aaye imugboroosi pataki kuro ni ẹhin apoti naa.
- Insert the expansion card (e.g., graphics card) into the appropriate PCIe slot on the motherboard.
- Secure the card with a screw or the case's retention mechanism.
6. Iṣakoso USB
Lo àwọn ohun tí a gé síta àti àwọn ibi tí a ti so mọ́ ara wọn lẹ́yìn àwo módàbù láti ṣètò àwọn wáyà. Èyí mú kí afẹ́fẹ́ àti ẹwà wọn sunwọ̀n síi.
7. Tilekun Ọran naa
Once all components are installed and cables are managed, reattach the side panels. Ensure they are properly aligned and secured with the thumbscrews.

olusin 5: Iwaju view of the assembled case.
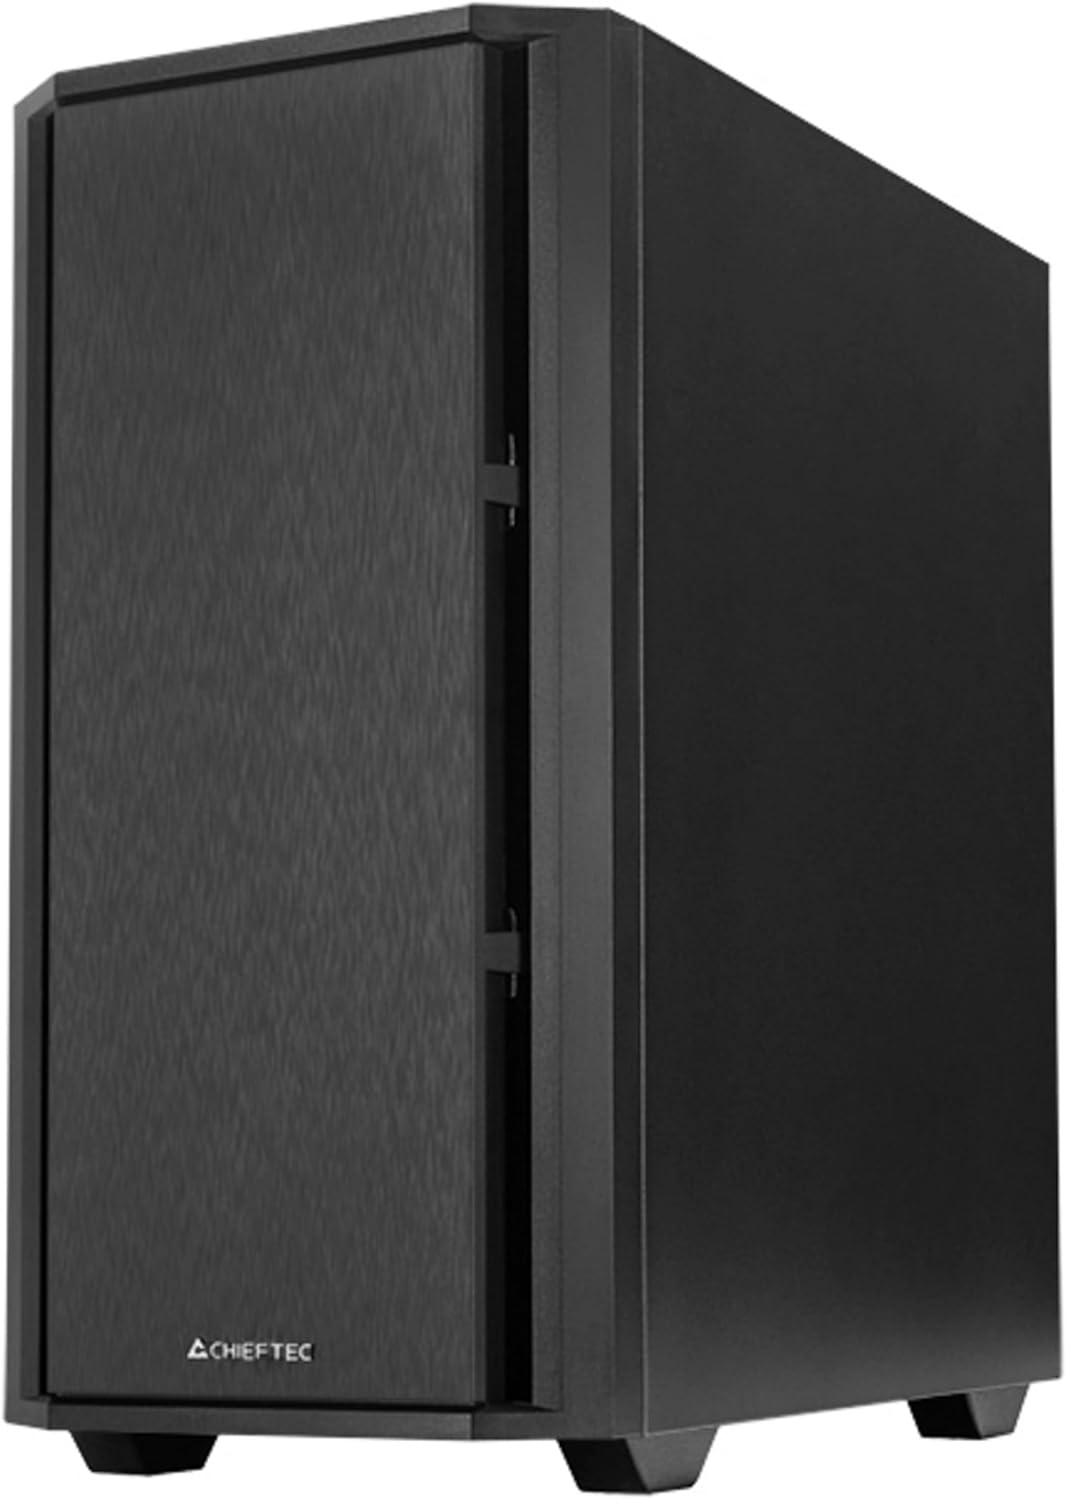
olusin 6: Angled iwaju view of the assembled case.
Ṣiṣẹ
1. Asopọmọra Agbeegbe
Connect your monitor, keyboard, mouse, and other peripherals to the appropriate ports on your motherboard's I/O panel and any installed expansion cards.

Figure 7: Top I/O panel for easy access to USB and audio ports.
2. First Power-On
- So okùn agbara pọ mọ PSU ati ibudo ogiri kan.
- Yi agbara yipada lori PSU si ipo 'ON'.
- Press the power button on the front of the case to start your computer.
Itoju
1. Fífọ Àpò náà
Máa fọ ìta àpótí náà déédéé pẹ̀lú aṣọ rírọ̀, damp asọ. Yago fun abrasive ose tabi epo.
2. Dust Filter Maintenance
The Chieftec AZ-01B-OP includes dust filters to prevent dust buildup inside the system. Periodically remove and clean these filters (e.g., with compressed air or by washing with water and allowing to dry completely) to maintain optimal airflow and cooling performance.
Laasigbotitusita
Tí o bá ní ìṣòro, ronú nípa àwọn àbájáde tó wọ́pọ̀ wọ̀nyí:
- Ko si Agbara: Ensure the power cable is securely connected to both the PSU and the wall outlet. Check that the PSU switch is in the 'ON' position. Verify all internal power cables (24-pin ATX, 8-pin CPU, GPU power) are correctly seated.
- Ko si Ifihan: Confirm the monitor is connected to the graphics card (not the motherboard's integrated graphics ports, unless you are using integrated graphics). Reseat the graphics card and RAM modules.
- Igbóná púpọ̀: Check that all case fans and CPU cooler fans are spinning. Ensure dust filters are clean and not obstructing airflow. Verify proper thermal paste application on the CPU.
- Ariwo Dani: Identify the source of the noise. It could be a loose cable hitting a fan, a faulty fan, or a hard drive. Secure loose components or replace faulty fans.
Awọn pato
| Ẹya ara ẹrọ | Sipesifikesonu |
|---|---|
| Brand | Chieftec |
| Orukọ awoṣe | AZ-01B-OP |
| Iru Irú | Ile-iṣọ kekere |
| Modaboudu Ibamu | Micro ATX |
| Ohun elo | Alloy Irin |
| Àwọ̀ | Dudu |
| Iwọn Nkan | kilo 5.15 (11.33 poun) |
| Awọn iwọn Ọja (LxWxH) | 18.9 x 18.9 x 10.63 inches |
| Agbara Ipese Iṣagbesori Iru | Isalẹ Oke |
| Ọna Itutu | Afẹfẹ |
| Awọn onijakidijagan ti a ti fi sii tẹlẹ | 1 x 120 mm PWM fan |
| Pataki Awọn ẹya ara ẹrọ | Sound-absorbing material, Elegant and modern design |
Alaye atilẹyin ọja
Chieftec products are manufactured to high-quality standards. This product is covered by a limited warranty against defects in materials and workmanship. The specific warranty period and terms may vary by region and retailer. Please retain your proof of purchase for warranty claims.
For detailed warranty information, please refer to the official Chieftec webaaye ayelujara tabi kan si alagbata agbegbe rẹ.
Atilẹyin
For technical assistance, troubleshooting, or further inquiries, please visit the official Chieftec support webojula tabi kan si wọn onibara iṣẹ Eka.
- Osise Webojula: www.chieftec.eu
- Olubasọrọ atilẹyin: Tọkasi awọn webaaye fun alaye olubasọrọ agbegbe.