
1. Ifihan
The S25HH0 303DH US KVM Switch allows you to control up to three computers using a single set of keyboard, mouse, and three monitors. This device supports high-resolution video output and USB 3.0 peripheral sharing, enhancing productivity in multi-computer environments.
Please read this manual thoroughly before installation and operation to ensure proper use and to maximize the performance of your KVM switch.
2. Alaye Aabo
- Ensure the KVM switch is placed on a stable, flat surface.
- Ma ṣe fi ẹrọ naa han si omi, ọrinrin, tabi awọn iwọn otutu to gaju.
- Use only the provided power adapter. Using an incorrect adapter may damage the device and void the warranty.
- Yẹra fun didi awọn ṣiṣi afẹfẹ lati ṣe idiwọ igbona.
- Ma ṣe gbiyanju lati ṣii tabi tun ẹrọ naa funrararẹ. Tọkasi gbogbo iṣẹ si oṣiṣẹ oṣiṣẹ.
- Disconnect power before cleaning. Clean the device with a soft, dry cloth.
3. Package Awọn akoonu
Jọwọ ṣayẹwo akoonu inu apoti naa nigbati o ba gba. Ti eyikeyi awọn ohun kan ba sọnu tabi ti bajẹ, kan si olutaja rẹ.
- S25HH0 303DH US Triple Monitor KVM Switch
- Adapter agbara
- Ti firanṣẹ Latọna Yipada
- USB 3.0 Cables (Quantity may vary based on package)
- HDMI Cables (Quantity may vary based on package)
- Iwe afọwọkọ olumulo (iwe yii)
4. Ọja Ipariview
The KVM switch features multiple ports for connecting your computers, monitors, and USB peripherals. Familiarize yourself with the port layout before proceeding with installation.

Aworan: Iwaju ati ki o ru view of the S25HH0 303DH US KVM Switch. This image illustrates the various input and output ports, including HDMI, USB 3.0, and the power input, along with the physical switch buttons for PC selection.
Iwaju Panel
- PC Selection Buttons: Used to manually switch between connected computers.
- Awọn ibudo USB 3.0: For connecting keyboard, mouse, and other USB 3.0 peripherals.
- Awọn itọkasi LED: Show which computer is currently selected.
Ru Panel
- HDMI Input Ports (PC1, PC2, PC3): Connect to the HDMI output of your computers.
- USB 3.0 Input Ports (PC1, PC2, PC3): Connect to the USB 3.0 ports of your computers.
- HDMI Output Ports (Monitor 1, Monitor 2, Monitor 3): Connect to your monitors.
- Input agbara DC 12V: So ohun ti nmu badọgba agbara ti a pese.
- Remote Switch Port: Connect the wired remote control for switching.
5. Awọn ilana iṣeto
Follow these steps to connect your KVM switch:
- Paa awọn ẹrọ: Ensure all computers and monitors are powered off before making any connections.
- Awọn diigi Sopọ: Connect your three monitors to the HDMI Output ports (Monitor 1, Monitor 2, Monitor 3) on the KVM switch using HDMI cables.
- So Àwọn Kọ̀ǹpútà pọ̀ (PC1):
- Connect the HDMI output from your first computer to the HDMI Input (PC1) on the KVM switch.
- Connect a USB 3.0 cable from your first computer's USB 3.0 port to the USB 3.0 Input (PC1) on the KVM switch.
- So Àwọn Kọ̀ǹpútà pọ̀ (PC2 & PC3): Repeat step 3 for your second and third computers, connecting them to the respective HDMI Input (PC2/PC3) and USB 3.0 Input (PC2/PC3) ports.
- Awọn Agbeegbe Sopọ: Connect your keyboard, mouse, and any other USB 3.0 peripherals to the USB 3.0 ports on the front panel of the KVM switch.
- So asopọ latọna jijin onirin pọ (Aṣayan): If desired, connect the wired remote switch to the dedicated port on the KVM switch.
- Agbara Tan: Connect the provided 12V power adapter to the DC 12V input on the KVM switch, then plug it into a power outlet.
- Agbara Lori Awọn ẹrọ: Power on your monitors, then power on your computers.

Aworan: Connection diagram illustrating how two PCs share four USB 3.0 devices and multiple monitors through the KVM switch. This highlights the USB 3.0 ports for peripherals like keyboards, mice, and printers.
6. Awọn ilana Iṣiṣẹ
6.1 Yíyípadà láàrin àwọn kọ̀ǹpútà
You can switch between connected computers using two methods:
- Physical Button Switch: Press the corresponding PC selection button (PC1, PC2, or PC3) on the front panel of the KVM switch. The LED indicator will light up for the selected computer.
- Yiyipada Latọna jijin Waya: Use the wired remote control to switch between computers. Press the button on the remote to cycle through the connected PCs.
Aworan: Two switching methods for the KVM switch: the physical buttons on the device and the external wired remote control. This illustrates the flexibility in controlling which computer is active.
6.2 Display Modes (Extend Mode / Copy Mode)
After connecting correctly, you can choose your desired display mode:
- Tẹ "Windows + P" lori bọtini itẹwe rẹ.
- A pop-up window will appear, allowing you to select between display modes such as Tesiwaju or Duplicate (Copy).

Aworan: Comparison of Extend Mode and Copy Mode. In Extend Mode, each monitor displays unique content, expanding the desktop. In Copy Mode, all three monitors display the same content, duplicating the desktop.
6.3 USB 3.0 Device Sharing
The KVM switch allows up to four USB 3.0 devices to be shared between the connected computers. When you switch to a different computer, the connected USB peripherals (keyboard, mouse, USB drives, etc.) will automatically switch to that computer.
USB 3.0 offers a faster transfer rate of 5Gbps compared to USB 2.0's 480Mbps, ensuring efficient data transfer for your peripherals.
7. Display Resolution and Refresh Rate
The KVM switch supports high-resolution video outputs, ensuring a clear and smooth visual experience.
- DisplayPort (DP1.4) Support: Up to 8K@30Hz, 4K@144Hz, 4K@120Hz. Backward compatible with lower resolutions and refresh rates.
- HDMI (HDMI2.1) Support: Up to 8K@60Hz, 4K@120Hz. Backward compatible with lower resolutions and refresh rates.
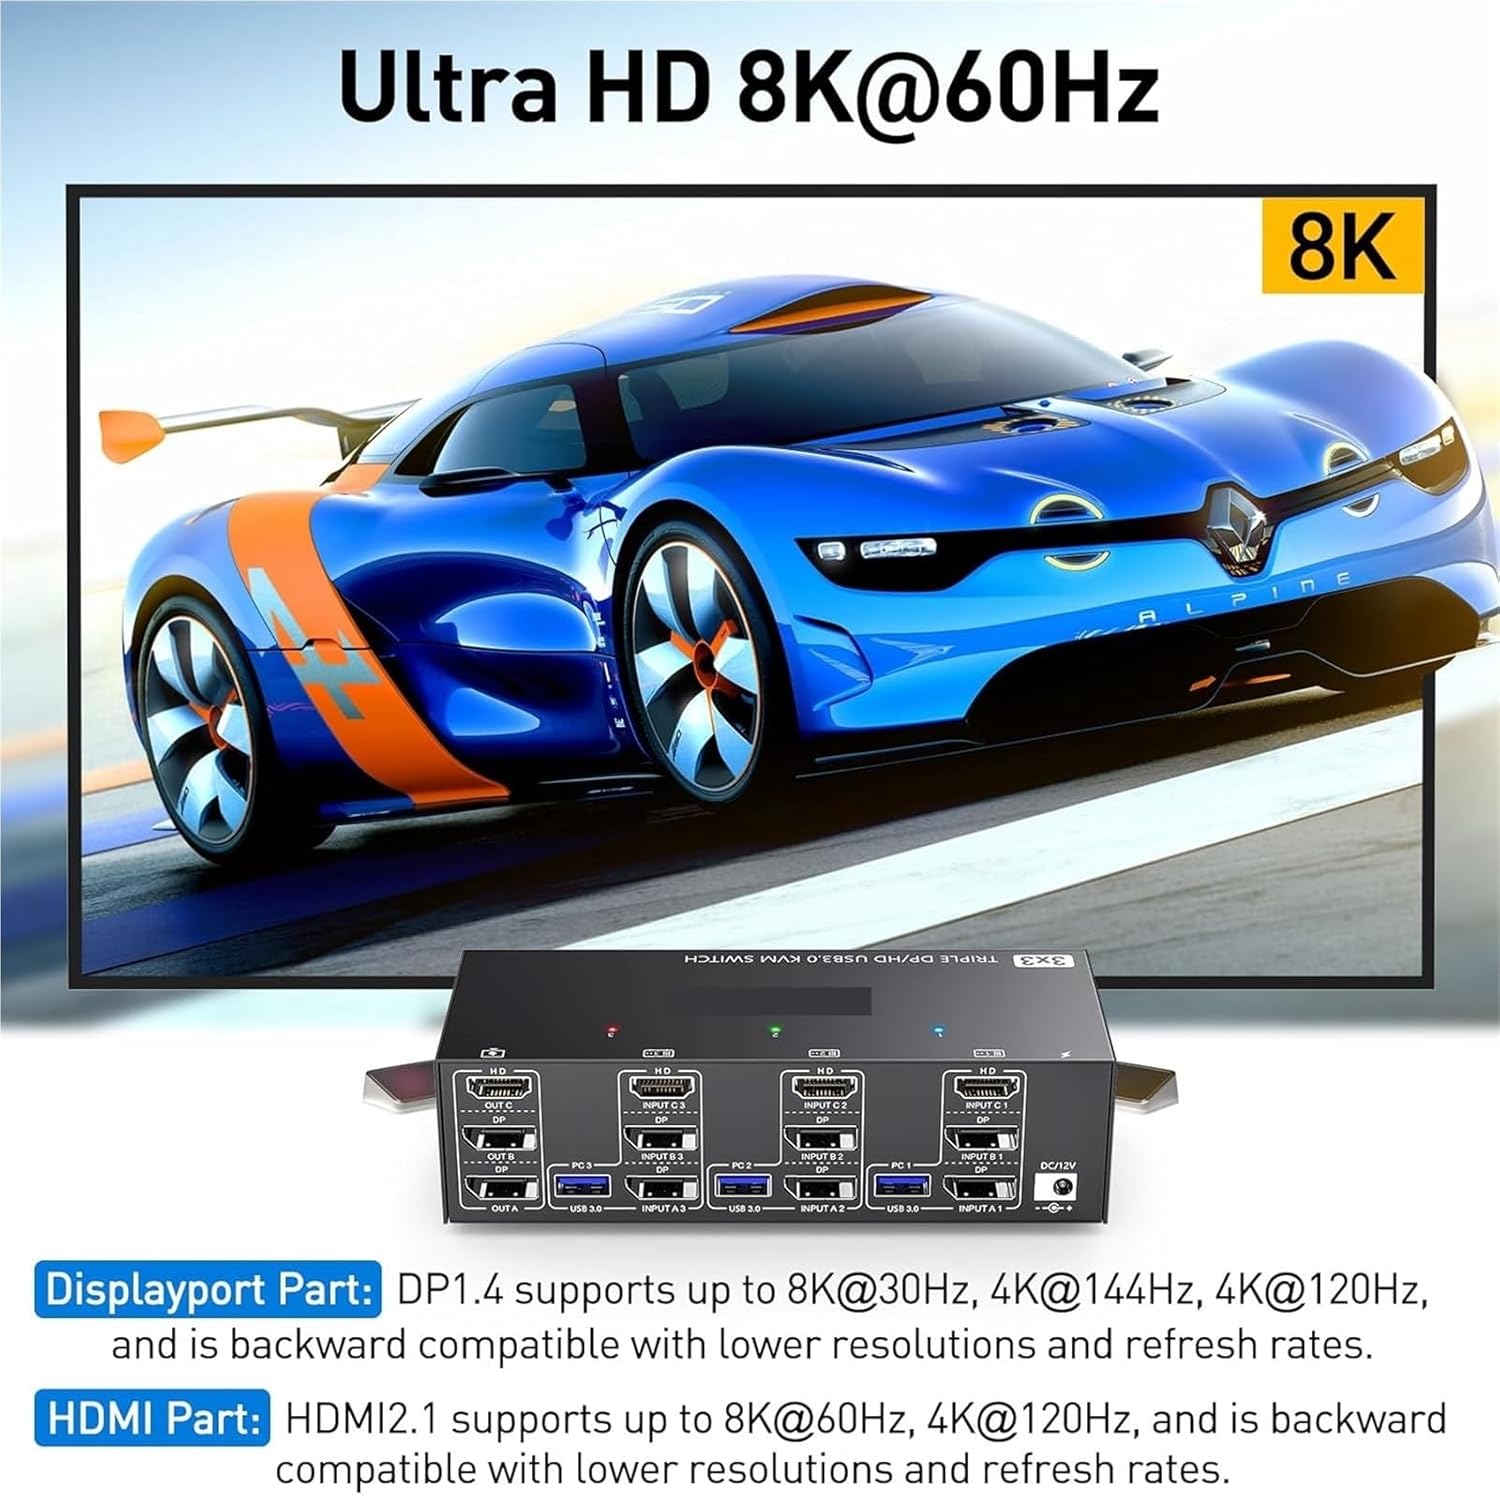
Aworan: Visual representation of Ultra HD 8K@60Hz capability. This image details the supported resolutions and refresh rates for both DisplayPort 1.4 and HDMI 2.1 connections, emphasizing high-quality video output.
8. Itọju
- Keep the KVM switch in a cool, dry place away from direct sunlight.
- Regularly clean the exterior of the device with a soft, dry, lint-free cloth.
- Do not use liquid or aerosol cleaners, as they may contain flammable substances or chemicals that can damage the device.
- Ensure all cables are securely connected and free from kinks or damage.
9. Laasigbotitusita
Ti o ba pade awọn ọran pẹlu iyipada KVM rẹ, jọwọ tọka si awọn iṣoro ti o wọpọ ati awọn ojutu wọnyi:
| Isoro | Owun to le Fa / Solusan |
|---|---|
| No display on monitors. |
|
| Keyboard or mouse not working. |
|
| Cannot switch between computers. |
|
| Poor video quality or flickering. |
|
10. Awọn pato
| Ẹya ara ẹrọ | Sipesifikesonu |
|---|---|
| Brand | S25HH0 |
| Awoṣe | 303DH US |
| Awọn ibudo igbewọle | 3 x HDMI, 3 x USB 3.0 |
| Awọn ibudo ti njade | 3 x HDMI, 4 x USB 3.0 |
| Video Standard | HDMI 2.1, DisplayPort 1.4 (backward compatible) |
| Max Resolution (HDMI) | 8K @ 60Hz, 4K@120Hz |
| Max Resolution (DisplayPort) | 8K@30Hz, 4K@144Hz, 4K@120Hz |
| Standard USB | USB 3.0 (5Gbps) |
| Ọna Iṣakoso | Physical Button, Wired Remote |
| Awọn ọna Voltage | 12 Volts |
| Iwọn Nkan | 50 giramu |
| Awọn iwe-ẹri | CE, RoHS |
11. Atilẹyin ọja ati Support
This product comes with a standard manufacturer's warranty. Please refer to the warranty card included in your package or contact your retailer for specific warranty terms and conditions.
For technical support or further assistance, please contact your vendor or the manufacturer's customer service. Contact information can typically be found on the product packaging or the manufacturer's official webojula.