1. Ifihan
Thank you for choosing the Wanneton W-F3 Waterproof Rechargeable Walkie Talkies. This comprehensive user manual provides detailed instructions for setting up, operating, maintaining, and troubleshooting your new communication devices. Designed for long-range, reliable, and seamless communication, these handheld radios are ideal for various environments including construction sites, hotels, shopping malls, and outdoor activities. Please read this manual thoroughly before use to ensure optimal performance and safety.
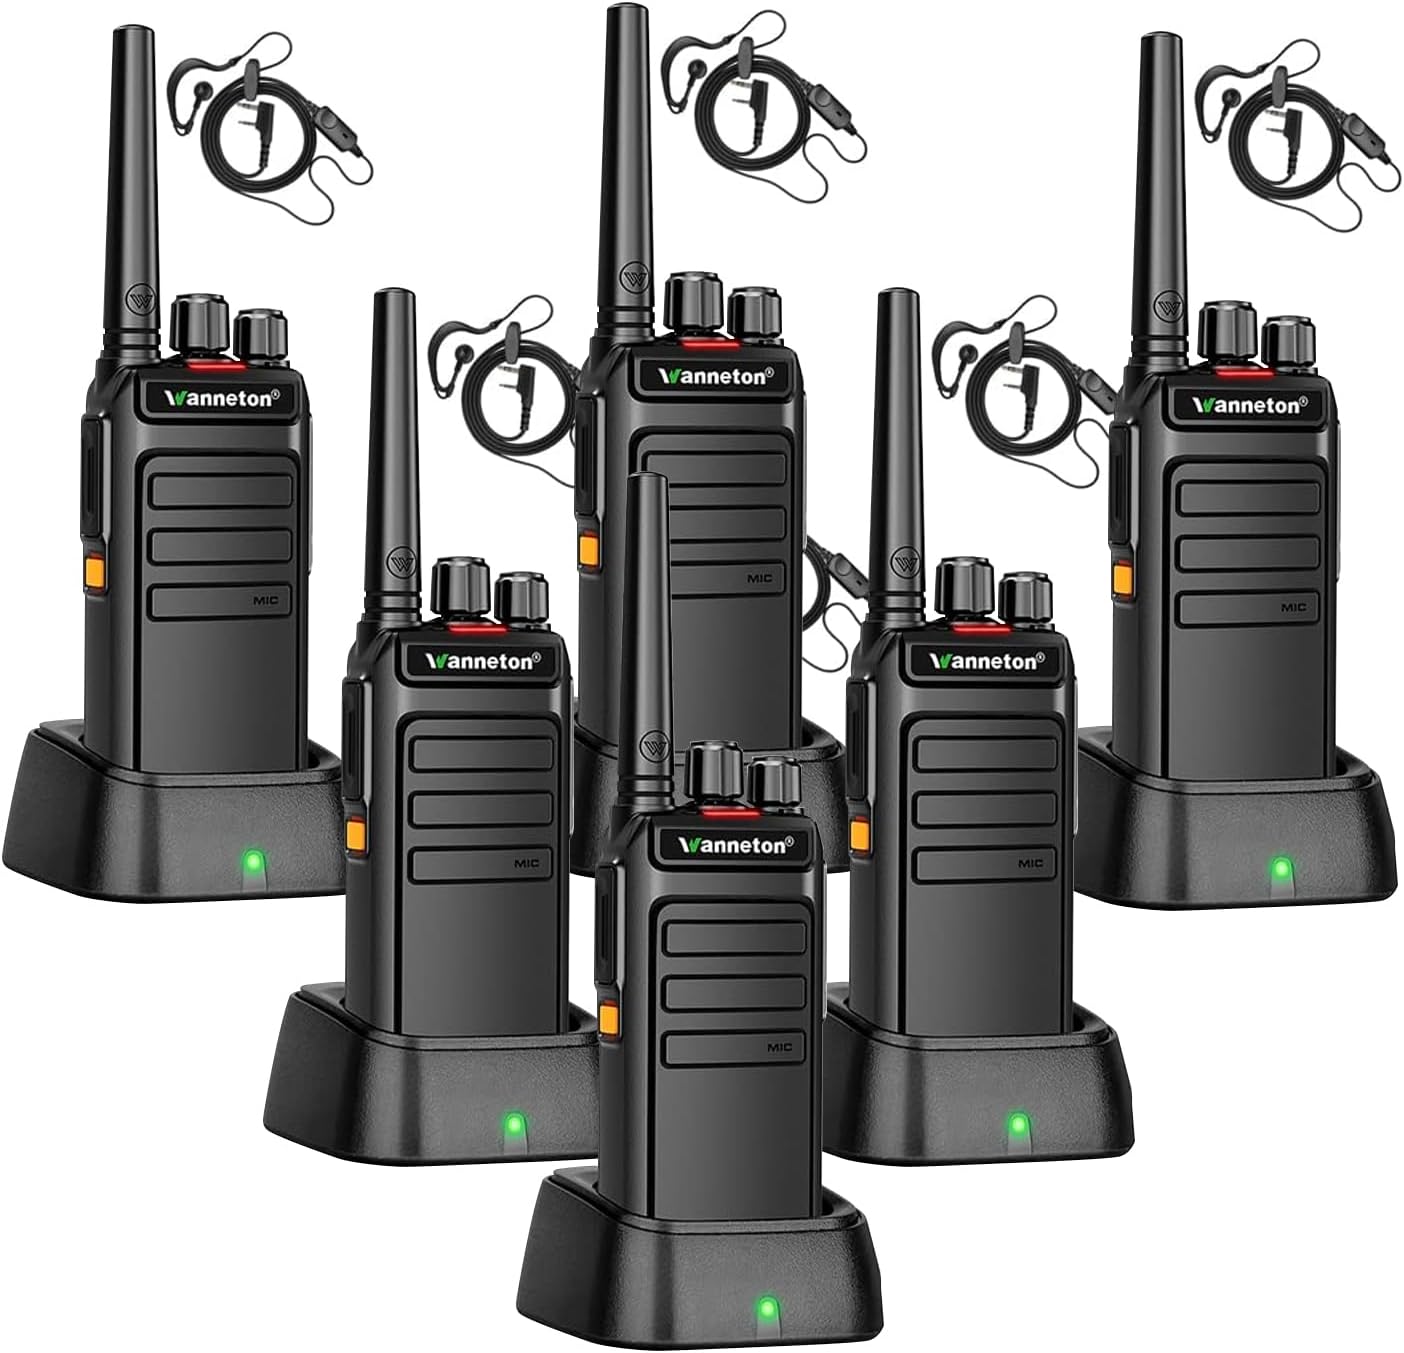
Figure 1.1: Wanneton W-F3 Walkie Talkies with Charging Bases
2. Package Awọn akoonu
Nigbati o ba ṣii package rẹ, jọwọ rii daju pe gbogbo awọn nkan wọnyi wa pẹlu:
- 6 x Wanneton W-F3 Walkie Talkies
- 6 x Eriali
- 6 x 1500mAh Rechargeable Batteries
- 6 x Charging Cradles with Power Adapters
- 6 x Lanyards
- 6 x Awọn agekuru igbanu
- 6 x Headsets
- 3 x Awọn itọnisọna olumulo

Figure 2.1: Included Package Components
3. Eto Itọsọna
3.1 Batiri sori ati gbigba agbara
- Rí i dájú pé àwọn walkie talkie ti pa.
- Align the 1500mAh battery with the battery compartment on the back of the walkie talkie.
- Rọra Titari batiri naa si aaye titi yoo fi tẹ ni aabo.
- Place the walkie talkie with the installed battery into the charging cradle.
- Connect the charging cradle to a power outlet using the provided power adapter. The charging indicator light will illuminate.
- Allow approximately 2-3 hours for a full charge. A fully charged battery provides 1-2 days of continuous use or up to 8 days in standby mode.

Figure 3.1: Battery Performance Overview
3.2 Eriali Asomọ
Screw the antenna clockwise into the connector on the top of the walkie talkie until it is firmly seated. Do not overtighten.
3.3 Belt Clip and Lanyard Attachment
Attach the belt clip to the designated slot on the back of the walkie talkie for convenient carrying. The lanyard can be attached to the top loop for added security.
3.4 Agbekọri Asopọ
Insert the headset plug into the audio jack on the side of the walkie talkie. Ensure it is fully inserted for proper audio transmission and reception.

Figure 3.2: Physical Features and Portability
4. Awọn ilana Iṣiṣẹ
4.1 Agbara Tan / Pa
Rotate the Power/Volume knob clockwise to turn the walkie talkie on. Rotate it counter-clockwise until you hear a click to turn it off.
4.2 iwọn didun tolesese
Rotate the Power/Volume knob to adjust the listening volume. Turn clockwise to increase volume, counter-clockwise to decrease.

Figure 4.1: Clear Sound and Volume Control
4.3 ikanni Yiyan
Rotate the Channel Selector knob to choose one of the 16 available GMRS channels. Ensure all walkie talkies intended for communication are set to the same channel.
4.4 Gbigbe ati Gbigba
- To transmit, press and hold the Push-to-Talk (PTT) button on the side of the walkie talkie. Speak clearly into the microphone.
- Tu bọtini PTT silẹ lati gba.
4.5 Iṣẹ́ VOX láìsí ọwọ́
The walkie talkie supports Voice Operated Exchange (VOX) for hands-free communication. This feature can be enabled or disabled using programming tools. When active, the radio will transmit automatically when it detects your voice, eliminating the need to press the PTT button.

Figure 4.2: VOX Hands-free Communication
4.6 One-Click Frequency Decoding (Wireless Copy)
This feature allows for easy alignment with other UHF walkie talkies. Simply press the designated button (customizable via programming tools) to decode the transmission frequency and privacy code of another device. Your walkie talkie will automatically adjust its settings for cross-brand communication without complex manual programming.
4.7 Customizable Alarm Function
Side keys can be programmed as emergency alarm switches. When activated, all intercoms on the same frequency will emit an alarm sound, crucial for quickly notifying your team in emergency situations. This function can be toggled on or off with a single click.

Figure 4.3: Emergency Alarm Feature
4.8 Protection (Encryption) Function
Utilize programming tools to set a side key as an encryption function switch. Activating this feature scrambles your audio transmission. If a receiving device does not have the encryption function activated, the audio will be distorted, ensuring privacy for sensitive communications.
4.9 Relay Connection Function
These GMRS handheld walkie talkies can connect to nearby relays to extend signal range and improve communication over longer distances. This function leverages higher power output compared to standard models for enhanced reach.
4.10 Afikun Awọn ẹya ara ẹrọ
- Awọn koodu Asiri: Utilize 205 privacy codes to minimize interference from other users on the same channel.
- Ṣiṣayẹwo ikanni: Automatically scan through channels to find active conversations.
- Ipo Ipamọ Batiri: Automatically conserves battery power when no transmission or reception is detected.
- Awọn Itaniji Batiri Kekere: Notifies you when the battery level is critically low.
- BCL (Busy Channel Lockout): Ó ń dènà ìtànkálẹ̀ lórí ikanni tí ó ti wà ní ìlò tẹ́lẹ̀.
- TOT (Aago Ipari): Limits the duration of a transmission to prevent accidental continuous transmission and conserve battery.
5. Itọju
5.1 Ninu
Wipe the walkie talkie surfaces with a soft, damp cloth. Do not use harsh chemicals or abrasive cleaners. Ensure the charging contacts are clean and dry.
5.2 batiri Itọju
To prolong battery life, avoid overcharging or completely discharging the battery. Store the walkie talkie and batteries in a cool, dry place when not in use for extended periods.
5.3 Ibi ipamọ
When storing the walkie talkies for a long time, remove the batteries. Store them in a dry, dust-free environment away from direct sunlight and extreme temperatures.
6. Laasigbotitusita
| Isoro | Owun to le Fa | Ojutu |
|---|---|---|
| Walkie talkie does not power on. | Batiri naa kere tabi ko fi sori ẹrọ daradara. | Charge the battery fully. Reinstall the battery ensuring it clicks into place. |
| Ko si ohun tabi ohun daru. | Volume too low; Encryption function active on one device but not another; Incorrect channel or privacy code. | Increase volume. Ensure encryption is consistent across communicating devices. Verify channel and privacy code settings. |
| Short communication range. | Obstacles (buildings, terrain); Low battery; Interference. | Move to an open area. Recharge battery. Avoid sources of strong electromagnetic interference. Utilize relay connection function if available. |
| Cannot communicate with other walkie talkies. | Different channels or privacy codes; Out of range; Battery low. | Ensure all devices are on the same channel and privacy code. Move closer to the other device. Charge batteries. |
| Atọka gbigba agbara ko ṣiṣẹ. | Charger or power adapter faulty; Poor connection. | Check power outlet and connections. Try a different charger/adapter if available. |
7. Awọn pato
| Ẹya ara ẹrọ | Sipesifikesonu |
|---|---|
| Nọmba awoṣe | W-F3 |
| Iwọn Nkan | 6.6 pounds (approx. 2.99 kg for 6 units) |
| Brand | Wanneton |
| Àwọ̀ | Dudu |
| Nọmba ti awọn ikanni | 16 Awọn ikanni GMRS |
| Awọn koodu asiri | 205 |
| Iwọn Igbohunsafẹfẹ | GMRS |
| Ti o pọju Ọrọ sisọ | 30 Mile (line of sight, actual range varies) |
| Voltage | 3.7 Volts |
| Agbara Batiri | 1500mAh |
| Akoko gbigba agbara | 2-3 wakati |
| Work Time (approx.) | 1-2 days (continuous use) |
| Standby Time (approx.) | 8 ọjọ |
| Omi Resistance Ipele | Mabomire |
| Awọn ẹrọ ibaramu | Most walkie talkies |
| Pataki Awọn ẹya ara ẹrọ | Adjustable Receiver Sensitivity, Automatic Squelch, Battery Saver Mode, Battery Strength Indicator, One-key decoding copy frequency, One-touch Alarm, One-touch Scrambling, Voice Activation (VOX), Channel Scanning, Low Battery Alerts, BCL, TOT, Relay Connection Function |
8. atilẹyin ọja Information
Based on the product specifications, there is RARA explicit manufacturer's warranty provided for this product. Please refer to the retailer's return policy for any issues or concerns within the applicable return period.
9. Onibara Support
For any questions, technical assistance, or support regarding your Wanneton W-F3 Walkie Talkies, our professional team is available to assist you. Please contact the seller or manufacturer through the platform where you purchased the product for the most efficient support.