Candy EY4061DW4/1-S
Candy EY4061DW4/1-S Washing Machine User Manual
Model: EY4061DW4/1-S
1. Ifihan
Thank you for choosing the Candy EY4061DW4/1-S Front Load Washing Machine. This appliance is designed to provide efficient and reliable laundry care for your home. This user manual contains important information on the installation, operation, maintenance, and troubleshooting of your washing machine. Please read it carefully before using the appliance and keep it for future reference.
2. Alaye Aabo pataki
Nigbagbogbo tẹle awọn iṣọra aabo ipilẹ nigba lilo awọn ohun elo itanna lati dinku eewu ina, mọnamọna, ati ipalara si eniyan.
- Rii daju pe ohun elo ti wa ni ilẹ daradara.
- Ma ṣe gba awọn ọmọde laaye lati ṣere lori tabi ninu ohun elo naa.
- Yọọ ohun elo ṣaaju ṣiṣe eyikeyi itọju tabi ṣiṣe itọju.
- Ma ṣe fi sori ẹrọ tabi tọju ohun elo naa nibiti yoo ti farahan si awọn iwọn otutu ni isalẹ didi tabi fara si oju ojo.
- Do not use extension cords or adapters with this appliance.
- The appliance is equipped with an Aquastop safety system to prevent water overflow.
- This model includes a child lock feature for added safety.
3. Fifi sori ẹrọ ati Oṣo
The Candy EY4061DW4/1-S is a freestanding front-load washing machine. Proper installation is crucial for optimal performance and safety.
3.1 Ṣiṣii silẹ
Carefully remove all packaging materials. Check for any transport damage. Keep packaging materials out of reach of children.
3.2 Yọ awọn Bọ́lù Gbigbe kuro
Before use, remove all transit bolts located at the rear of the machine. These bolts secure the drum during transport and must be removed to prevent damage during operation. Store them for future transport if needed.
3.3 Positioning the Appliance
Place the washing machine on a firm, level surface. Adjust the feet to ensure the appliance is stable and level. This helps to reduce vibration and noise during operation.

olusin 1: Angled view of the washing machine, showing its compact design suitable for freestanding installation.
3.4 Omi Asopọ
Connect the water inlet hose to a cold water tap with a 3/4" thread. Ensure all connections are tight to prevent leaks. Position the drain hose into a suitable drain pipe or sink, ensuring it is securely fixed to prevent displacement during draining.
3.5 Itanna Asopọ
Plug the power cord into a grounded electrical outlet (220-240V). Do not use extension cords or multi-plugs. Ensure the power cord is not trapped or crushed by the appliance.
4. Awọn ilana Iṣiṣẹ
This section guides you through the daily operation of your Candy washing machine.

olusin 2: Iwaju view of the washing machine, highlighting the control panel and door.
4.1 ikojọpọ ifọṣọ
Open the door and load laundry into the drum. Do not overload the machine; the maximum capacity is 6 kg. Close the door firmly until it clicks shut.
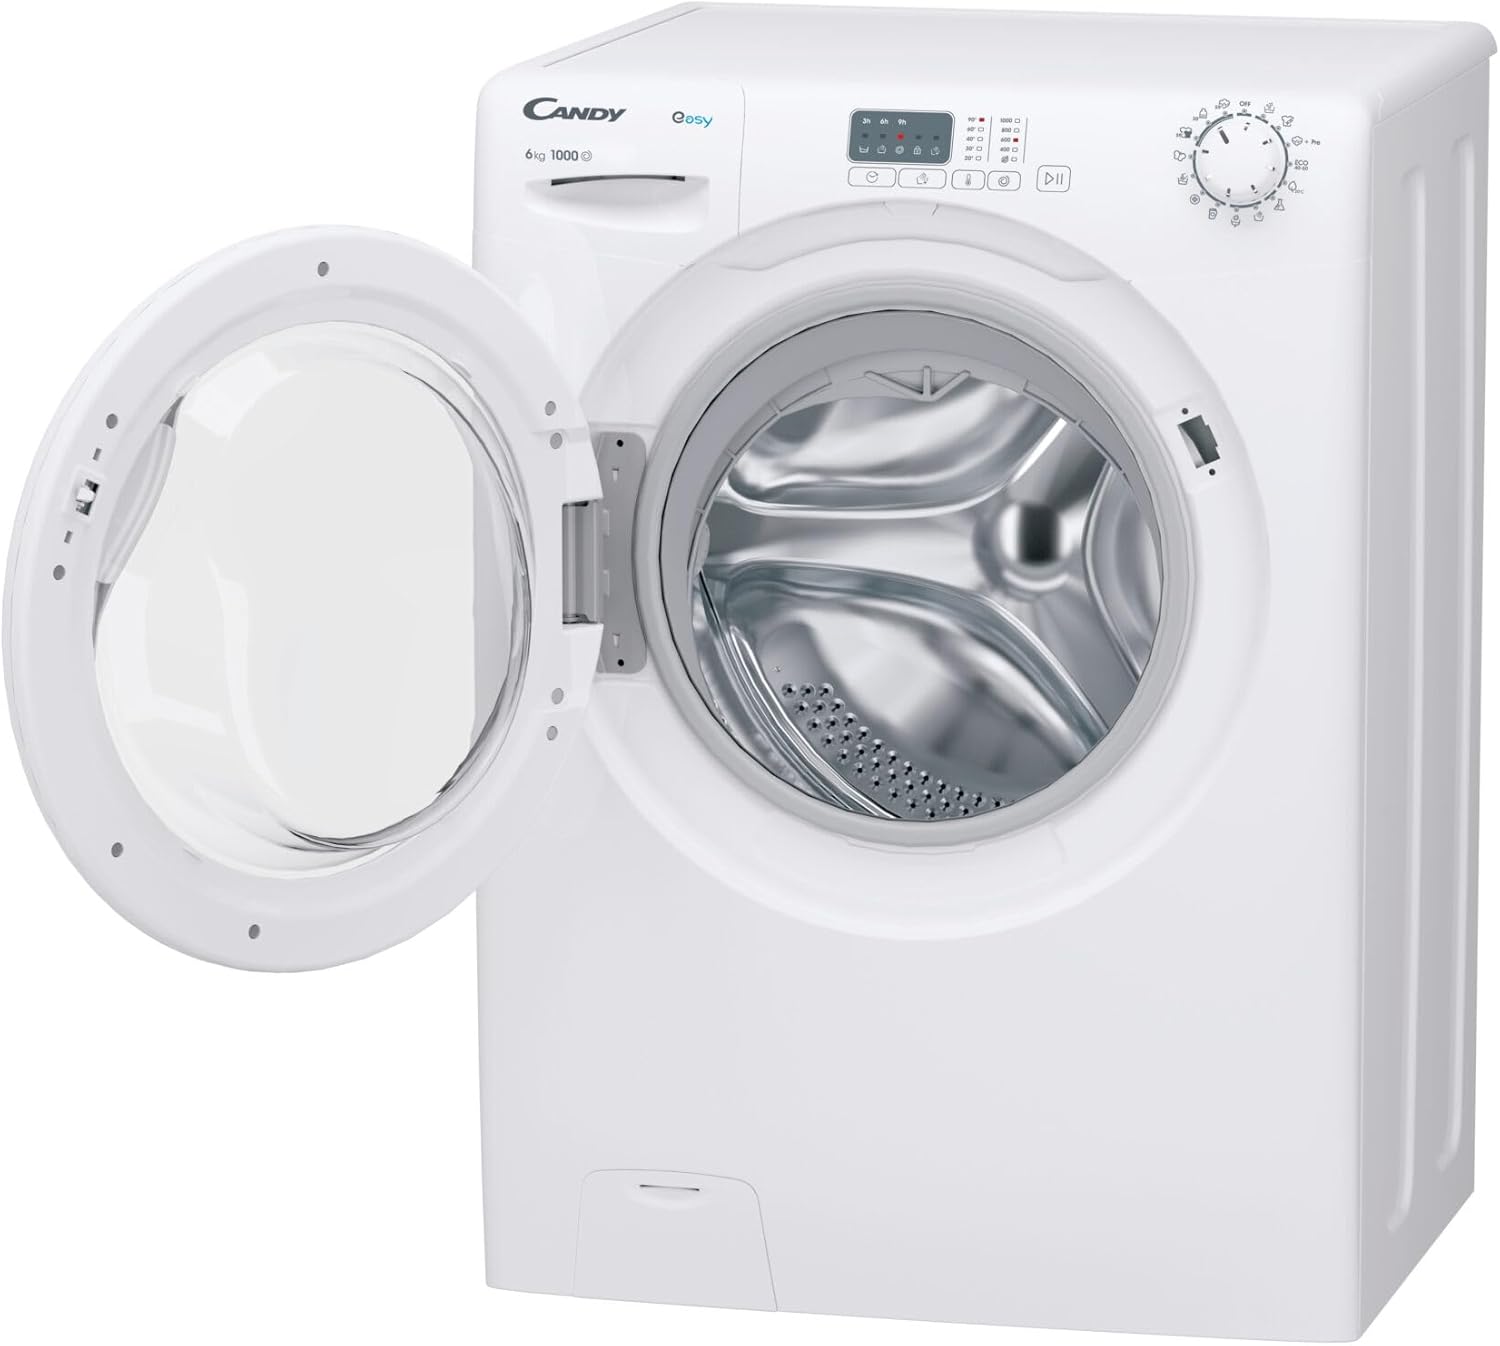
Figure 3: The washing machine with its door open, revealing the stainless steel drum.
4.2 Fifi Detergent
Pull out the detergent drawer. Add the appropriate amount of detergent and fabric softener to the designated compartments. Refer to your detergent packaging for recommended dosages.
4.3 Eto Aṣayan
Turn the program selector knob to choose your desired wash program. The machine offers 15 wash programs, including:
- 20°C
- Owu
- Owu 40°C
- Delicates / Siliki
- Eco 40-60°C
- Ọwọ / kìki irun
- Ìtọ́jú Ìmọ́tótó/Ìtọ́jú Àléjì
- Jíìsì/Dẹ́nímù
- Ṣaaju
- Quick 30min
- Fi omi ṣan
- Omo / Sisan
- Sintetiki
4.4 Siṣàtúnṣe Eto
Use the control buttons to adjust settings such as spin speed (up to 1000 rpm) and temperature, if available for the selected program. This model features adjustable spin speed and temperature.
4.5 Iṣẹ́ Ìbẹ̀rẹ̀ Ìdádúró
The machine supports a delay start function of up to 9 hours. Press the delay start button repeatedly to set the desired delay time.
4.6 Bibẹrẹ Ayika Wẹ
Press the Start/Pause button to begin the wash cycle. The LED program indicator will illuminate to show the current stage ti awọn ọmọ.
4.7 Add Garment (Pause) Function
If you need to add forgotten garments during a cycle, press the Start/Pause button. Wait for the door to unlock (this may take a few minutes depending on water level and temperature), add the garments, and then close the door and press Start/Pause again to resume.
5. Itọju ati Cleaning
Itọju deede ṣe idaniloju gigun ati ṣiṣe ti ẹrọ fifọ rẹ.
5.1 Ninu Ode
Mu ese ita gbangba pẹlu asọ, damp asọ. Ma ṣe lo abrasive ose tabi epo.
5.2 Ninu Drawer Detergent
Periodically remove and clean the detergent drawer under running water to prevent detergent residue buildup.
5.3 Drum Cleaning (Autoclean Function)
This model features an autoclean function for the drum. Run this program regularly (e.g., once a month) to remove detergent residues and prevent odors. Consult the control panel for how to activate the drum clean cycle.
5.4 Ninu Ajọ
The filter should be cleaned regularly to prevent blockages. Refer to the appliance's specific instructions for accessing and cleaning the filter, usually located at the bottom front of the machine.
6. Laasigbotitusita
Ṣaaju ki o to kan si iṣẹ alabara, gbiyanju awọn ojutu wọnyi fun awọn ọran ti o wọpọ:
| Isoro | Owun to le Fa | Ojutu |
|---|---|---|
| Ẹrọ ko bẹrẹ | Power cord not plugged in; Door not closed properly; Program not selected; Start button not pressed. | Check power connection; Ensure door is latched; Select a program; Press Start/Pause button. |
| Ko si gbigba omi | Water tap closed; Water inlet hose kinked; Water supply interrupted. | Ṣii omi tẹ ni kia kia; Titọ okun; Ṣayẹwo ipese omi. |
| Ẹrọ vibrates apọju | Transit bolts not removed; Appliance not level; Uneven load. | Remove transit bolts; Adjust leveling feet; Redistribute laundry in the drum. |
| Omi jijo | Hose connections loose; Detergent drawer clogged; Drain hose improperly positioned. | Tighten hose connections; Clean detergent drawer; Secure drain hose. |
| Fọọmu ti o pọju | Ju Elo detergent lo. | Reduce detergent quantity. The machine has a foam control system. |
7. Imọ ni pato
| Ẹya ara ẹrọ | Sipesifikesonu |
|---|---|
| Ohun elo Gbe | Sisun |
| Ikojọpọ Iru | Iwaju-fifuye |
| Awọ ọja | Funfun |
| -Itumọ ti ni Ifihan | Rara |
| Iṣakoso Iru | Buttons, Rotary knob |
| Ilekun Mita | Osi |
| Ẹrọ ẹrọ oluyipada | Rara |
| Ohun elo ilu | Irin ti ko njepata |
| Ilu Iwọn didun | 48 L |
| Agbọn Agbara | 6 kg |
| O pọju omo ere | 1000 RPM |
| Class Lilo Gbigbe-Spin-Spin | C |
| Nọmba ti Wẹ Eto | 15 |
| Noise Njade lara | C |
| Ipele Ariwo (Iyiyi) | 77 dB |
| Idaduro Bẹrẹ | Bẹẹni (to wakati 9) |
| Water Overflow Protection System | Bẹẹni |
| Fifuye Iwontunwonsi System | Bẹẹni |
| Aquastop Safety System | Bẹẹni |
| Foam Control System | Bẹẹni |
| Cycle Duration (max) | 198 min |
| Rinse Function | Bẹẹni |
| Adjustable Spin Speed | Bẹẹni |
| Adijositabulu otutu | Bẹẹni |
| Add Garment (Pause) Function | Bẹẹni |
| Remote Smartphone Support | Rara |
| Wi-Fi Controlled | Rara |
| Idaabobo ọmọde | Bẹẹni |
| Self-cleaning (Autoclean) | Bẹẹni |
| Ti o ku Time Atọka | Rara |
| LED Program Indicator | Bẹẹni |
| Agbara Agbara Kilasi | B (Scale A to G) |
| Lilo Agbara (awọn iyipo 100) | 49 kWh |
| Lilo Omi (fun iyipo) | 40 L |
| AC Input Voltage | 220-240 V |
| Ìbú | 600 mm |
| Ijinle | 480 mm |
| Giga | 850 mm |
| Iwọn | 60 kg |

Figure 4: Energy efficiency label, indicating Class B rating.
8. Atilẹyin ọja ati Support
8.1 atilẹyin ọja Alaye
This product is covered by a manufacturer's warranty. For specific details regarding warranty terms and conditions, please refer to the warranty card included with your appliance or visit the official Candy webojula. Jeki ẹri rira rẹ fun awọn iṣeduro atilẹyin ọja.
8.2 Onibara Support
If you encounter any issues not covered in the troubleshooting section or require technical assistance, please contact Candy customer support. Contact details can typically be found on the manufacturer's webaaye tabi ni iwe ti a pese pẹlu ohun elo rẹ.
For returns or issues related to your purchase from Amazon, please refer to Amazon's return policy. If you received a defective or damaged product, consult Amazon's help page on returns and refunds. For specific information on purchases made through the Marketplace, consult the relevant help page.
Ask a question about this manual
Ask about setup, troubleshooting, compatibility, parts, safety, or missing instructions. Manuals+ will review the question and use this page’s manual context to help answer it.