1. Ifihan
The Losfom WD1 Body Camera is a compact and versatile recording device designed for various applications, including law enforcement, security patrols, and outdoor monitoring. It features a 2100mAh battery for extended recording times, clear night vision capabilities, and supports external memory for flexible storage management. This manual provides detailed instructions for the proper setup, operation, and maintenance of your WD1 body camera.
2. Package Awọn akoonu
Ṣaaju ki o to tẹsiwaju, jọwọ rii daju pe gbogbo awọn ohun kan wa ninu package rẹ:
- WD1 Body Camera
- Long Clip (180° Rotatable)
- Short Clip (360° Rotatable)
- Okun USB
- Itọsọna olumulo

Figure 2.1: Package contents of the Losfom WD1 Body Camera.
3. Ẹrọ Loriview
Familiarize yourself with the main components and controls of the WD1 body camera.

olusin 3.1: Iwaju ati ki o ru views of the WD1 Body Camera.
4. Eto
4.1 Ngba agbara si Batiri naa
The WD1 body camera is equipped with a 2100mAh battery. For optimal performance, fully charge the device before first use.
- Connect the provided USB cable to the camera's charging port (Type-C).
- So opin keji okun USB pọ si ohun ti nmu badọgba agbara USB ibaramu (kii ṣe pẹlu) tabi ibudo USB ti kọnputa kan.
- The charging indicator light will illuminate. Once fully charged, the light will turn off.
Akiyesi: A full charge provides up to 10 hours of continuous 1080P video recording (with screen and IR off). Use the supplied USB cable and a compatible charging block for proper charging.
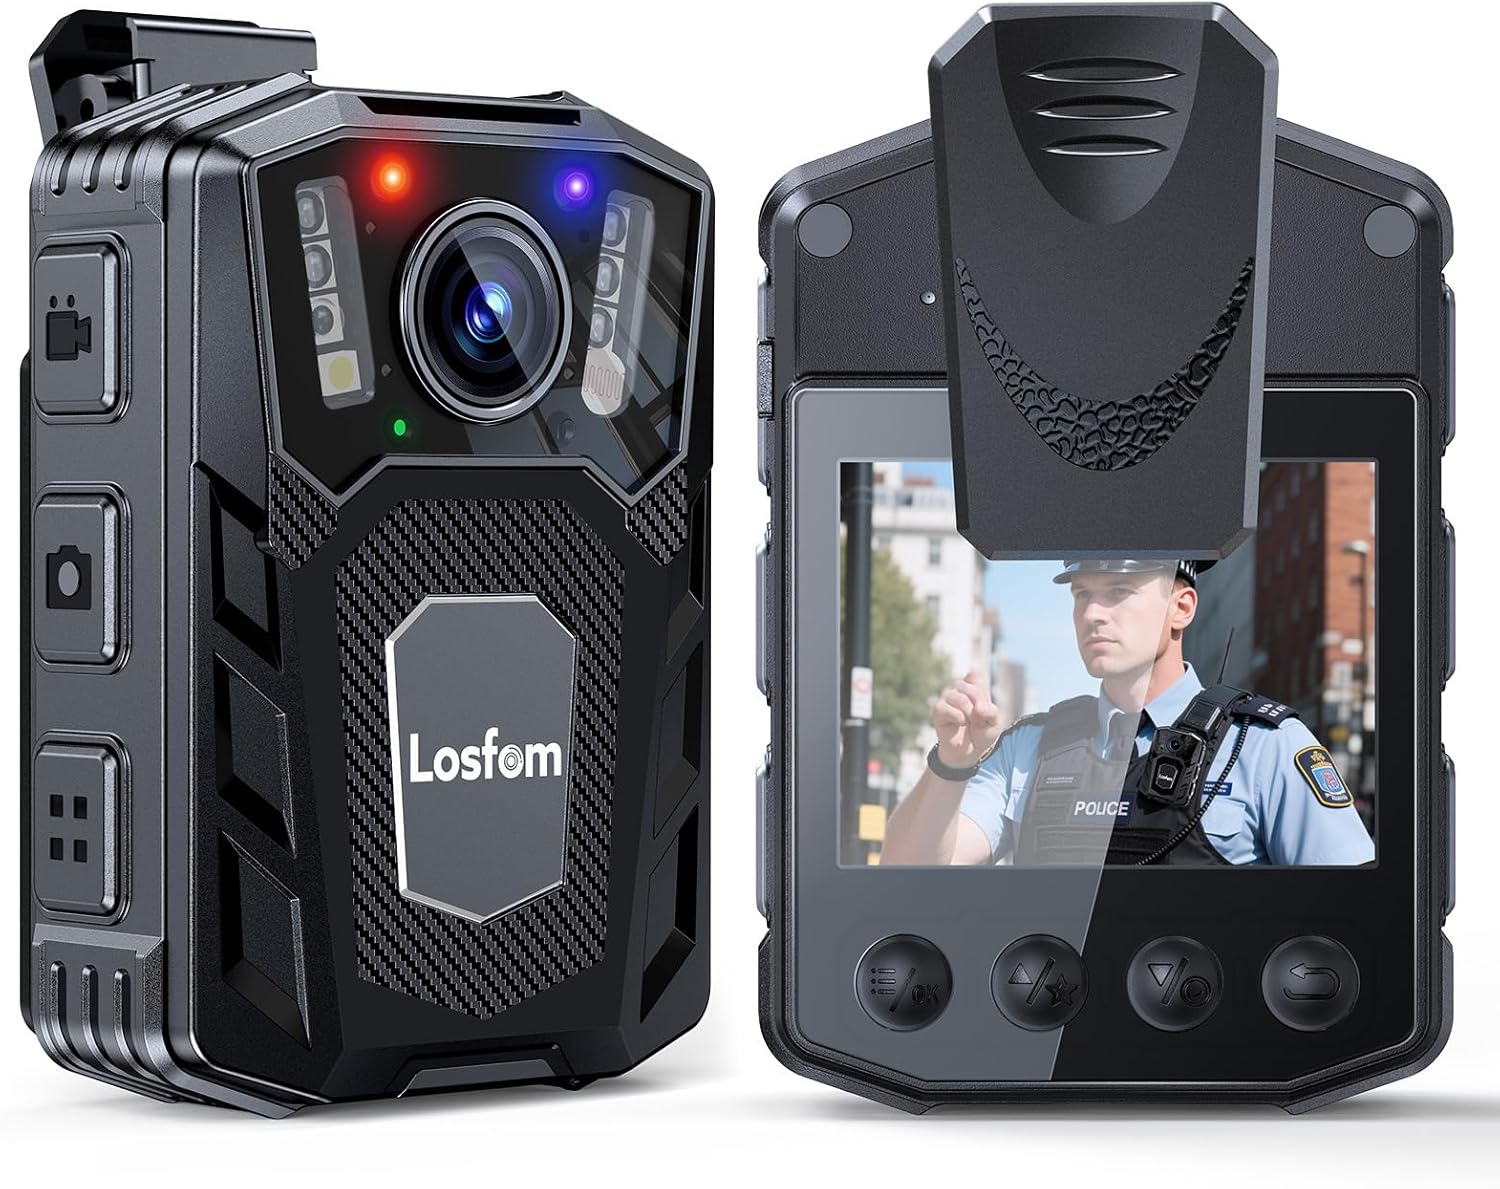
Figure 4.1: Charging the WD1 Body Camera.
4.2 Inserting/Replacing the Memory Card
The WD1 body camera supports external Micro SD cards for storage. A Micro SD card is included.
- Locate the Micro SD card slot on the side of the camera.
- Gently insert the Micro SD card into the slot with the gold contacts facing down until it clicks into place.
- To remove, push the card inward until it springs out.
Pataki: Ensure the camera is powered off before inserting or removing the memory card to prevent data loss or damage. The camera supports up to 256GB Micro SD cards.

Figure 4.2: Inserting a Micro SD card.
4.3 Attaching the Clips
The camera comes with two types of clips for versatile attachment: a long clip (180° rotatable) and a short clip (360° rotatable).
- Select the appropriate clip for your intended use (e.g., long clip for uniform pockets, short clip for lapels or straps).
- Align the clip with the mounting slot on the back of the camera and slide it in until it securely locks.
- Ensure the clip is firmly attached before wearing the camera.

Figure 4.3: Attaching the short and long clips.
5. Awọn ilana Iṣiṣẹ
5.1 Titan / Pa a
- Agbara Tan: Press and hold the Power button for a few seconds until the screen illuminates.
- Agbara Pa: Press and hold the Power button for a few seconds until the device shuts down.
5.2 Gbigbasilẹ fidio
The WD1 body camera features one-button control for quick recording activation.
- Rii daju pe kamẹra ti wa ni titan.
- Press the dedicated Record button once to start video recording. A red indicator light will typically flash, and a recording icon will appear on the screen.
- Tẹ bọtini igbasilẹ lẹẹkansi lati da gbigbasilẹ duro.
Akiyesi: The camera supports continuous recording with adjustable video segment lengths (e.g., 5, 10, 15, 20 minutes). Refer to the on-screen menu for settings.

Figure 5.1: WD1 Body Camera in use for various activities.
5.3 Night Vision
The camera is equipped with infrared (IR) 6 LED lights for clear night vision recording up to 10 meters.
- Night vision mode can typically be activated or set to automatic via the camera's menu settings.
- When active, the IR lights will illuminate, allowing the camera to capture footage in low-light or total darkness.

Figure 5.2: Night vision feature in operation.
5.4 Loop Gbigbasilẹ
The loop recording function ensures continuous recording by automatically overwriting the oldest files when the memory card reaches its capacity. This prevents recording from stopping due to a full card.
- This feature is typically enabled by default. You can adjust settings for loop recording duration in the camera's menu.

Figure 5.3: Loop recording functionality.
5.5 Nsopọ si Kọmputa kan
Si view or transfer recorded files, connect the camera to a computer using the provided USB cable.
- Agbara lori kamẹra.
- So kamẹra pọ si kọmputa rẹ nipa lilo okun USB.
- The camera should appear as a removable disk drive on your computer.
- Navigate to the camera's storage to access video and audio files.
Imọran: If files are not playing correctly on your computer's default player, try using a universal media player like VLC.
6. Itọju
6.1 Ninu kamẹra
- Lo asọ ti o rọ, ti o gbẹ lati nu ara kamẹra mọ.
- Fun lẹnsi naa, lo asọ mimọ lẹnsi amọja ati ojutu lati yago fun awọn itọ.
- Maṣe lo awọn kemikali lile tabi awọn afọmọ abrasive.
6.2 Ibi ipamọ
- Tọju kamẹra naa ni itura, aye gbigbẹ kuro lati orun taara ati awọn iwọn otutu to gaju.
- Ti o ba wa ni ipamọ fun akoko ti o gbooro sii, rii daju pe batiri naa ti gba agbara kan (ni ayika 50%) lati pẹ ni igbesi aye rẹ.
7. Laasigbotitusita
- Kamẹra ko ṣiṣẹ lori:
- Ensure the battery is charged. Connect the camera to a power source using the provided USB cable and charging block.
- If the camera freezes, locate the reset button (if available, often a small pinhole) and use a thin object to press it.
- Ko le gbe lọ files si kọmputa:
- Ensure the camera is powered on and properly connected to the computer via the USB cable.
- Gbiyanju ibudo USB miiran tabi kọnputa.
- Verify the Micro SD card is correctly inserted.
- Fidio files are unreadable:
- Some video players may have compatibility issues. Try using a different media player, such as VLC Media Player, which supports a wide range of formats.
- Didara fidio ti ko dara ni alẹ:
- Ensure night vision (IR lights) is enabled in the camera settings.
- Nu lẹnsi kamẹra nu lati yọ eyikeyi idiwo tabi smudges kuro.
8. Awọn pato
| Ẹya ara ẹrọ | Sipesifikesonu |
|---|---|
| Brand | Losfom |
| Nọmba awoṣe | WD1 |
| Ipinnu Yaworan fidio | 1080p |
| Fọto sensọ Technology | CMOS |
| Agbara Batiri | 2100mAh |
| Batiri Apapọ Life | Up to 10 hours (1080P video recording, screen & IR off) |
| Ibiti Iran Night | Up to 10 meters (with 6 IR LEDs) |
| Flash Memory Iru | Micro SD (supports up to 256GB) |
| Fidio Yaworan kika | MOV |
| Atilẹyin Audio kika | AAC |
| Iwon iboju | 2 inches |
| Asopọmọra Technology | USB |
| Àwọ̀ | Dudu |
| Omi Resistance Ipele | Ko Omi Resistant |
9. Atilẹyin ọja ati Support
9.1 atilẹyin ọja Alaye
The Losfom WD1 Body Camera comes with a 2-year warranty from the date of purchase. This warranty covers manufacturing defects and malfunctions under normal use. It does not cover damage caused by misuse, accidents, unauthorized modifications, or natural disasters. Please retain your proof of purchase for warranty claims.
9.2 Onibara Support
For technical assistance, troubleshooting, or warranty inquiries, please contact Losfom customer support. Refer to the contact information provided on the official Losfom website or the packaging.
10. Official ọja Video
Yi fidio pese a visual loriview of the Losfom WD1 Body Camera's features and usage scenarios, including its long battery life, one-button control, and various mounting options.