
1. Ifihan
The PGST PG519-CW WiFi Wireless Home Alarm System is designed to provide reliable security for your home, apartment, garage, or office. This system operates wirelessly and connects to your home WiFi network, allowing remote control and monitoring via a smartphone application. It integrates with smart home platforms like Amazon Alexa and Google Assistant for enhanced convenience.

Image 1.1: PGST PG519-CW WiFi Wireless Home Alarm System components.
2. Package Awọn akoonu
Daju pe gbogbo awọn nkan wa ninu apo rẹ:
- 1 x Audible and Visual Alarm (Main Unit/Siren)
- 1 x Motion Detector (PIR Sensor)
- 1 x Door/Window Sensor
- 2 x Awọn iṣakoso latọna jijin
- 1 x Skru Package (fún gbígbé kalẹ̀)
- 1 x Charger Set (Power Adapter and USB-C Cable)
- 1 x Ilana itọnisọna

Image 2.1: Contents of the PGST PG519-CW alarm system package.
3. Ọja Ipariview
3.1 Main Alarm Unit (Siren)
The main unit serves as the central hub for your alarm system. It features an audible siren and visual alerts. It is powered via a Type-C cable and includes a backup battery for continued operation during power outages.

Image 3.1: Main Alarm Unit (Siren) with Type-C power input and internal battery.
3.2 Motion Detector (PIR Sensor)
This sensor detects movement within its range, triggering an alarm when the system is armed. It is designed for indoor use.

Image 3.2: Motion Detector (PIR Sensor).
3.3 enu / Window sensọ
This two-part sensor detects the opening and closing of doors or windows. When separated, it triggers an alarm if the system is armed.

Image 3.3: Door/Window Sensor.
3.4 Awọn iṣakoso latọna jijin
The remote controls allow for convenient arming, disarming, and SOS functions from a distance.
4. Eto ati fifi sori
4.1 Lilo Agbara fun Ẹya Akọkọ
- Connect the provided USB-C cable to the main alarm unit and the power adapter.
- Pulọọgi ohun ti nmu badọgba agbara sinu iṣan itanna boṣewa.
- Ensure the main unit powers on. The backup battery will charge automatically.
4.2 App Download and Registration
The system works with the "Tuya" or "Smart Life" applications. Download one of these apps from your smartphone's app store.
- Download and install the "Tuya" or "Smart Life" app.
- Forukọsilẹ fun iroyin titun tabi wọle ti o ba ti ni ọkan tẹlẹ.
4.3 Connecting to Mobile App (WiFi)
The alarm system connects via 2.4GHz WiFi. Ensure your phone is connected to a 2.4GHz WiFi network during the setup process.
- So foonu rẹ pọ mọ nẹtiwọki WiFi 2.4GHz ki o tan-an Bluetooth.
- Open the app, press and hold the SOS button on the main alarm unit for 10 seconds until the green LED flashes quickly. In the app, select "Add to Favorite" or similar option to add a device.
- Wa fun the device in the app and select "Alarm (WiFi)".
- Input your 2.4GHz WiFi password and proceed.
- Wait for the connection to be successful, then tap "Done".
- Press the SOS button on the main unit to receive an alarm push notification, confirming successful connection.

Image 4.1: Simplified steps for connecting the alarm system to the mobile app.

Image 4.2: Detailed steps for mobile app connection.
4.4 Alarm Host Installation
The main alarm unit can be mounted on a wall using the provided screws.
- Fix and screw the mounting base to the desired wall location.
- Align the alarm unit with the base and rotate it clockwise to secure.
- Ensure it is fixed properly and stable.

Image 4.3: Steps for convenient alarm host installation.
4.5 Fifi sori ẹrọ sensọ
Place sensors strategically to cover entry points and critical areas. The system offers a transmission range of up to 100 meters (328 feet).
- Awọn sensọ ilekun/Fẹlẹfẹlẹ: Mount the two parts of the sensor on the door/window frame and the moving part, ensuring they are aligned and within 0.7 inches (1.8 cm) of each other when closed. Use the adhesive backing for easy installation.
- Motion Detectors: Install motion detectors in corners or areas with clear lines of sight to cover rooms. Ensure they are placed at an appropriate height to detect movement effectively.

Aworan 4.4: Example of complete coverage with sensors.
5. Isẹ
5.1 Arming ati disarming
You can arm or disarm the system using the mobile app or the remote controls.
- Apá (Ipo Lọ): Activates all sensors. Any detected intrusion will trigger the alarm.
- Tu silẹ: Deactivates the alarm system.
- Home (Stay Mode): Activates perimeter sensors (e.g., door/window sensors) while allowing free movement inside the property.
5.2 ifọle erin
When an intrusion is detected while armed, the system will:
- Emit a loud siren sound (over 100dB).
- Send real-time notifications to your smartphone via the app.
- Potentially make a call or send an SMS to pre-set phone numbers (check app settings for this feature).

Image 5.1: Intrusion detection with door sensor and siren activation.

Image 5.2: Infrared motion detection triggering an alarm notification.
5.3 SOS Išė
In case of emergency, press the SOS button on the remote control or within the app to trigger an immediate alarm and send alerts to designated contacts.

Image 5.3: Elderly protection and SOS remote functionality.
6. Awọn ẹya ara ẹrọ ti ilọsiwaju
6.1 Timing Arm and Disarm
You can schedule specific times for the system to automatically arm or disarm, eliminating the need for manual operation daily.

Aworan 6.1: Examples of timing arm and disarm schedules.

Image 6.2: Setting up a schedule for arming and disarming via the app.
6.2 Multi-Modes for Sensors
Configure different modes for individual sensors. For example, in "Home" mode, you can set certain sensors (like door sensors) to be active while others (like motion sensors in frequently used areas) are disarmed.

Image 6.3: Multi-modes for sensors and alarm settings.
6.3 Smart Home Integration
The system works with Amazon Alexa and Google Assistant. You can use voice commands to arm or disarm your system.
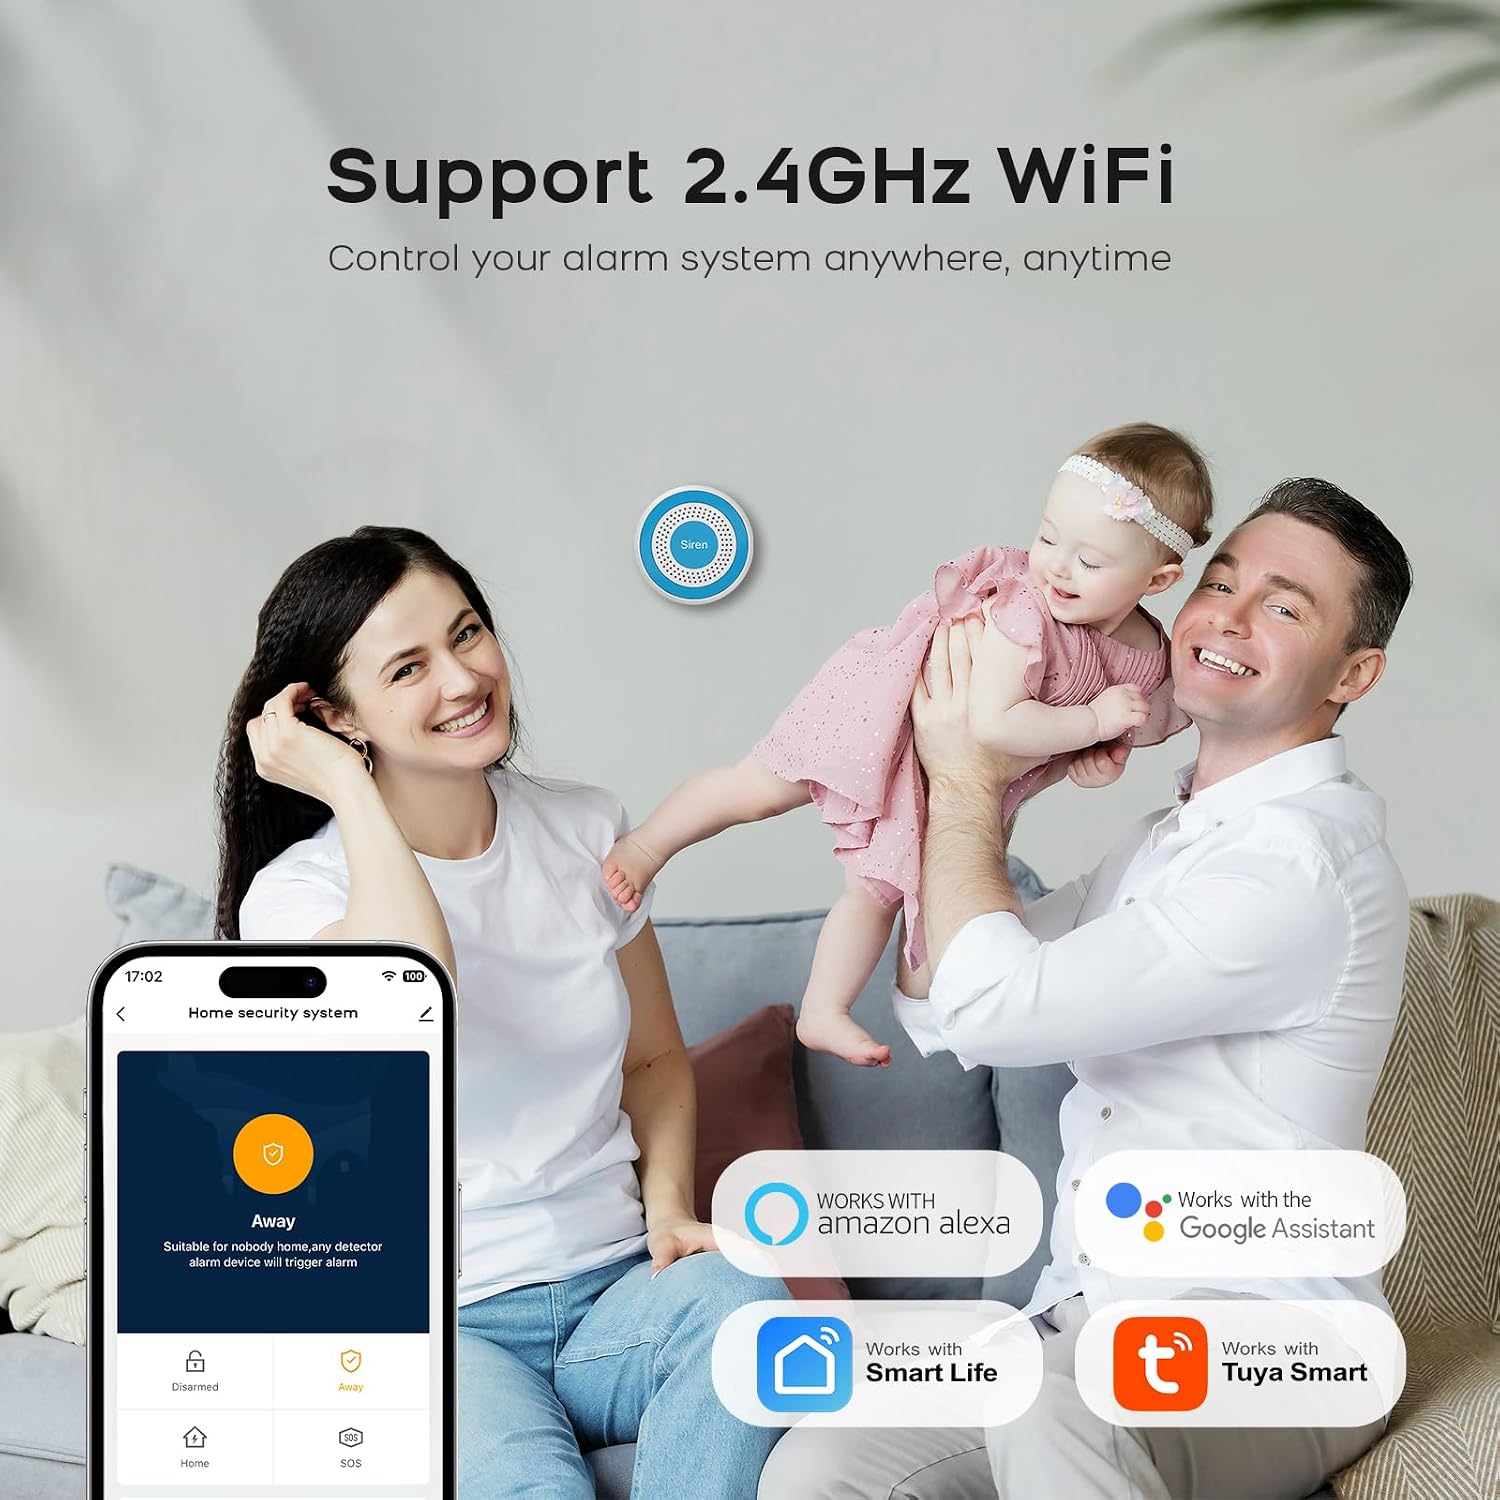
Image 6.4: Compatibility with Alexa and Google Assistant.
6.4 Real-Time Alerts and Family Sharing
Receive instant notifications on your smartphone. You can also share control of the alarm system with multiple family members via the app.

Image 6.5: Real-time alerts on the mobile app.

Image 6.6: Sharing alarm system control with family members.
7. Itọju
- Ninu: Wipe the devices with a soft, dry cloth. Avoid using harsh chemicals or abrasive cleaners.
- Batiri: The main unit has a backup battery. Ensure it remains connected to power for optimal performance and to keep the backup battery charged. Sensors are typically battery-powered; replace batteries as indicated by the app or device indicators.
- Asopọmọra: Periodically check your WiFi connection to ensure the alarm system remains online and responsive.
8. Laasigbotitusita
- System not connecting to WiFi: Ensure your router is broadcasting a 2.4GHz network. The system does not support 5GHz WiFi. Check WiFi password and signal strength.
- Ko si awọn iwifunni ohun elo: Verify that app notifications are enabled in your smartphone settings and within the alarm app itself. Check internet connectivity.
- Àwọn ìkìlọ̀ èké: Ensure motion sensors are not placed near heat sources, direct sunlight, or areas with pets that might trigger them. Check door/window sensors for proper alignment and secure mounting.
- Iṣakoso latọna jijin ko ṣiṣẹ: Check the battery in the remote control. Ensure you are within the operational range of the main unit.
- Siren not sounding: Check if the main unit is powered on and connected. Verify alarm settings in the app.
9. Awọn pato
| Ẹya ara ẹrọ | Sipesifikesonu |
|---|---|
| Brand | PGST |
| Nọmba awoṣe | PG519-CW |
| Awọn iwọn Nkan (LxWxH) | 16 x 10 x 6 cm |
| Iru Itaniji | Audio ati išipopada |
| Batiri Tiwqn | Litiumu Iwon |
| Asopọmọra | 2.4GHz WiFi |
| Ibamu App | Tuya, Smart Life |
| Smart Home Integration | Amazon Alexa, Google Iranlọwọ |
10. Alaye Aabo
- Má ṣe fi àwọn ẹ̀rọ náà sí ojú ọjọ́ tí ó le koko, oòrùn tààrà tàbí ọrinrin.
- Jeki awọn ẹrọ kuro lati awọn ọmọde ati awọn ohun ọsin.
- Lo oluyipada agbara ti a pese nikan ati awọn kebulu.
- Má ṣe gbìyànjú láti tú àwọn ẹ̀rọ náà dà tàbí láti tún wọn ṣe fúnra rẹ. Kan si olùrànlọ́wọ́ oníbàárà fún ìrànlọ́wọ́.
- Ensure proper ventilation for the main unit.
11. Atilẹyin ọja ati Support
For warranty information and technical support, please refer to the documentation included with your product or visit the official PGST website. Specific warranty terms and support contact details are not provided in this manual.