1. Ifihan
The Vrabocry DC5V 2835 LED Strip Light is a versatile lighting solution designed for various indoor applications. This flexible LED tape is powered via a 5V USB port, making it convenient for use with power banks, USB adapters, or computer USB ports. It features 2835 SMD LEDs with options for 60 or 120 LEDs per meter and PCB widths of 3mm, 5mm, or 8mm, offering flexibility for different installation needs.
This LED strip is suitable for accent lighting, TV backlighting, under-cabinet lighting, display case illumination, and creative DIY projects. Its low heat emission ensures it is safe to touch, making it suitable for environments with children.

Aworan 1.1: Examples of LED strip light applications in various settings.
2. Alaye Aabo
- Orisun Agbara: Only use with a DC5V USB power source. Using a higher voltage power supply can damage the strip and pose a safety risk.
- Ti kii ṣe omi: A ṣe àyẹ̀wò ìlà LED yìí ní IP20, èyí tí ó túmọ̀ sí wípé ó jẹ́ ko mabomire. Avoid exposure to water or high humidity to prevent damage and electrical hazards. Intended for indoor use only.
- Ooru: The strip operates at extremely low heat and is safe to touch. However, ensure proper ventilation when installing in enclosed spaces.
- Ige: The LED strip can be cut only along designated cutting marks. Cutting elsewhere will damage the circuit and render that section unusable.
- Ilẹ fifi sori ẹrọ: Ensure the installation surface is clean, dry, and smooth for optimal adhesion of the double-sided tape.
3. Ohun ti o wa ninu Apoti
Àpò rẹ ní àwọn ohun wọ̀nyí:
- 1x 5V USB LED Strip Light (Power supply not included)
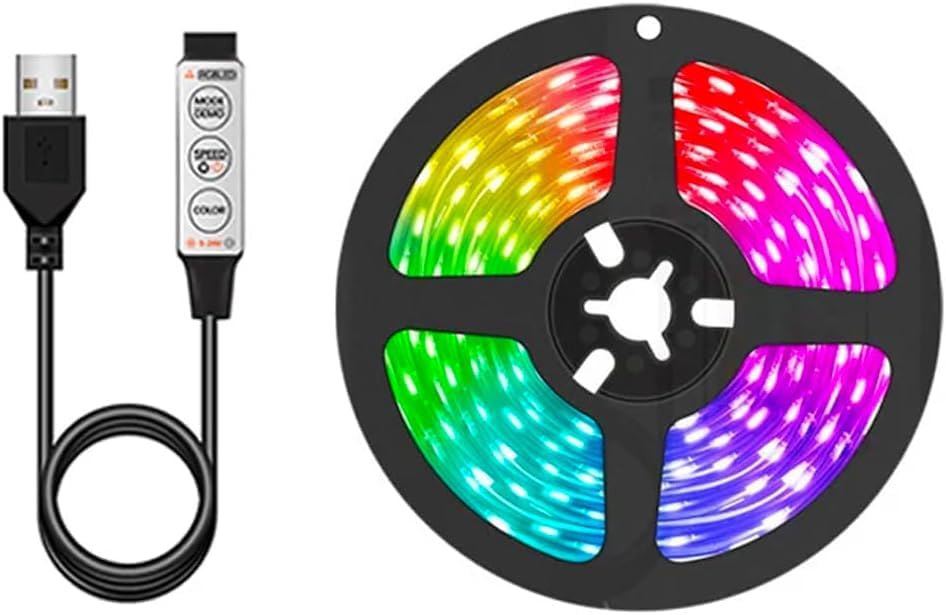
Image 3.1: Contents of the package, showing the LED strip and USB controller.
4. Awọn pato
| Ẹya ara ẹrọ | Ẹ̀kúnrẹ́rẹ́ |
|---|---|
| Iṣagbewọle Voltage | DC5V (USB) |
| LED Iru | SMD2835 |
| LED opoiye | 60 LEDs/m or 120 LEDs/m |
| PCB Width Options | 3mm, 5mm, 8mm |
| Awọn aṣayan Awọ | White, Natural White, Warm White, Red, Green, Blue, Yellow, RGB, UV |
| Mabomire ite | IP20 (Non-Waterproof) |
| Ọna Iṣakoso | Inline 3-Key Controller (for single color/RGB variants) |
| Ohun elo | Irin, Fainali |
| Iwọn Nkan | Isunmọ 2.54 iwon |
| Nọmba awoṣe | SMD2835-5v-USB |
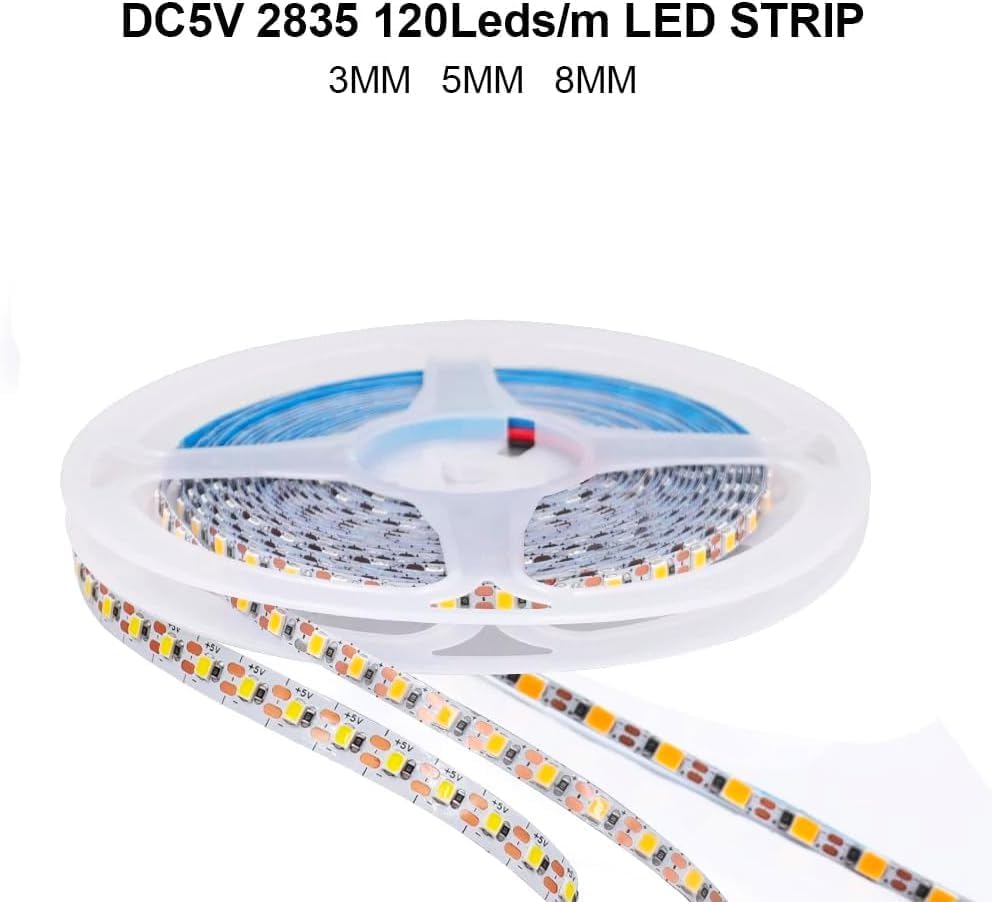
Image 4.1: LED strip highlighting PCB width options.
5. Awọn ilana iṣeto
5.1 Preparing the Installation Surface
- Mọ Ilẹ-ilẹ: Ensure the surface where you plan to install the LED strip is clean, dry, and free of dust, oil, or moisture. Use a clean cloth and rubbing alcohol if necessary, then allow it to dry completely.
- Iwọn ati Eto: Measure the desired length for your installation. Plan the route of the strip to avoid sharp bends or obstructions.
5.2 Cutting the LED Strip (Optional)
If your installation requires a shorter length, the LED strip can be cut:
- Locate Cutting Marks: Identify the designated cutting marks on the LED strip. These are typically indicated by a copper pad and a scissor icon.
- Cut Carefully: Using sharp scissors, cut precisely along the cutting mark. Do not cut in any other area, as this will damage the circuit and prevent the cut section from working.
5.3 Installing the LED Strip
- Peeli alemora naa: Carefully peel off a small section of the double-sided tape backing from the back of the LED strip.
- So ìlà náà pọ̀ mọ́: Begin by firmly pressing the exposed adhesive section onto your prepared surface. Gradually peel off more of the backing while pressing the strip down along your desired path.
- Ensure Adhesion: Apply even pressure along the entire length of the strip to ensure good contact and adhesion.

Image 5.1: Illustration of peeling the double-sided tape for installation.
5.4 Nsopọ si Agbara
- So USB pọ: Plug the USB connector of the LED strip into a compatible DC5V USB power source (e.g., USB wall adapter, power bank, computer USB port).
- Jẹrisi Asopọmọra: Ensure the connection is secure. The LED strip should light up if the power source is active.
6. Awọn ilana Iṣiṣẹ
The Vrabocry DC5V 2835 LED Strip Light is controlled via an inline 3-key controller (for RGB variants) or directly powers on for single-color variants when connected to a USB power source.
6.1 3-Key Controller Functions (for RGB variants)
For LED strips with the 3-key controller, the buttons provide the following functions:

Aworan 6.1: alaye view of the 3-key controller and its functions.
- MODE / DEMO Button: Press this button to cycle through different lighting modes and dynamic effects.
- SPEED / BRIGHTNESS Button: In dynamic modes, press to adjust the speed of the effect. In static color mode, press to adjust the brightness level.
- Bọtini awọ: Press this button to cycle through various static colors.
6.2 Single Color Variants
For single-color LED strips (e.g., Warm White, Natural White, Blue), the strip will illuminate immediately upon connection to a DC5V USB power source. There is no separate controller for these variants; brightness is fixed.

Image 6.2: Display of available LED strip colors.
7. Itọju
- Ninu: To clean the LED strip, gently wipe it with a dry, soft cloth. Do not use liquid cleaners or abrasive materials, as these can damage the LEDs or the strip's coating.
- Yago fun Ọrinrin: As the strip is not waterproof, ensure it remains dry. If it accidentally gets wet, disconnect power immediately and allow it to dry completely before reconnecting.
- Ibi ipamọ: If storing the LED strip, ensure it is coiled loosely and kept in a dry, cool place away from direct sunlight.
8. Laasigbotitusita
| Isoro | Owun to le Fa | Ojutu |
|---|---|---|
| LED rinhoho ko ni tan imọlẹ. | No power, loose connection, faulty USB port, incorrect voltage. | Ensure USB is securely plugged in. Try a different USB port or power adapter. Verify the power source is DC5V. |
| Some sections of the LED strip are not lighting up. | Damage from improper cutting, physical damage to the strip. | Inspect the strip for visible damage or incorrect cuts. Sections cut outside of designated marks will not work. |
| LED strip flickers or changes color erratically (RGB variants). | Unstable power supply, loose connection, controller malfunction. | Ensure a stable 5V USB power supply. Check all connections. If the issue persists, the controller may be faulty. |
| Adhesive is not sticking well. | Surface is dirty, dusty, or uneven. | Ensure the installation surface is clean, dry, and smooth before applying. For better adhesion on rough surfaces, consider using additional mounting clips (not included). |
9. Atilẹyin ọja ati Support
This product comes with a manufacturer's warranty. For specific details regarding warranty coverage and duration, please refer to the product packaging or contact your retailer.
For technical support or inquiries, please contact Vrabocry customer service through the retailer's platform or visit the official Vrabocry brand page: Vrabocry Brand Store.