
1. Ifihan
The SRNE Shiner2440 is an advanced Maximum Power Point Tracking (MPPT) solar charge controller designed for off-grid photovoltaic systems. It efficiently manages power flow from solar panels to batteries and loads, ensuring optimal charging and discharge protection. This manual provides essential information for the safe and effective installation, operation, and maintenance of your Shiner2440 controller.
2. Awọn ilana aabo
- Ka gbogbo awọn ilana ni pẹkipẹki ṣaaju fifi sori ẹrọ ati ṣiṣẹ.
- Rí i dájú pé gbogbo wáyà ni a ti so pọ̀ dáadáa tí a sì so mọ́ ara wọn dáadáa láti dènà ìbàjẹ́ sí olùdarí tàbí àwọn ẹ̀yà ara mìíràn.
- Always disconnect the solar panel and battery power before installing or adjusting the controller.
- Install the controller in a well-ventilated area, away from flammable gases, moisture, and direct sunlight.
- Do not disassemble or attempt to repair the controller yourself. Contact qualified personnel for service.
- Use appropriate circuit breakers or fuses for the solar panel, battery, and load circuits.
- Wear eye protection when working with batteries.
3. Ọja Ipariview
3.1 Key Awọn ẹya ara ẹrọ
- Designed for off-grid applications, connecting to PV, battery, and load.
- Multiple load operating modes to meet diverse energy needs.
- Supports various battery types for versatile use.
- Highly integrated design for space and wire saving.
- MPPT efficiency up to 99.9% for optimal power harvest.
- Complete charge and discharge protection mechanisms.
- Natural cooling for quiet operation.
- Supports TTL RS485 and CAN (RV-C protocol) communication.
- Bluetooth connectivity with mobile application for monitoring and control.
3.2 Adarí irinše
The SRNE Shiner2440 controller features a compact design with an integrated display and control buttons for easy operation.
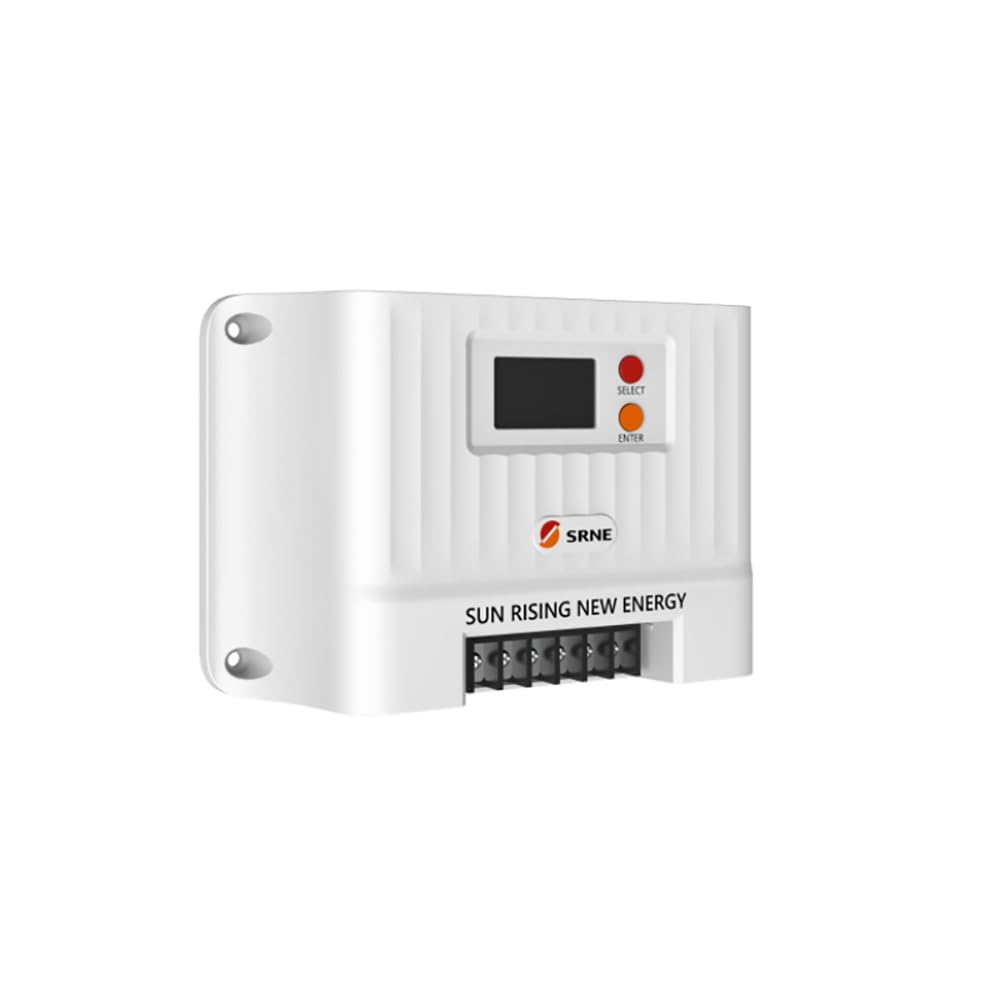
Nọmba 1: Iwaju view of the SRNE Shiner2440 MPPT Solar Charge Controller, showing the LCD display and control buttons.
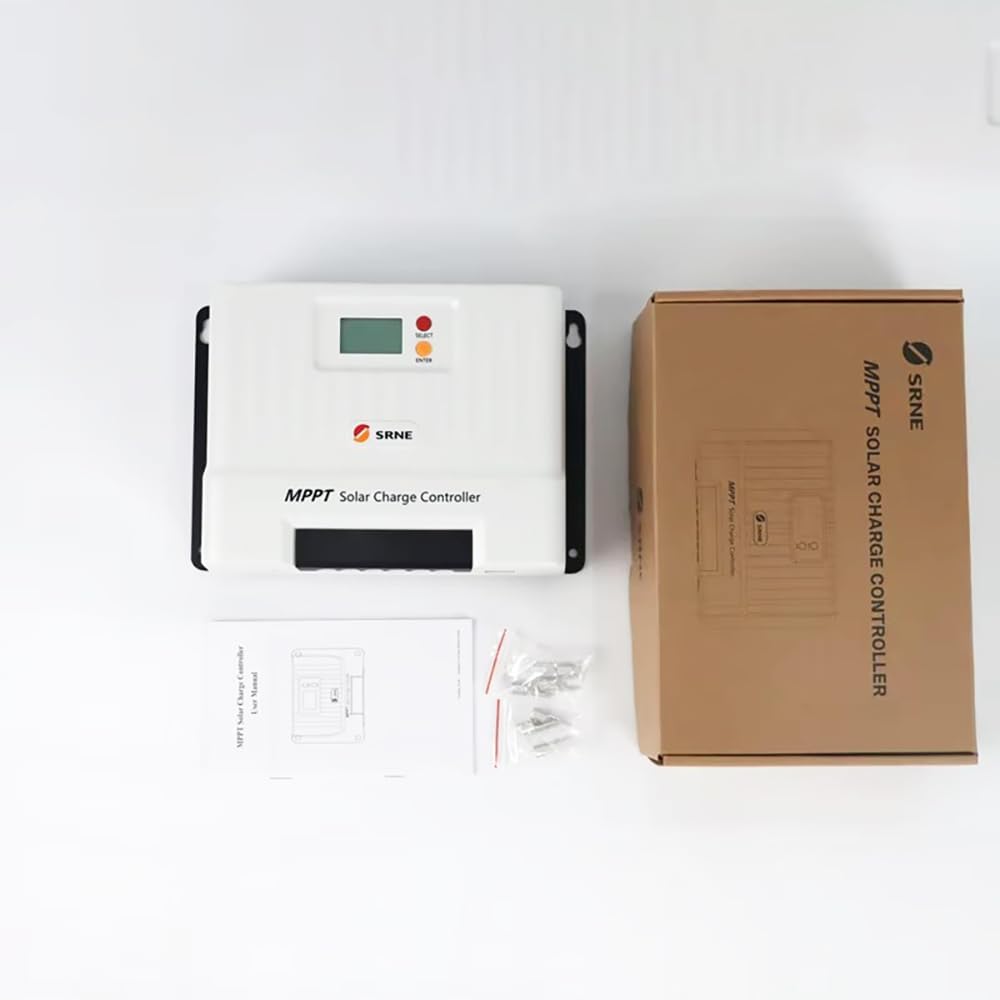
Nọmba 2: The SRNE Shiner2440 controller alongside its retail packaging and included accessories, such as mounting screws and a user manual.

Nọmba 3: A summary of key features for the SRNE Shiner series solar charge controllers, highlighting off-grid application, user-friendliness, safety, all-in-one design, efficiency, and intelligent functions.
4. Awọn pato
The following table details the technical specifications of the SRNE Shiner2440 MPPT Solar Charge Controller:
| Paramita | Iye |
|---|---|
| Awoṣe | Shiner2440 |
| Ti won won Batiri Voltage | 12V/24V (Ìdámọ̀ ara ẹni) |
| Won won Ngba agbara Lọwọlọwọ | 40A |
| Ti won won fifuye Lọwọlọwọ | 20A |
| O pọju. PV Ṣii Circuit Voltage | 100Vdc |
| MPPT Ipasẹ ṣiṣe | > 99% |
| Max. PV Input Power (12V Battery) | 520W |
| Max. PV Input Power (24V Battery) | 1040W |
| Battery Type Support | Lead-acid, Li-ion, User Defined |
| Ibaraẹnisọrọ | TTL RS485 (default), CAN (optional), Bluetooth (optional via external module) |
| Awọn iwọn (L*W*H) | 228mm * 160mm * 72mm (8.98in * 6.30in * 2.83in) |
| Iwọn | 1.75 kg (3.86 lbs) |
| Idaabobo ìyí | IP32 |
| Awọn iwọn otutu ti nṣiṣẹ | -35°C si 65°C (-31°F si 149°F) |

Nọmba 4: Comprehensive technical specifications for the Shiner series, including the Shiner2440, and a general connection diagram for the MPPT controller in an off-grid system.
5. Eto ati fifi sori
5.1 Iṣagbesori Adarí
- Mount the controller vertically on a non-flammable surface in a dry, well-ventilated indoor location.
- Ensure adequate clearance around the controller for natural cooling. Avoid enclosed spaces.
- Use appropriate screws to secure the controller to the mounting surface.
5.2 Awọn isopọ onirin
Follow the wiring sequence below to ensure safe and correct installation. Refer to Figure 4 for a visual representation of the connection diagram.
- So batiri pọ: Connect the battery to the controller's battery terminals. Ensure correct polarity (+ to + and - to -). The controller will automatically detect the battery voltage (12V tabi 24V).
- Solar Panel: Connect the solar panel array to the controller's PV terminals. Ensure correct polarity. Do not exceed the maximum open circuit voltage (100Vdc) or maximum input power (520W for 12V battery, 1040W for 24V battery).
- So DC Load pọ: Connect the DC load to the controller's load terminals. Ensure correct polarity. Do not exceed the rated load current (20A).
Pataki: Always connect the battery first, then the solar panel, and finally the load. Disconnect in the reverse order: load, then solar panel, then battery.
6. Awọn ilana Iṣiṣẹ
6.1 Display and Button Functions
The controller features an LCD display and two buttons: "SELECT" and "ENTER".
- Bọtini Yan: A lo lati rin kiri nipasẹ awọn iboju ifihan oriṣiriṣi ati awọn aṣayan akojọ aṣayan.
- Tẹ Bọtini: Used to confirm selections or enter a menu for parameter settings.
6.2 Eto Eto
To adjust parameters such as battery type or load operating mode:
- Press the "ENTER" button to enter the main menu.
- Use the "SELECT" button to scroll through the menu options.
- Press "ENTER" to select a parameter for adjustment.
- Use "SELECT" to change the value or option.
- Press "ENTER" again to confirm and save the setting.
6.3 Load Operating Modes
The controller supports multiple load operating modes, which can be configured via the menu:
- Normal Open: Load is always on when battery voltage to.
- Iṣakoso ina: Load turns on automatically at dusk and off at dawn.
- Iṣakoso akoko: Fifuye wa ni titan ni aṣalẹ ati duro si titan fun iye akoko ti a ṣeto.
- Light Control + Time Control: Load turns on at dusk and stays on for a set duration, then turns off.
- Ipo N ṣatunṣe aṣiṣe: Fun awọn idi idanwo.
6.4 Batiri Iru Yiyan
The controller supports various battery types. Select the correct battery type in the settings to ensure proper charging algorithms and protection:
- Lead-acid (e.g., Sealed, Gel, Flooded)
- Litiumu-dẹlẹ
- User Defined (for custom battery parameters)
6.5 Bluetooth Asopọmọra
The Shiner2440 supports Bluetooth connectivity via an optional external module. Once connected, you can monitor system status and adjust parameters using a mobile application.
7. Itọju
- Máa ṣe àyẹ̀wò gbogbo àwọn ìsopọ̀ wáyà láti rí i dájú pé wọ́n ní ìdènà tí kò sì ní ìbàjẹ́.
- Jẹ́ kí olùdarí náà mọ́ tónítóní, kí ó sì wà láìsí eruku àti ìdọ̀tí. Lo aṣọ gbígbẹ fún fífọ nǹkan mọ́.
- Ensure the ventilation openings are not obstructed to maintain proper cooling.
- Monitor the system's performance regularly through the display or mobile app.
8. Laasigbotitusita
If you encounter issues with your SRNE Shiner2440 controller, refer to the following common troubleshooting steps:
- Ko si Ifihan/Ko si Agbara: Ṣayẹwo awọn asopọ batiri ati rii daju pe batiri naa voltage is within the operating range. Verify that the battery fuse or circuit breaker is not tripped.
- Ko si gbigba agbara: Check solar panel connections and ensure they are receiving sunlight. Verify that the solar panel fuse or circuit breaker is not tripped. Ensure the PV open circuit voltage is within the controller's limits.
- Fifuye ko ṣiṣẹ: Check load connections and ensure the load fuse or circuit breaker is not tripped. Verify the load operating mode settings. Ensure battery voltage jẹ loke awọn kekere voltage disconnect threshold.
- Awọn kika ti ko tọ: Ensure all parameters, especially battery type, are correctly set in the controller's menu.
For persistent issues or error codes not listed, please consult the manufacturer's support or a qualified technician.
9. Atilẹyin ọja ati Support
Warranty information for the SRNE Shiner2440 MPPT Solar Charge Controller is typically provided with the product packaging or can be obtained directly from the manufacturer, YXSMPS, or your authorized dealer. Please retain your proof of purchase for warranty claims.
For technical support, product inquiries, or service, please contact the manufacturer or your local distributor.