
Ọrọ Iṣaaju
Thank you for choosing the KNVZNWFF A01M SH90 Shaver Replacement Heads. This manual provides essential information for the proper installation, operation, and maintenance of your new replacement heads to ensure optimal shaving performance and extend the lifespan of your shaver. Please read these instructions carefully before use.
Ọja Pariview
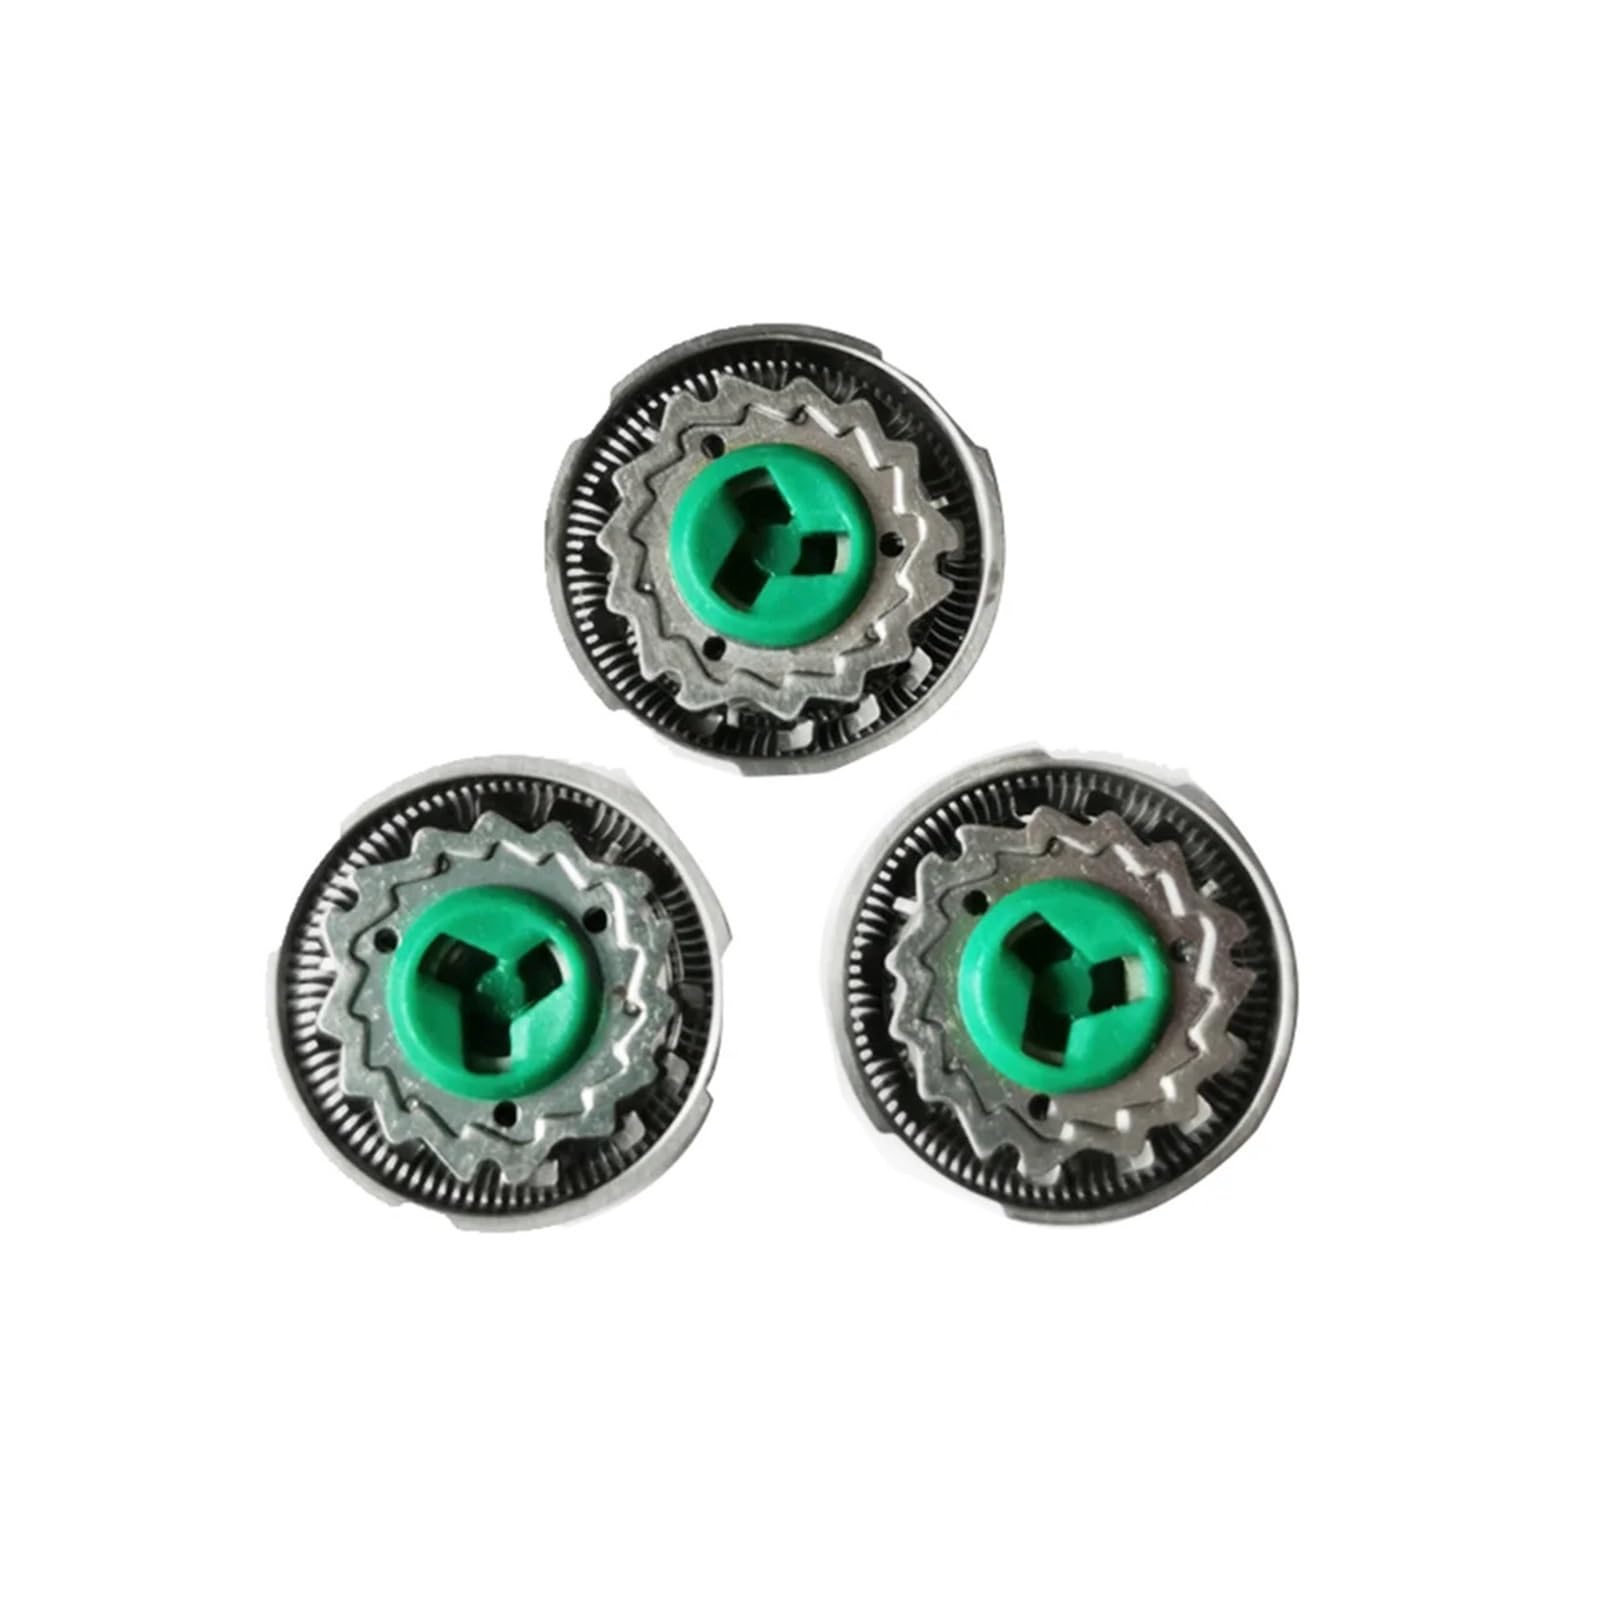
The KNVZNWFF A01M SH90 replacement heads are designed to restore your shaver's performance. Made from durable stainless steel, these precision shaver screens offer a comfortable and efficient dry shave, protecting the skin from scratches or cuts. Regular replacement of shaver heads is crucial for maintaining hygiene and shaving effectiveness.

This image displays the three KNVZNWFF A01M SH90 replacement heads, highlighting their precision shaver screens designed for a comfortable and efficient shave.
Awọn anfani bọtini:
- Increased Lifespan: New accessories help razors operate for a long time, extending their lifespan.
- Iye owo: Replacing accessories is more economical than buying a new razor.
- Iṣe Iṣapeye: High-quality accessories ensure efficient and quick shaves.
- Reduced Failure Rate: Timely replacement keeps the razor running smoothly.
Ibamu
These replacement heads are compatible with various Philips Norelco shaver models, including:
- Shaver Series 9000: S9911, S9731, S9711, S9511, S9111, S9031, S9522, S9531, S9011, S9021, S9031, S9041, S9121, S9151, S9161, S9171, S9311, S9321, S9371, S9521, S9721, S9988
- Shaver Series 8000: S8860, S8870, S8880, S6011, SW9700, SW6700, S7700
- Shaver Series 7000: S7370, S7310, S7311, S7312, S7326, S7720, S7300, S7530, S7780
- RQ12 Series: RQ1250, RQ1250CC, RQ1260, RQ1260CC, RQ1280, RQ1280CC, RQ1290, RQ1290CC, RQ1251, RQ1251CC, RQ1252, RQ1252CC, RQ1265, RQ1265CC, RQ1285, RQ1285CC, RQ1286, RQ1286CC, RQ1295, RQ1295CC
- SH70/52
- S8950/90, S8950/91
Setup: Replacing Shaver Heads
For optimal performance, it is recommended to replace your shaver heads every 12 months. Follow these steps to replace the shaver heads:
- Agbara Pa: Ensure your shaver is turned off and unplugged from any power source.
- Remove Old Heads: Gently pull the shaving unit upwards to detach it from the shaver body. Depending on your shaver model, you may need to twist or press release buttons. Once the shaving unit is removed, open the retaining rings or holders that secure the old cutter heads. Carefully remove the old cutter heads and nets.
- Clean Shaving Unit: Clean any hair or debris from the shaving unit before installing new heads.
- Install New Heads: Place the new cutter heads and nets into the shaving unit. Ensure they are correctly oriented and seated. Close the retaining rings or holders securely.
- Reattach Shaving Unit: Align the shaving unit with the shaver body and press it down until it clicks into place.
After replacement, it may take a few shaves for your face to adapt to the new blades.
Awọn ilana Iṣiṣẹ
Once the new replacement heads are installed, your shaver is ready for use. For best results:
- Ensure your face is clean and dry for a dry shave.
- Turn on the shaver and move it in small, circular motions over your skin.
- Apply gentle pressure; excessive force is not necessary and can cause irritation.
- Shave against the direction of hair growth for a closer shave.
Itoju
Proper maintenance ensures the longevity and performance of your replacement heads.
- Ninu ojoojumọ: After each shave, turn off the shaver and rinse the shaving unit under warm running water. The replacement heads are designed to be rust-resistant and can be safely washed.
- Isọsọ jinle: Periodically, remove the shaving unit and detach the cutter heads and nets. Use a small brush (if provided with your shaver) to remove any trapped hair. Rinse all components thoroughly and allow them to air dry completely before reassembling.
- Igbohunsafẹfẹ Rirọpo: For maximum shaving performance and hygiene, it is recommended to replace your shaving unit (including cutter heads and nets) once every 12 months.
The image illustrates the ease of cleaning the shaver heads. The replacement heads are designed to be rust-resistant and can be safely rinsed under running water for hygienic maintenance.
Laasigbotitusita
If you encounter issues after replacing your shaver heads, refer to the table below:
| Isoro | Owun to le Fa | Ojutu |
|---|---|---|
| Poor shaving performance / Not cutting effectively | Heads not properly seated; Hair buildup; Shaver battery low | Ensure heads are securely installed; Clean heads thoroughly; Charge shaver battery. |
| Irun awọ ara lẹhin irun | New heads require adaptation; Incorrect shaving technique; Skin sensitivity | Allow a few shaves for skin to adapt; Use gentle, circular motions; Consider pre-shave preparation. |
| Unusual noise from shaver | Heads not properly installed; Debris inside shaving unit | Reinstall heads ensuring they click into place; Perform a deep clean of the shaving unit. |
Awọn pato
- Nọmba awoṣe: SH90 (A01M)
- Ohun elo: Irin ti ko njepata
- Àwọ̀: Fadaka
- Ìwọ̀n Nkan: 50 giramu
- Awọn akoonu idii: 3 x cutter heads, 3 x cutter head nets
- Ibamu: Compatible with Philips Norelco Shaver Series 9000, 8000, 7000, and RQ12 models.
Atilẹyin ọja ati Support
For any questions or support regarding your KNVZNWFF A01M SH90 Shaver Replacement Heads, please refer to the retailer or manufacturer's customer service channels. Specific warranty information may vary by region and retailer.