
1. Ifihan
O ṣeun fun riraasing the XNANO HM109 Projector. This manual provides essential information for setting up, operating, and maintaining your projector. Please read this manual thoroughly before use to ensure proper operation and to maximize your viewing experience. The HM109 features built-in streaming apps, 4K/1080P HD video projection support, WiFi 6, Bluetooth 5.0, and integrated Hi-Fi stereo speakers, designed for both indoor and outdoor home theater environments.
2. Alaye Aabo
Please observe the following safety precautions to prevent damage to the projector and ensure user safety:
- Má ṣe dí àwọn ihò afẹ́fẹ́. Rí i dájú pé afẹ́fẹ́ tó wà ní àyíká ẹ̀rọ ìṣiṣẹ́ náà tó.
- Ma ṣe fi pirojekito han si ojo tabi ọrinrin lati dena ina tabi mọnamọna.
- Yago fun a wo taara sinu pirojekito lẹnsi nigbati awọn lamp wa lori.
- Gbe awọn pirojekito lori kan idurosinsin, ipele dada.
- Lo oluyipada agbara nikan ti a pese pẹlu pirojekito.
- Unplug the projector during lightning storms or when unused for extended periods.
- Do not attempt to repair this product yourself. Refer all servicing to qualified personnel.
3. Package Awọn akoonu
Daju pe gbogbo awọn nkan wa ninu apo rẹ:
- XNANO HM109 Projector
- Isakoṣo latọna jijin
- Adapter agbara
- Okun HDMI
- Afowoyi Olumulo (iwe-ipamọ yii)
4. Ọja Ipariview
Familiarize yourself with the components of your XNANO HM109 Projector.
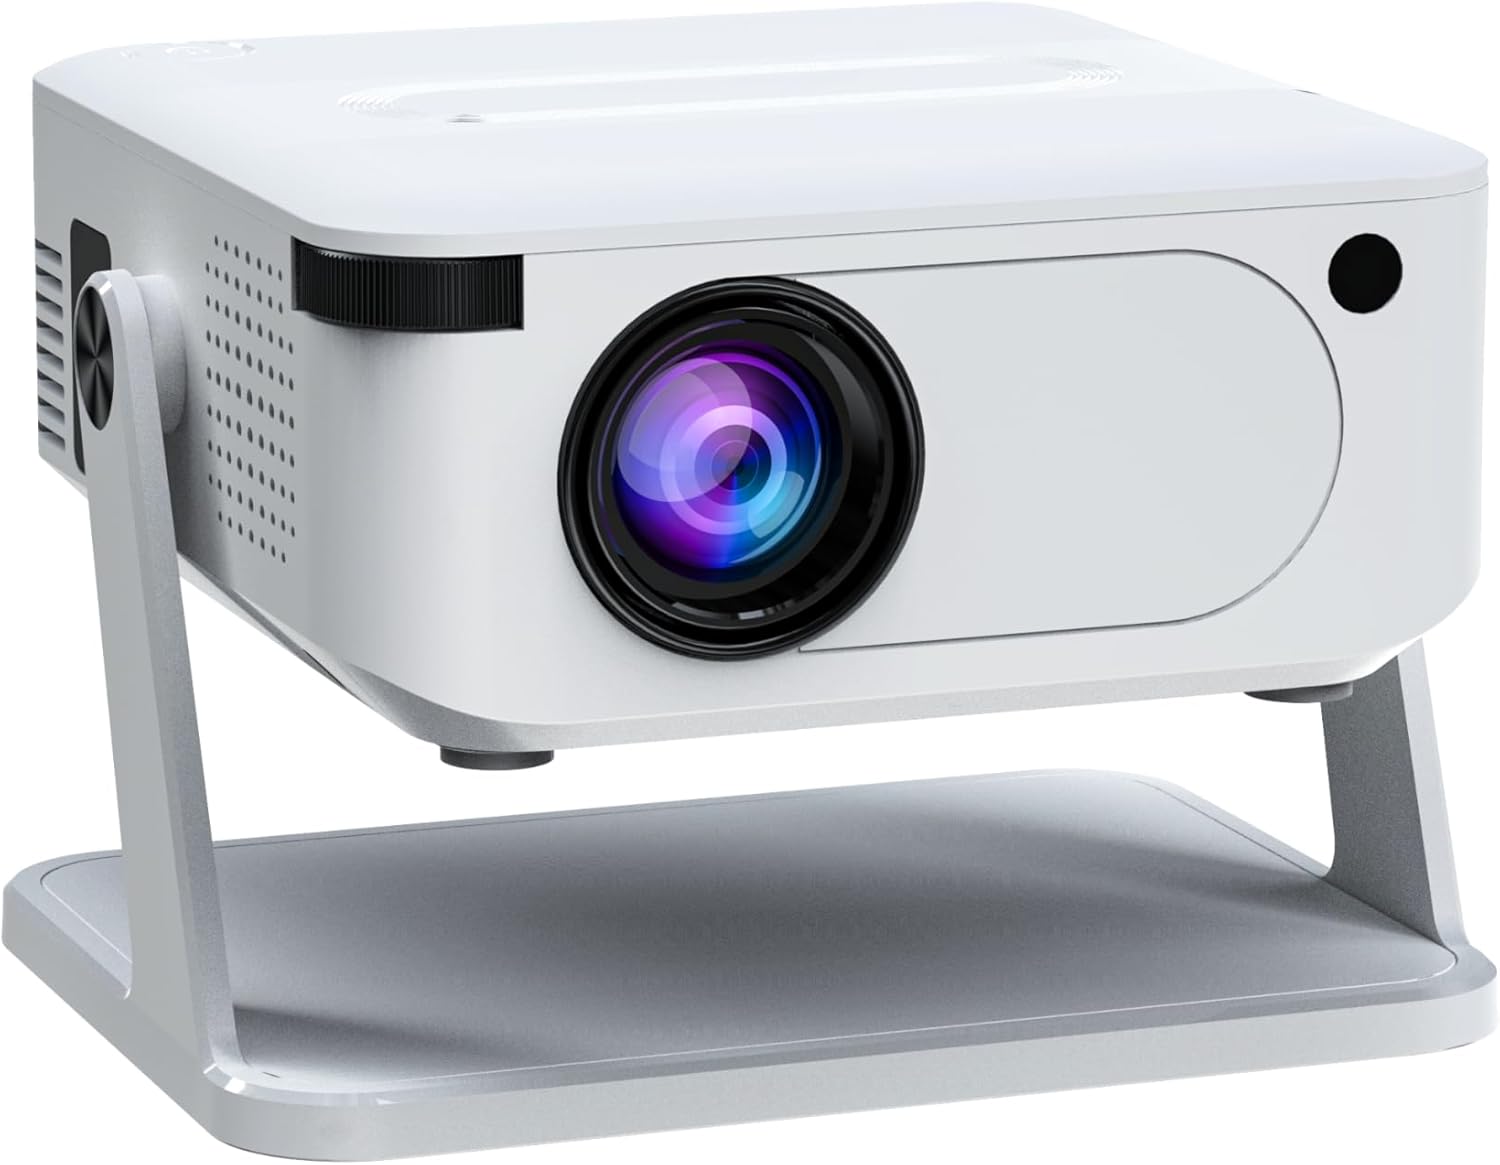
olusin 4.1: Angled iwaju view of the XNANO HM109 Projector, showing the lens, focus ring, and integrated stand.
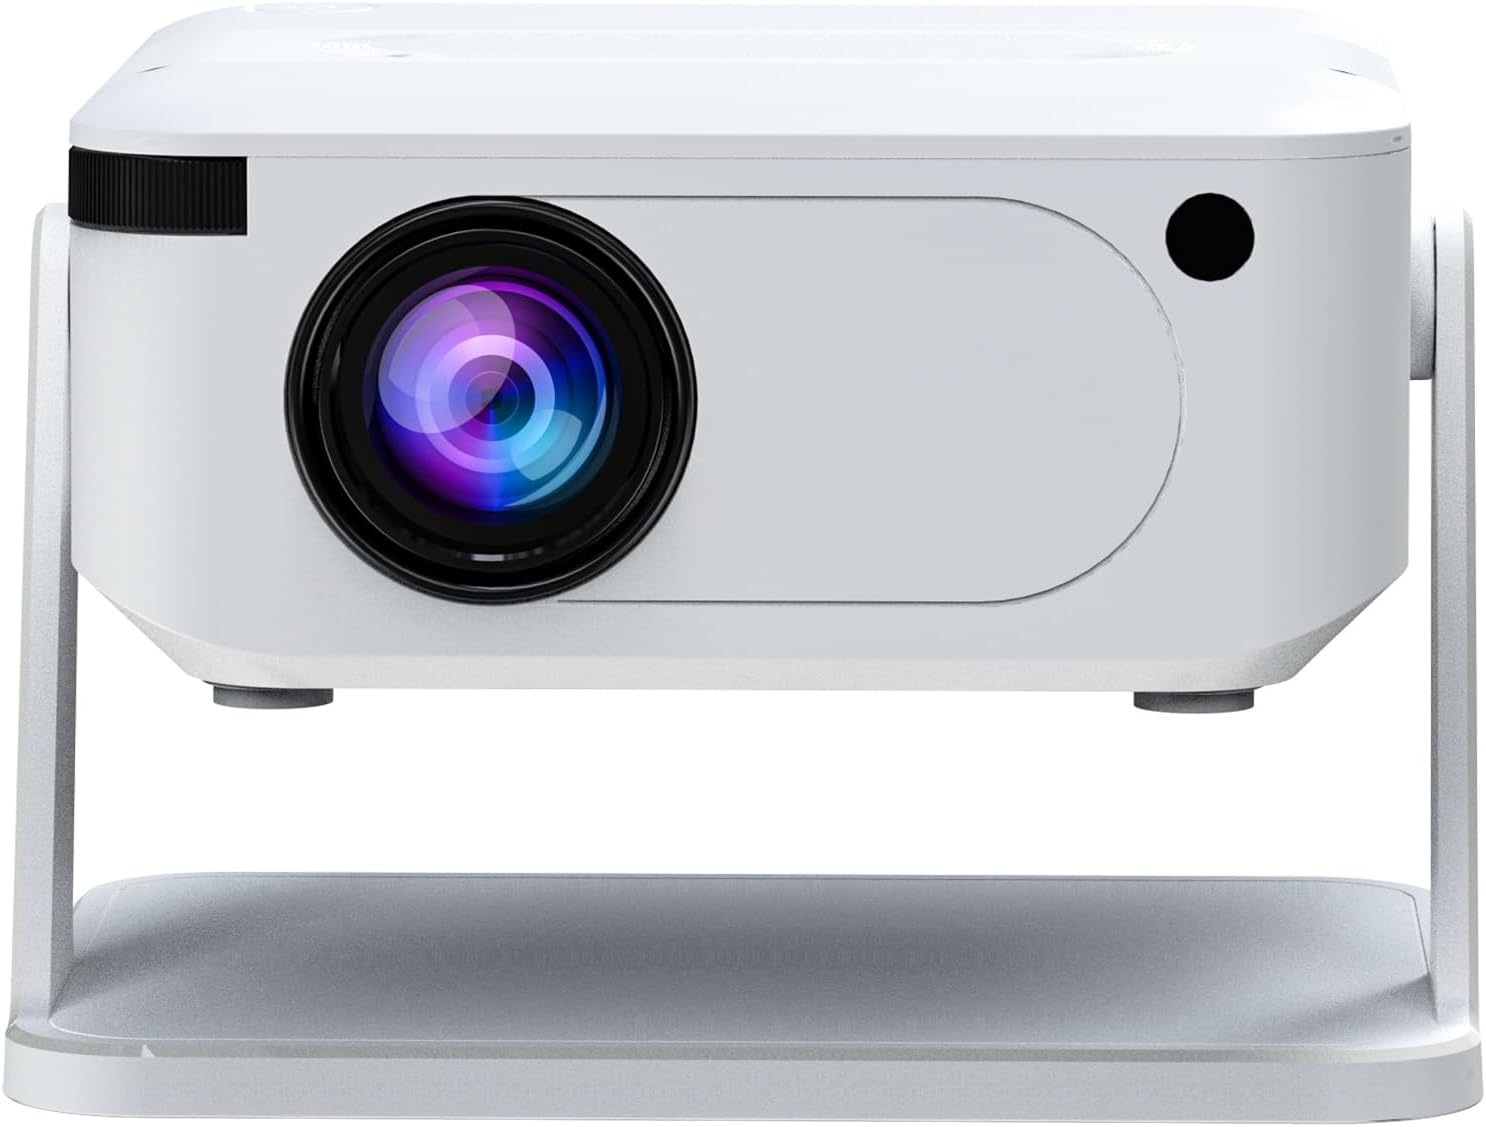
olusin 4.2: Iwaju view of the XNANO HM109 Projector, highlighting the projection lens and infrared receiver.

Nọmba 4.3: Apa osi view of the XNANO HM109 Projector, showing the power input port and ventilation grilles.

Nọmba 4.4: Apa ọtun view of the XNANO HM109 Projector, detailing the HDMI, 3.5mm Audio Out, and USB ports.
Awọn eroja pataki:
- Lẹnsi asọtẹlẹ: Yiyọ aworan naa.
- Idojukọ Oruka: Ó ń ṣe àtúnṣe sí kedere àwòrán.
- Iṣagbewọle agbara: Sopọ si ohun ti nmu badọgba agbara.
- Ibudo HDMI: Connects to external video sources (e.g., laptop, game console).
- Ibudo USB: So pọ mọ awọn ẹrọ ibi ipamọ USB fun ṣiṣiṣẹsẹhin media.
- Ohùn tó ń jáde (3.5mm): Ó sopọ̀ mọ́ àwọn agbọ́hùnsọ tàbí agbekọ́rí ìta.
- Awọn Grilles Afẹfẹ: For heat dissipation. Do not obstruct.
- Iduro Ijọpọ: Allows for angle adjustment.
5. Eto
- Ibi: Place the projector on a stable, flat surface. Ensure the projection path is clear of obstructions. The integrated stand allows for minor angle adjustments.
- Asopọ agbara: Connect the power adapter to the projector's power input port, then plug the adapter into a power outlet. The power indicator light will illuminate.
- Agbara Tan: Tẹ bọtini agbara lori pirojekito tabi isakoṣo latọna jijin lati tan ẹrọ naa.
- Atunṣe idojukọ: Once the projector is on and displaying an image, rotate the focus ring near the lens until the image appears sharp and clear.
- Atunse okuta bọtini: If the projected image appears trapezoidal, use the keystone correction feature (usually found in the projector's settings menu) to adjust the image shape to a perfect rectangle.
6. Awọn ilana Iṣiṣẹ
6.1 Ipilẹ isẹ
- Titan/Apapa: Press the power button on the projector or remote.
- Lilọ kiri: Use the arrow keys on the remote control to navigate through menus. Press 'OK' or 'Enter' to confirm selections.
- Iṣakoso iwọn didun: Use the volume buttons on the remote to adjust the audio output.
- Aṣayan Orisun: Press the 'Source' button on the remote to select input sources (e.g., HDMI, USB, built-in apps).
6.2 Lilo Awọn Ohun elo Ṣiṣanwọle Ti a Kọ sinu
The XNANO HM109 Projector comes with officially certified streaming apps pre-installed. Ensure the projector is connected to a stable internet connection via WiFi (see Section 7.1) to access these services. Navigate to the 'Apps' section from the main menu and select your desired streaming platform.
6.3 Media Sisisẹsẹhin nipasẹ USB
Insert a USB flash drive into the USB port. The projector should automatically detect the device or prompt you to select the USB input source. Navigate through your files to play videos, view photos, or listen to music.
7. Asopọmọra
7.1 WiFi Connection (WiFi 6)
- Go to the 'Settings' menu on the projector.
- Select 'Network' or 'WiFi Settings'.
- Turn on WiFi and select your desired network from the list of available networks.
- Tẹ ọrọ igbaniwọle WiFi sii nipa lilo bọtini iboju ki o jẹrisi.
- Once connected, the projector will display a confirmation message.
7.2 Bluetooth Connection (Bluetooth 5.0)
Connect external Bluetooth speakers or headphones for enhanced audio.
- Go to the 'Settings' menu.
- Select 'Bluetooth Settings'.
- Turn on Bluetooth. The projector will start searching for nearby devices.
- Put your Bluetooth device (e.g., speaker, headphones) into pairing mode.
- Select your device from the list on the projector screen to pair.
7.3 Ti firanṣẹ Awọn isopọ
- HDMI: Connect an HDMI cable from your source device (e.g., laptop, Blu-ray player) to the HDMI port on the projector. Select 'HDMI' as the input source.
- USB: Insert a USB storage device into the USB port for media playback. Select 'USB' as the input source.
- Ohùn tó ń jáde (3.5mm): Connect external wired speakers or headphones to this port for audio output.
8. Itọju
- Fifọ lẹnsi: Lo asọ, asọ ti ko ni lint ti a ṣe apẹrẹ pataki fun awọn lẹnsi opiti lati rọra nu awọn lẹnsi pirojekito naa. Maṣe lo awọn afọmọ abrasive.
- Yiyọ eruku kuro: Regularly clean the ventilation grilles with a soft brush or compressed air to prevent dust buildup, which can affect performance and lifespan.
- Ibi ipamọ: Nigbati o ko ba wa ni lilo fun awọn akoko ti o gbooro sii, tọju ẹrọ pirojekito ni itura, aye gbigbẹ, kuro lati orun taara ati awọn iwọn otutu to gaju.
- Agbara Paa Dada: Always power off the projector using the designated power button and allow it to cool down before unplugging or moving.
9. Laasigbotitusita
| Isoro | Owun to le Fa | Ojutu |
|---|---|---|
| Ko si aworan han | Agbára kò sopọ̀ mọ́; Orísun ìtẹ̀síwájú tí kò tọ́; Agbára lẹ́ńsì wà nílẹ̀. | Check power connection; Select correct input source (HDMI, USB); Remove lens cap. |
| Aworan jẹ blurry | Idojukọ ko ṣatunṣe; Pirojekito ju sunmo / jina lati iboju. | Ṣàtúnṣe òrùka ìfojúsùn; Ṣàtúnṣe ìjìnnà ìṣàfihàn. |
| Aworan jẹ trapezoidal | Pirojekito ko papẹndikula si iboju. | Adjust keystone correction in settings. |
| Ko si ohun | Volume too low; Muted; External audio device not connected/selected. | Increase volume; Unmute; Check external audio connections/Bluetooth pairing. |
| WiFi asopọ oran | Ọ̀rọ̀ ìpamọ́ tí kò tọ́; Róàtà ti jìnnà jù; Ìdènà nẹ́tíwọ́ọ̀kì. | Re-enter password; Move projector closer to router; Check router settings. |
10. Awọn pato
| Brand: | XNANO |
| Awoṣe: | HM109 |
| Ipinnu Ifihan: | 1280 x 720 (Supports 4K & 1080P HD Video Projection) |
| Imọ-ẹrọ Asopọmọra: | WiFi 6, Bluetooth 5.0, HDMI, USB, 3.5mm Audio Out |
| Awọn ẹya pataki: | Built-in Streaming Apps, Hi-Fi Stereo Speakers, Low Noise |
| Awọn lilo ti a ṣe iṣeduro: | Indoor/Outdoor Home Theater |
| Ìwọ̀n Nkan: | 1.65 poun (isunmọ 0.75 kg) |
| Awọn iwọn ọja: | 10.16 x 5.43 x 5.75 inches (iwọn 25.8 x 13.8 x 14.6 cm) |
11. Atilẹyin ọja ati Support
For warranty information and technical support, please refer to the warranty card included with your product or visit the official XNANO website. You can also contact XNANO customer service through the contact details provided on their website for assistance with product inquiries, troubleshooting, or service requests.
XNANO Official Store: Visit the XNANO Store on Amazon