
1. Alaye Aabo pataki
Read all instructions carefully before assembling and operating your grill. Failure to follow these instructions could result in fire, explosion, or burn hazard, which could cause property damage, personal injury, or death.
- Lilo ita nikan: This grill is designed for outdoor use only. Do not operate indoors or in an enclosed area.
- Gaasi Propane Nikan: Lo gaasi propane nikan. Ma ṣe sopọ si ipese gaasi adayeba.
- Idanwo Leki: Always perform a leak test on gas connections after assembly and before first use, and after any cylinder change.
- Iyọkuro: Ṣe itọju awọn imukuro ti o kere julọ lati awọn ohun elo ijona: 24 inches lati awọn ẹgbẹ ati sẹhin.
- Afẹfẹ: Ensure adequate ventilation. Do not block openings in the grill cart.
- Awọn ọmọde ati awọn ohun ọsin: Jeki awọn ọmọde ati awọn ohun ọsin kuro lati inu gilasi ni gbogbo igba.
- Awọn oju gbigbona: Grill surfaces become hot during operation. Use heat-resistant gloves and appropriate tools.
- Gaasi silinda: Store gas cylinders in a well-ventilated area, away from heat sources and direct sunlight.
2. Eto ati Apejọ
Carefully unpack all components and ensure all parts are present before beginning assembly. Assembly typically takes approximately 2 hours. Follow the detailed instructions provided in the separate assembly guide.
2.1 ọja Mefa
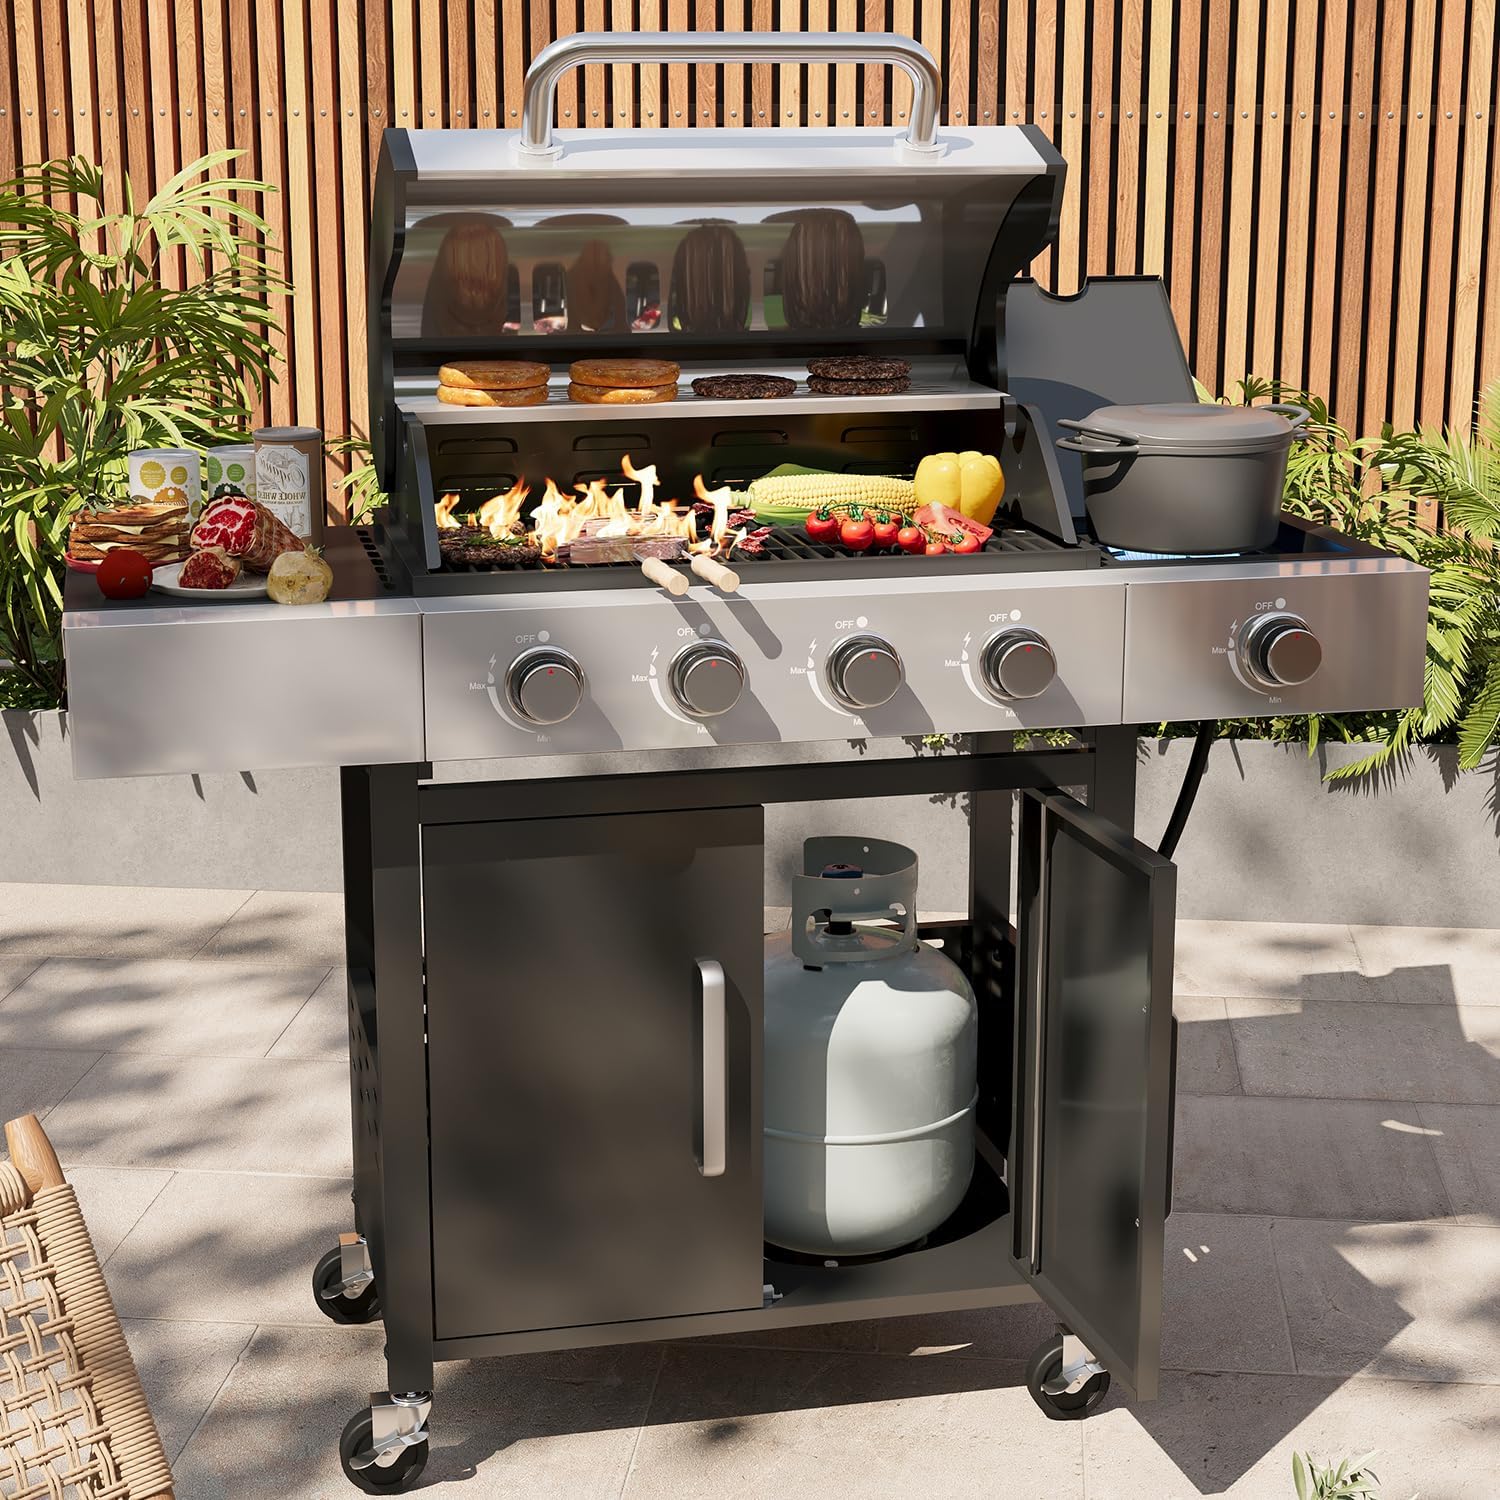
Image: Detailed product dimensions for the Aoxun 4-Burner Propane Grill, showing height, width, and depth measurements.
2.2 Propane ojò Asopọ
Connect the propane tank regulator to the grill's gas inlet. Ensure the connection is tight and secure. Perform a leak test using a soapy water solution on all gas connections. Bubbles indicate a leak.
2.3 Ìjóná Àkọ́kọ́
Before first use, perform an initial burn-in to remove any manufacturing residues. Ignite all main burners on high for approximately one hour with the lid closed. This process helps to season the grates and prepare the grill for cooking.

Image: A caution label on a grill component, advising to remove it before installation. This refers to protective side shields that should be discarded after removal.
3. Awọn ilana Iṣiṣẹ
3.1 Ignition Procedure
Lati tan ina kan:
- Rii daju pe àtọwọdá silinda gaasi wa ni sisi.
- Push in the control knob for the desired burner.
- While holding the knob in, rotate it counter-clockwise to the HIGH position. You should hear a click as the igniter sparks.
- If the burner does not ignite within 5 seconds, turn the knob to OFF, wait 5 minutes, and repeat the process.
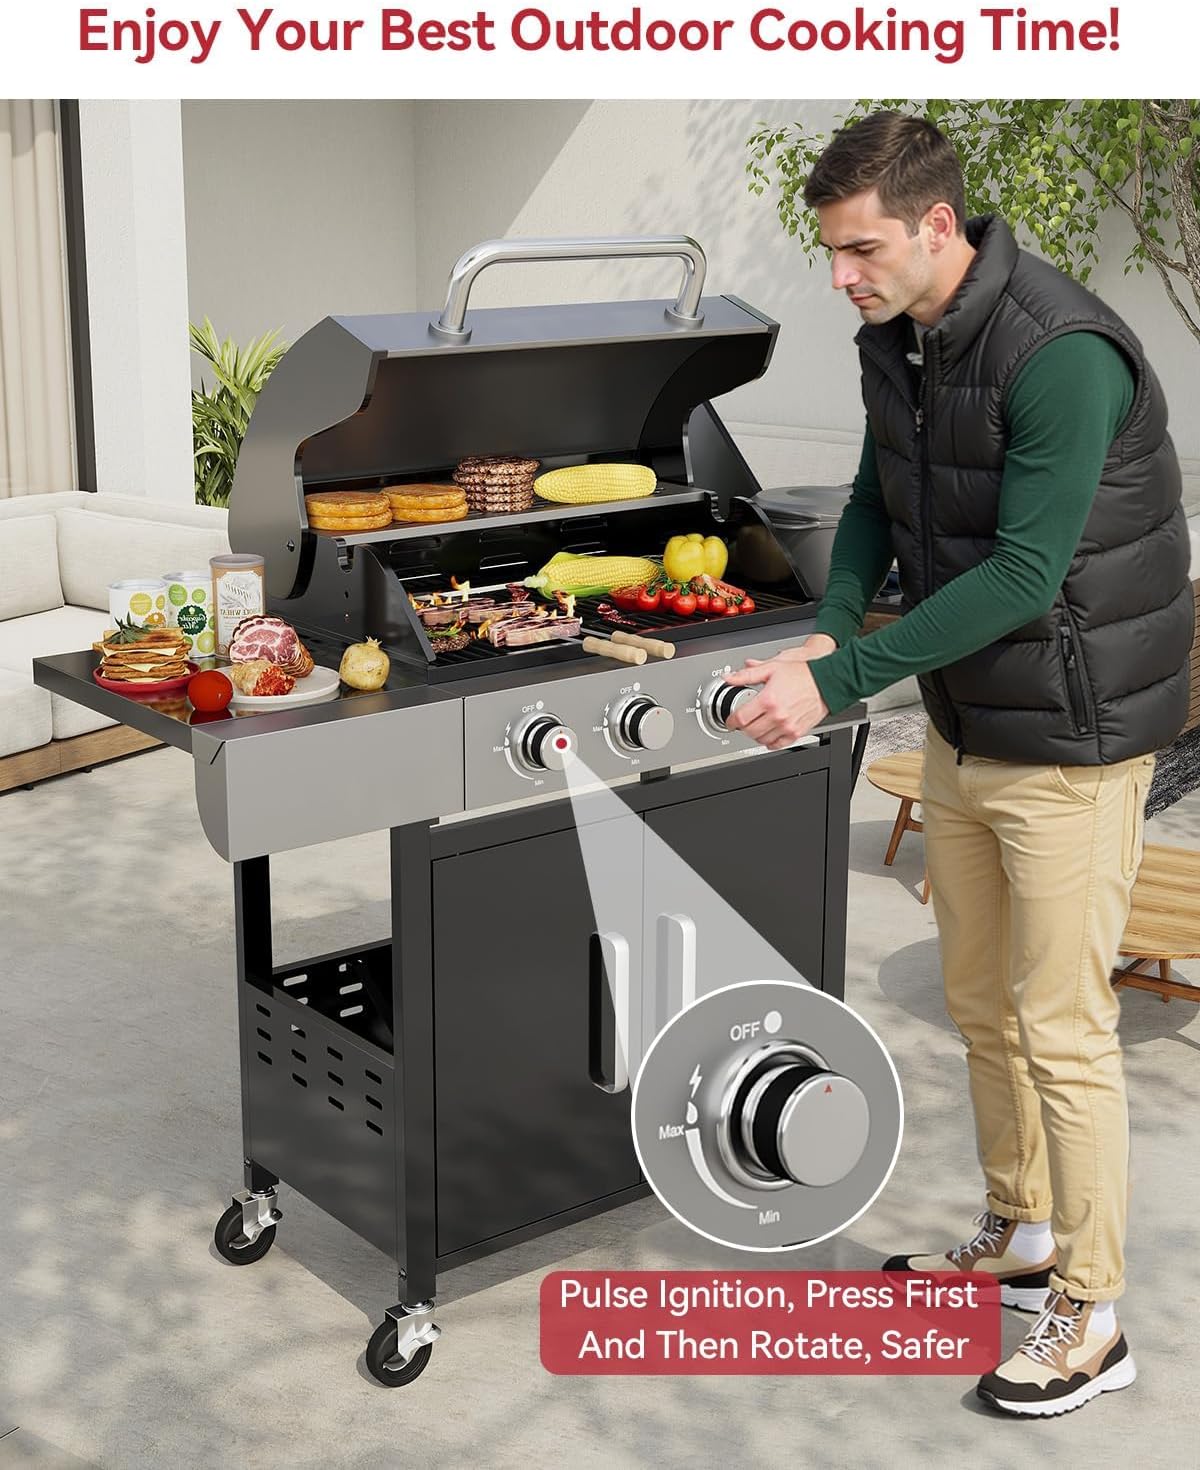
Image: A person demonstrating the pulse ignition system on the Aoxun grill, highlighting the 'Press First And Then Rotate' safety feature.
3.2 Burner Control and Temperature Management
The grill features four main burners and one side burner, each with independent control knobs. Adjust the knobs between HIGH and LOW settings to achieve desired cooking temperatures. The built-in thermometer on the lid provides an approximate internal temperature reading.

Aworan: Isunmọ view of the four main stainless steel burners and the side burner, illustrating the grill's heating capabilities.

Aworan: Pariview of grill features including side shelves, built-in thermometer, lockable universal wheels, magnetic cabinet doors, internal storage for the propane tank, and an anti-scald handle.
3.3 Cooking Area Utilization
The grill offers a total cooking area of over 625 sq. in., including the main cooking grates and a warming rack. The side burner is ideal for preparing sauces, boiling water, or cooking side dishes.

Image: A diagram illustrating the various cooking surface areas, including the main grates, warming rack, and side burner, with approximate capacities for different food items.

Image: The side burner in operation, demonstrating its use for cooking a pot of food, such as hot pot or boiling water.
4. Itọju
Itọju deedee n ṣe idaniloju iṣẹ ti o dara julọ ati igba pipẹ ti sisun rẹ.
4.1 Cleaning the Grease Tray
The grill features a pull-out grease tray for easy cleaning. After each use, allow the grill to cool, then remove and clean the grease tray. Lining the tray with aluminum foil can simplify cleanup.

Image: The detachable stainless steel grease tray, shown pulled out for cleaning, with an inset image of a hand wiping a surface, indicating easy maintenance.
4.2 Cleaning Cooking Grates
Clean the cast iron cooking grates after each use. For best results, brush the grates while they are still warm. For stubborn residue, allow them to cool, then wash with warm soapy water and a non-abrasive brush. Ensure grates are dry before storage to prevent rust.
4.3 Itọju Gbogbogbo
Pa awọn ita ita pẹlu ipolowoamp cloth. For stainless steel components, use a stainless steel cleaner to maintain its finish. Cover the grill when not in use to protect it from weather elements.
5. Laasigbotitusita
Ti o ba pade awọn ọran pẹlu grill rẹ, tọka si awọn iṣoro ti o wọpọ ati awọn ojutu wọnyi:
- Ẹ̀rọ iná kò lè jóná:
- Ṣayẹwo ti o ba ti propane ojò àtọwọdá ni kikun sisi.
- Ensure gas connections are secure and there are no leaks.
- Verify that the igniter electrode is properly aligned with the burner port.
- Check if the gas regulator is functioning correctly. A faulty regulator may prevent gas flow.
- Alapapo Alapapo:
- Clean burners and grates to remove any blockages.
- Ensure the grill is level.
- Ina kekere:
- Ṣayẹwo ipele ojò propane.
- Ensure the regulator is not in bypass mode (reset by turning off all burners, closing tank valve, disconnecting regulator, waiting 30 seconds, reconnecting, slowly opening tank valve, then igniting).
For persistent issues or concerns about gas components, contact a qualified service technician.
6. Awọn pato
| Ẹya ara ẹrọ | Ẹ̀kúnrẹ́rẹ́ |
|---|---|
| Brand | Aoxun |
| Orukọ awoṣe | Propane Grills |
| Awọn iwọn Ọja (D x W x H) | 15"D x 27"W x 45"H |
| Àwọ̀ | Dudu |
| Epo Iru | Gaasi (Propane) |
| Main adiro kika | 4 |
| Lapapọ Ijade BTU | 49,000 BTU |
| Sise dada Area | 625 square inches |
| Ohun elo Iru | Irin ti ko njepata |
| Grill Configuration | Kẹkẹ |
| inu ile / ita gbangba Lilo | Ita gbangba |
| Awọn irinše to wa | Dimu irin |
7. Atilẹyin ọja ati Support
7.1 atilẹyin ọja Alaye
This Aoxun grill comes with a 1-year warranty. For specific details regarding coverage and terms, please refer to the warranty documentation included with your purchase or contact Aoxun customer service.
7.2 Àwọn Ètò Ààbò Àṣàyàn
Extended protection plans are available for purchase separately:
- 3-odun Idaabobo Eto
- 4-odun Idaabobo Eto
- Complete Protect (monthly renewal)
These plans offer additional coverage beyond the standard manufacturer's warranty.
7.3 Onibara Support
For technical assistance, parts replacement, or warranty claims, please contact Aoxun customer support. Refer to your purchase documentation for contact details or visit the official Aoxun webojula.