
Ọrọ Iṣaaju
O ṣeun fun riraasing the Donner HHCB-12 Electronic Drum Hi-Hat Pad with Stand. This product is designed to enhance your electronic drumming experience by providing a realistic hi-hat feel with a dedicated stand. This manual provides essential information for the proper setup, operation, and maintenance of your new hi-hat pad and stand. Please read this manual thoroughly before use to ensure optimal performance and longevity of the product.
Alaye Aabo pataki
- Always place the hi-hat stand on a stable, level surface to prevent tipping.
- Rii daju pe gbogbo awọn skru ati clamps are securely tightened before playing to prevent components from shifting or falling.
- Jeki ọja naa kuro ni omi, ọrinrin, ati awọn iwọn otutu to gaju.
- Ma ṣe gbiyanju lati ṣaito tabi tun ọja naa pada. Tọkasi gbogbo iṣẹ si oṣiṣẹ oṣiṣẹ.
- Pa awọn ẹya kekere kuro ni arọwọto awọn ọmọde lati dena awọn eewu gbigbọn.
- Use only the power adapter specified for your electronic drum module, if applicable, when connecting the hi-hat pad.
Package Awọn akoonu
Jọwọ ṣayẹwo pe gbogbo awọn nkan wọnyi wa ninu package rẹ:
- Donner HHCB-12 Electronic Hi-Hat Pad (12-inch)
- Hi-Hat Stand
- Hi-Hat Clutch
- Okun Asopọmọra
- Afowoyi Olumulo (iwe-ipamọ yii)
Awọn ilana iṣeto
Follow these steps to assemble and set up your Donner HHCB-12 Hi-Hat Pad and Stand:
1. Assemble the Hi-Hat Stand
- Unfold the tripod base of the hi-hat stand and ensure it is stable.
- Extend the lower tube of the stand to your desired height and secure it with the wing nut.
- Insert the upper tube into the lower tube. Do not tighten yet.
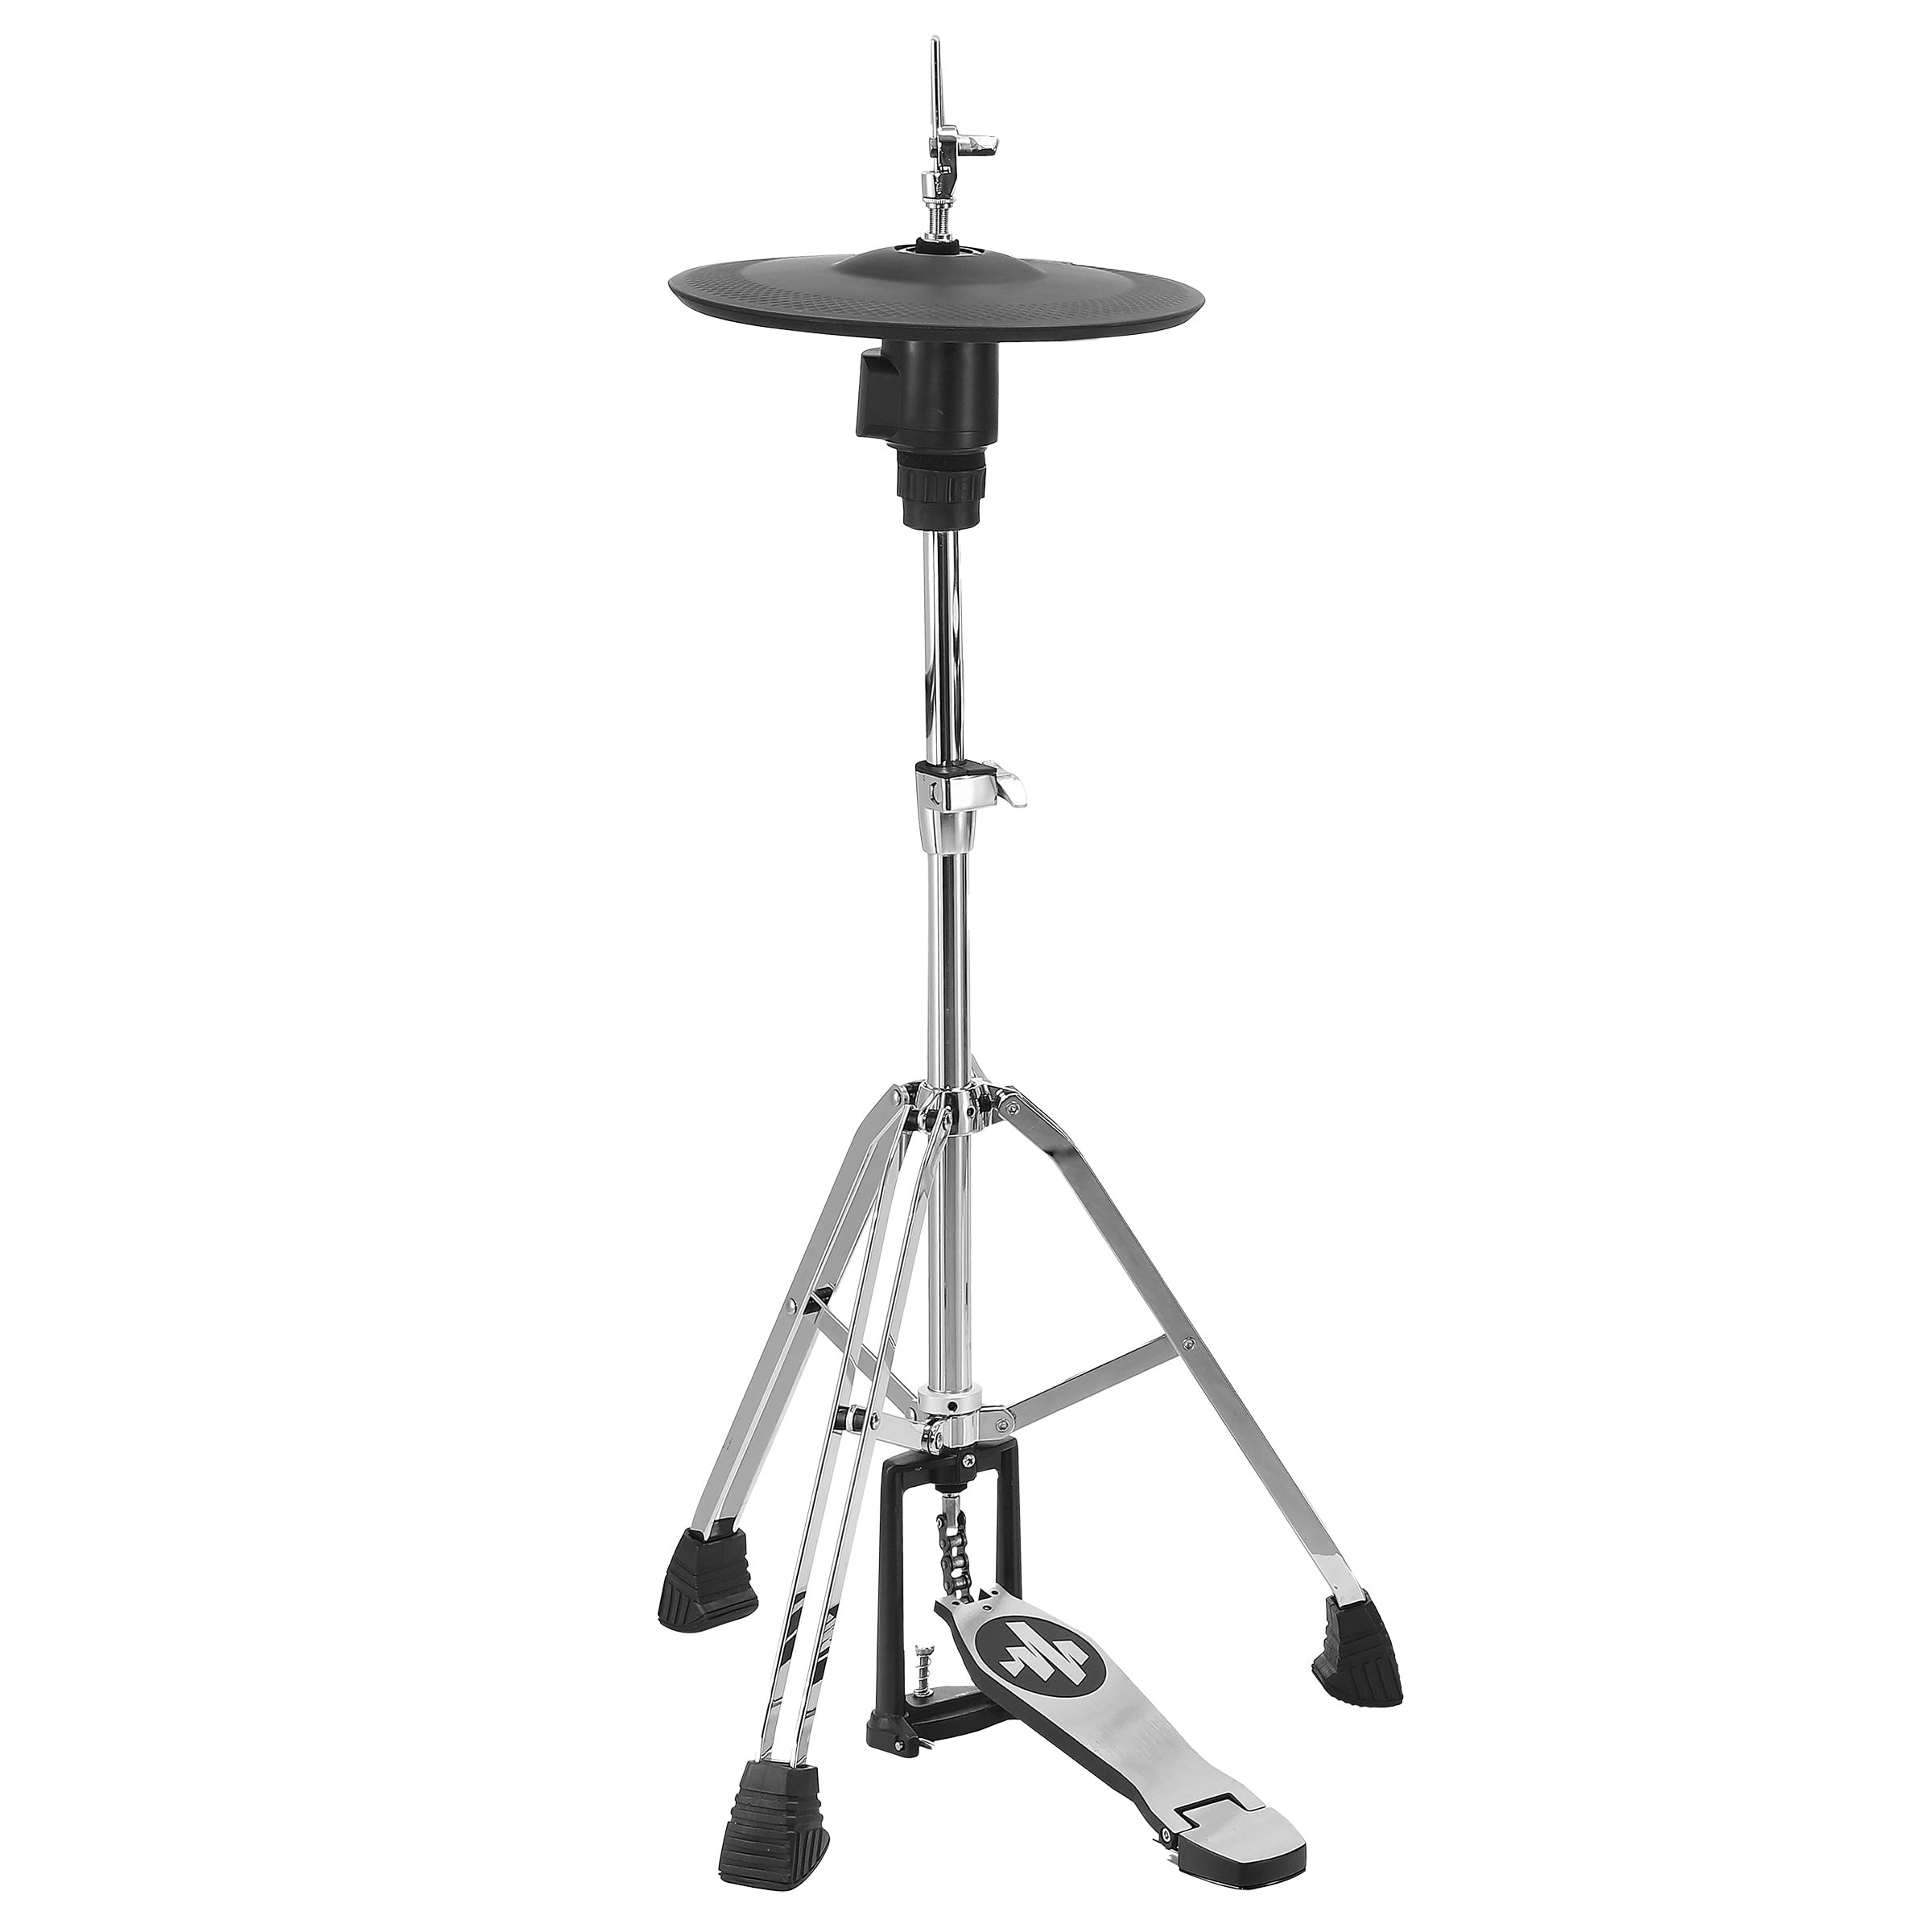
Image: The Donner HHCB-12 Electronic Hi-Hat Pad mounted on its stand, ready for connection to an electronic drum module. The stand features a sturdy tripod base and a foot pedal.
2. Attach the Hi-Hat Pad
- Place the bottom hi-hat pad onto the stand's clutch rod.
- Attach the hi-hat clutch to the top hi-hat pad. Ensure the clutch is securely fastened to the pad.
- Slide the top hi-hat pad (with clutch) onto the stand's rod, above the bottom pad. Adjust the height and angle for comfortable playing.
- Tighten the wing nut on the upper tube to secure the hi-hat pads at the desired height.

Aworan: A alaye view of the Donner HHCB-12 electronic hi-hat pad, showing its black surface and the chrome stand components. The hi-hat clutch mechanism is visible, securing the pad to the stand rod.
3. Connect to Electronic Drum Module
- Locate the hi-hat input on your electronic drum module. This is typically labeled "HH" or "Hi-Hat".
- Connect one end of the provided connection cable to the output jack on the hi-hat pad.
- Connect the other end of the cable to the hi-hat input on your drum module.
- Power on your electronic drum module and select the appropriate hi-hat settings according to your module's manual.
Awọn ilana Iṣiṣẹ
The Donner HHCB-12 Hi-Hat Pad is designed to replicate the feel and response of an acoustic hi-hat. Its operation is straightforward once connected to your electronic drum module.
- Ṣii Hi-Hat: Strike the pad when the foot pedal is not pressed down.
- Hi-Hat pipade: Strike the pad while pressing the foot pedal down completely.
- Foot Splash/Chick: Press the foot pedal down quickly without striking the pad to produce a "chick" sound, or release it quickly for a "splash" sound, depending on your module's settings.
- Hi-Hat Idaji-ṣii: Partially press the foot pedal down and strike the pad. The sensitivity and sound variation for half-open states can usually be adjusted in your drum module's settings.
For detailed sound adjustments and sensitivity calibration, refer to the user manual of your specific electronic drum module.
Itọju ati Itọju
- Ninu: Wipe the hi-hat pad and stand with a soft, dry cloth. For stubborn dirt, a slightly damp A le lo aṣọ, lẹ́yìn náà a le lo aṣọ gbígbẹ. Yẹra fún àwọn ohun ìfọṣọ tàbí àwọn ohun èlò ìfọṣọ.
- Ibi ipamọ: When not in use for extended periods, store the hi-hat pad and stand in a clean, dry environment, away from direct sunlight and extreme temperatures.
- Awọn ayewo: Periodically check all screws, nuts, and clamps for tightness. Re-tighten as necessary to ensure stability and prevent wear.
- Itọju USB: Avoid bending or kinking the connection cable excessively. Store it neatly to prevent damage.
Laasigbotitusita
| Isoro | Owun to le Fa | Ojutu |
|---|---|---|
| No sound from hi-hat pad. |
|
|
| Hi-hat sound is always open or always closed. |
|
|
| Pad feels unstable or wobbly. |
|
|
Awọn pato
| Awoṣe: | HHCB-12 |
| Iru: | Electronic Hi-Hat Pad with Stand |
| Iwọn Paadi: | 12 inches |
| Ibamu: | Compatible with most electronic drum modules (check module specifications for input requirements) |
| Awọn ẹya ara ẹrọ to wa: | Hi-Hat Stand, Hi-Hat Clutch, Connection Cable |
Atilẹyin ọja ati Support
Donner products are designed for reliability and performance. For information regarding warranty coverage, technical support, or service, please refer to the warranty card included with your product or visit the official Donner webojula.
Donner Official Webojula: www.donnerdeal.com
When contacting support, please have your product model (HHCB-12) and purchase date available.