
1. Ifihan
This manual provides essential information for the safe and efficient installation, operation, and maintenance of the THKFMSRC SUN-6K-SG04LP1-EU-SM2 Hybrid Inverter. Please read this manual thoroughly before installation and keep it for future reference. This inverter is designed to convert DC power from solar panels and/or batteries into AC power for household or grid use, offering flexible energy management solutions.
The THKFMSRC SUN-6K-SG04LP1-EU-SM2 is a low-voltage single-phase hybrid inverter, suitable for various residential and small commercial solar energy systems. Its robust design ensures reliable performance and high efficiency.
2. Awọn ilana aabo
Alaye pataki Aabo: Failure to follow these instructions may result in electric shock, fire, or severe injury. Only qualified personnel should perform installation and maintenance.
- Ensure all power sources (AC and DC) are disconnected before performing any work on the inverter.
- Maṣe ṣii inverter casing unless explicitly instructed by the manufacturer. There are no user-serviceable parts inside.
- Wọ ohun elo aabo ara ẹni ti o yẹ (PPE), pẹlu awọn ibọwọ ti a fi aabo bo ati awọn gilaasi aabo.
- Ensure proper grounding of the inverter according to local electrical codes.
- Pa awọn ọmọde ati awọn oṣiṣẹ laigba aṣẹ kuro ni agbegbe fifi sori ẹrọ.
- Avoid installing the inverter in direct sunlight, rain, or areas with excessive dust or humidity.
3. Eto ati fifi sori
3.1 Unpacking ati ayewo
Carefully unpack the inverter and inspect it for any signs of damage during transit. Verify that all components listed in the packing list are present. If any damage or missing parts are found, contact your supplier immediately.
3.2 Iṣagbesori ẹrọ oluyipada
Select a suitable mounting location that is:
- Well-ventilated to ensure adequate heat dissipation.
- Protected from direct sunlight, rain, and extreme temperatures.
- Accessible for maintenance but secure from unauthorized access.
- On a solid, non-flammable surface capable of supporting the inverter's weight.
- Allow sufficient clearance around the inverter for airflow (minimum 20 cm on all sides).
Use the provided mounting bracket and hardware to securely fasten the inverter to the wall. Ensure the inverter is mounted vertically.
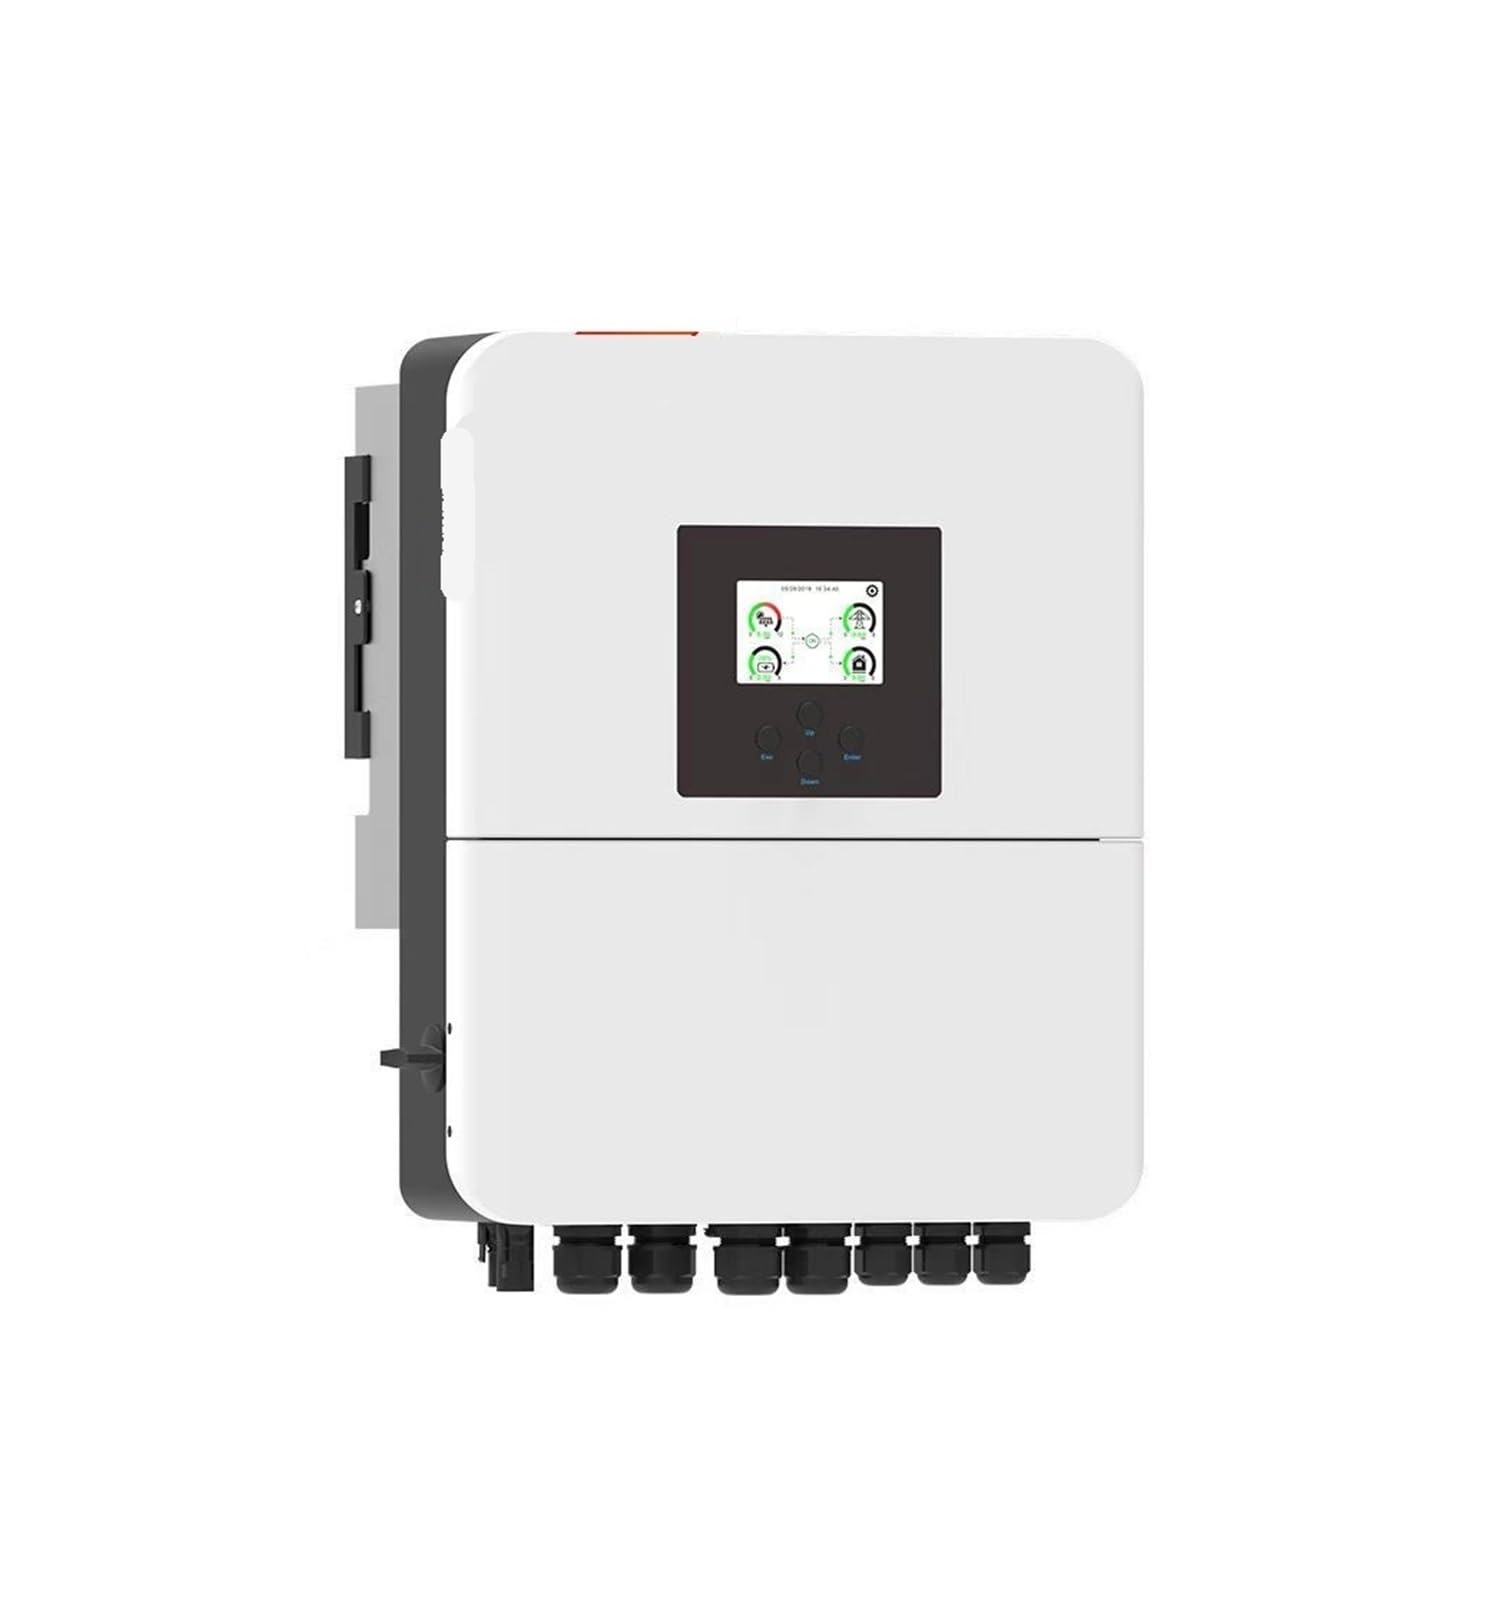
Aworan 1: Iwaju view of the THKFMSRC SUN-6K-SG04LP1-EU-SM2 Hybrid Inverter, showing its compact design and display panel.
3.3 Electrical Awọn isopọ
All electrical connections must be performed by a certified electrician in accordance with local and national electrical codes.
- DC Input (PV Array): Connect the positive and negative cables from the solar PV array to the designated DC input terminals on the inverter. Ensure correct polarity.
- Asopọ batiri: Connect the battery bank to the inverter's battery terminals. Observe correct polarity and ensure the battery voltage baamu awọn alaye inverter naa.
- AC Output (Load/Grid): Connect the AC output of the inverter to your household load panel or the utility grid, depending on your system configuration. Install appropriate circuit breakers.
- Ilẹ: Connect the inverter's grounding terminal to a reliable earth ground.
- Àwọn okùn ìbánisọ̀rọ̀: Connect any necessary communication cables (e.g., for monitoring, external devices) as per the system design.
3.4 Ibẹrẹ Agbara-soke
After all connections are secure and verified:
- Turn on the DC disconnect switch for the PV array.
- Turn on the battery disconnect switch.
- Turn on the AC output breaker.
- Observe the inverter's display and indicator lights. The inverter should initiate its startup sequence.
4. Ṣiṣẹ Inverter naa
4.1 Ìfihàn àti Àwọn Àmì
The inverter features an LCD display and LED indicators to show its operational status, energy flow, and any fault conditions. Refer to the detailed display guide in the full product manual for specific icon meanings and navigation.
- LED agbara: Tọkasi awọn ẹrọ oluyipada ti wa ni agbara lori.
- LED aṣiṣe: Illuminates or flashes to indicate an error or fault condition.
- Ṣiṣe LED: Tọkasi iṣẹ ṣiṣe deede.
4.2 Awọn ọna ṣiṣe
The SUN-6K-SG04LP1-EU-SM2 hybrid inverter typically supports several operating modes, which can be configured via the display panel or monitoring software:
- Ipo Lilo Ara-ẹni: Prioritizes using solar power for local loads, then charging batteries, and finally exporting excess to the grid.
- Ipo Akoko-Lilo: Ó ń mú kí lílo agbára sunwọ̀n síi ní ìbámu pẹ̀lú àkókò tí a ti sọ tẹ́lẹ̀, ó sábà máa ń gba agbára bátìrì ní àkókò tí kò bá sí àkókò tí agbára ń lọ àti nígbà tí agbára ń lọ sílẹ̀ ní àkókò tí agbára ń lọ.
- Ipo Afẹyinti: Maintains battery charge to provide power to critical loads during a grid outage.
- Ipo Akoj Operates independently of the utility grid, supplying power solely from solar and batteries.
Consult the inverter's advanced settings menu for detailed configuration of these modes.
5. Itọju
Regular maintenance ensures the longevity and optimal performance of your inverter. Always disconnect all power sources before performing any maintenance.
- Oṣooṣu: Visually inspect the inverter for any signs of damage, corrosion, or loose connections. Ensure ventilation openings are clear of dust and debris.
- Ni idamẹrin: Clean the exterior of the inverter with a soft, dry cloth. Do not use liquid cleaners. Check all cable connections for tightness.
- Ọdọọdún: Have a qualified technician perform a comprehensive inspection, including checking electrical parameters, grounding integrity, and firmware updates.
Do not attempt to service the internal components of the inverter. Refer all internal servicing to qualified personnel.
6. Laasigbotitusita
Apá yìí pèsè àwọn ìdáhùn sí àwọn ọ̀ràn tó wọ́pọ̀. Fún àwọn ìṣòro tó díjú, kan sí ìrànlọ́wọ́ ìmọ̀-ẹ̀rọ.
| Isoro | Owun to le Fa | Ojutu |
|---|---|---|
| Inverter kò ṣiṣẹ́ | No DC input from PV or battery; AC breaker tripped; loose connections. | Check PV array and battery disconnects. Verify AC breaker. Inspect all wiring connections. |
| Iwọn agbara kekere | Insufficient solar irradiance; dirty PV panels; battery issues; partial shading. | Check weather conditions. Clean PV panels. Inspect battery health. Clear any shading. |
| Fault LED illuminated | Internal fault; over-voltage / labẹ-voltage; over-temperature. | Note the error code on the display. Refer to the full manual's error code section. Power cycle the inverter. If persistent, contact support. |
| No grid connection | Grid otage; AC breaker tripped; incorrect grid parameters. | Check utility status. Reset AC breaker. Verify grid settings in inverter configuration. |
7. Awọn pato
Key technical specifications for the THKFMSRC SUN-6K-SG04LP1-EU-SM2 Hybrid Inverter:
- Brand: THKFMSRC
- Awoṣe: SUN-6K-SG04LP1-EU-SM2
- Orisun Agbara: Battery Powered (Hybrid)
- Wattage: 1 kWh (Note: This typically refers to energy capacity, not continuous power output. Refer to full datasheet for detailed power ratings.)
- Lapapọ Awọn iwọn: 376*470*241.5mm (as per product description for similar models)
- Inverter Efficiency: 99.9% (as per product description for similar models)
- ASIN: B0GD58JT2C
For a complete list of electrical parameters, including input voltage ranges, output current, and protection features, please refer to the detailed technical datasheet provided with your inverter or available on the manufacturer's webojula.
8. atilẹyin ọja Information
THKFMSRC products are typically covered by a limited warranty against defects in materials and workmanship. The specific duration and terms of the warranty may vary by region and purchase agreement.
Please retain your proof of purchase and refer to the warranty card included with your product or visit the official THKFMSRC website for detailed warranty terms and conditions. Unauthorized repairs or modifications will void the warranty.
9. Onibara Support
If you encounter any issues that cannot be resolved using the troubleshooting guide, or if you require technical assistance, please contact your installer or the THKFMSRC customer support team.
Ibi iwifunni:
- Refer to your purchase documentation for reseller contact details.
- Visit the official THKFMSRC webojú òpó wẹ́ẹ̀bù fún àwọn ohun èlò ìrànlọ́wọ́, àwọn ìbéèrè tí a sábà máa ń béèrè, àti àwọn fọ́ọ̀mù ìbánisọ̀rọ̀.
- Have your inverter's model number (SUN-6K-SG04LP1-EU-SM2) and serial number ready when contacting support.