1. Ifihan
Thank you for choosing the Rode NT1000 Large-Diaphragm Condenser Microphone. This manual provides essential information for the proper setup, operation, and maintenance of your new microphone. The NT1000 is engineered for superior large-capsule performance, making it ideal for capturing both vocal and instrumental performances with ultra-low noise and true condenser operation.
Please read this manual thoroughly before using the microphone to ensure optimal performance and longevity.
2. Alaye Aabo
- Always handle the microphone with care. Avoid dropping or subjecting it to strong impacts.
- Do not expose the microphone to moisture, rain, or extreme temperatures.
- Ensure proper ventilation around the microphone during operation.
- Only use the microphone with compatible audio equipment that provides 48V phantom power.
- Jeki gbohungbohun kuro lati awọn aaye oofa to lagbara.
3. Package Awọn akoonu
Jọwọ rii daju pe gbogbo awọn ohun kan wa ninu apo rẹ:
- Rode NT1000 Large-Diaphragm Condenser Microphone
- Mọnamọna Oke
- Àpò Ààbò/Àpò
- Ilana Olumulo yii
4. Eto
4.1 Iṣagbesori Gbohungbohun
The Rode NT1000 is designed to be used with a standard microphone stand and the included shock mount. The shock mount helps to isolate the microphone from vibrations and handling noise.
- Securely attach the shock mount to your microphone stand.
- Carefully insert the Rode NT1000 microphone into the shock mount, ensuring it is firmly seated.
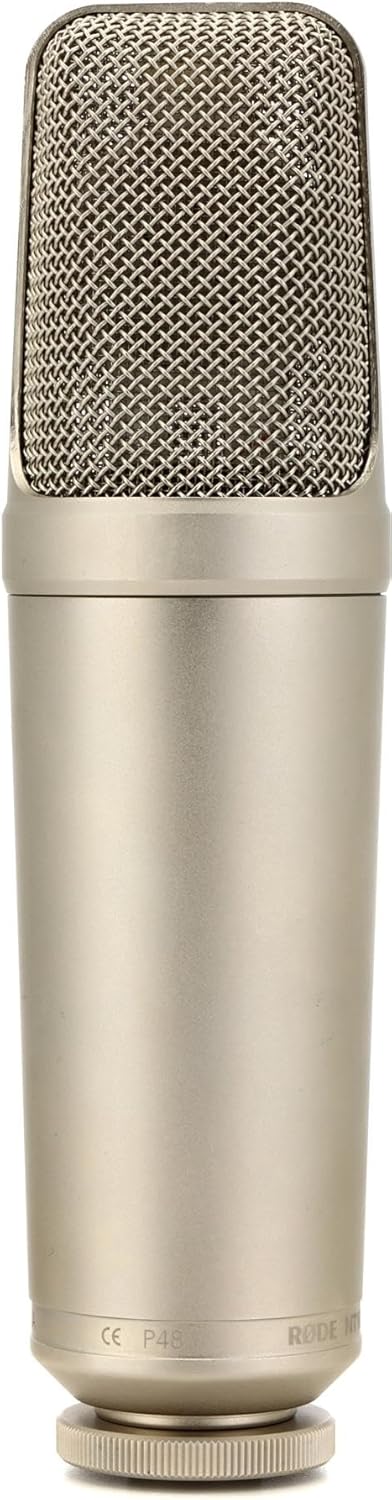
Figure 1: The Rode NT1000 microphone, showcasing its robust silver casing and mesh grille.
4.2 Connecting to an Audio Interface/Mixer
The NT1000 requires 48V phantom power for operation. It connects via a standard XLR cable.
- Connect one end of a high-quality XLR cable to the microphone's XLR output.
- Connect the other end of the XLR cable to an input on your audio interface, mixer, or preamplifier.
- Activate the 48V phantom power on your audio interface or mixer. The microphone will not function without phantom power.
5. Ṣiṣẹ gbohungbohun
5.1 Àpẹẹrẹ Polar
The Rode NT1000 features a Unidirectional (Cardioid) polar pattern. This means it is most sensitive to sound coming from the front of the microphone and rejects sound from the sides and rear. This characteristic is beneficial for isolating the desired sound source and minimizing background noise.
5.2 Ipò Tó Dáa Jùlọ
For best results, position the microphone directly in front of the sound source. Experiment with distance and angle to achieve the desired tone and clarity. For vocals, a distance of 6-12 inches (15-30 cm) is often a good starting point. For instruments, placement will vary depending on the instrument and desired sound.

Figure 2: The Rode NT1000 positioned to capture the rich sound of a brass instrument, demonstrating its versatility for instrumental recording.
5.3 Jíjẹ Staging
Ere to tọ staging is crucial for achieving a clean recording. Adjust the gain on your audio interface or mixer so that the input signal is strong but does not clip (distort). Monitor your levels carefully during recording.
6. Itọju
- Ninu: Use a soft, dry cloth to clean the microphone's exterior. Do not use abrasive cleaners or solvents.
- Ibi ipamọ: When not in use, store the microphone in its protective pouch or case in a cool, dry place, away from direct sunlight and excessive humidity.
- Mimu: Always handle the microphone by its body, not by the grille or cable.
7. Laasigbotitusita
7.1 Ko si Ijade Ohun
- Ensure 48V phantom power is enabled on your audio interface/mixer.
- Check all cable connections. Ensure the XLR cable is securely plugged into both the microphone and the input device.
- Verify that the input gain on your audio interface/mixer is turned up.
- Test with a different XLR cable or input channel if available.
7.2 Hum or Noise in Audio
- Rí i dájú pé gbogbo àwọn okùn wa ni ààbò tó péye àti pé wọ́n wà ní ipò tó dára.
- Check for ground loops. Try plugging your audio equipment into a different power outlet or using a power conditioner.
- Keep the microphone and cables away from power supplies, monitors, and other electronic devices that may cause interference.
7.3 Ohùn tí a kò gbọ́
- Reduce the input gain on your audio interface/mixer.
- Increase the distance between the microphone and the sound source.
- Rí i dájú pé àwọn orísun ohùn tí ń pariwo púpọ̀ kò kún gbohùngbohùn náà.
8. Awọn pato
| Ẹya ara ẹrọ | Sipesifikesonu |
|---|---|
| Orisun agbara | Okun Itanna |
| Ohun elo | Nickel |
| Ifihan Ibuwọlu-si-Noise | 82 dB |
| Nọmba ti awọn ikanni | 1 |
| Iwọn Igbohunsafẹfẹ | 20Hz - 20kHz |
| Idahun Igbohunsafẹfẹ | 20 kHz |
| Ariwo Ipele | 6 dB |
| Pola Àpẹẹrẹ | Unidirectional |
| Ipalara | 100 ohm |
| Iwọn Nkan | 2.2 iwon |
| Ọja Mefa | 11 x 3 x 6 inches |
9. Atilẹyin ọja ati Support
The Rode NT1000 microphone comes with a manufacturer's warranty. For detailed information regarding warranty terms and conditions, please refer to the official Rode webaaye tabi kaadi atilẹyin ọja ti o wa pẹlu ọja rẹ.
For technical support, service, or additional resources, please visit the Rode Microphones official webojula tabi kan si alagbawo awọn Itọsọna olumulo (PDF) wa lori ayelujara.


