Ọrọ Iṣaaju
The Nintendo Wii Remote Controller (Model RVLACJW1) is the primary input device for the Nintendo Wii console, designed to provide an intuitive and immersive gaming experience through motion sensing technology. This manual will guide you through the essential steps for setting up, operating, and maintaining your Wii Remote.
Irinše ati Awọn ẹya ara ẹrọ
Familiarize yourself with the various parts of your Wii Remote Controller:
- Paadi itọsọna (D-paadi): Used for directional input in games and menu navigation.
- Bọtini kan: The main action button, typically used for selection and primary actions.
- Bọtini Ile: Accesses the Wii Menu during gameplay.
- Plus (+) and Minus (-) Buttons: Used for various in-game functions and menu navigation.
- 1 and 2 Buttons: Additional action buttons, often used for specific game commands.
- Agbọrọsọ: Provides in-game sound effects and feedback.
- Sensor Bar Pointer: The front end of the remote acts as a pointer for on-screen interaction.
- B Button (Trigger): Located on the underside of the remote, typically used for gripping or secondary actions.
- Player Indicator Lights: Four LEDs at the bottom indicate which player number the remote is assigned to.
- Wrist Strap Attachment Point: A loop at the bottom for securing the wrist strap.
- Abala Batiri: Located on the back, holds two AA batteries.
- Bọtini Amuṣiṣẹpọ: A small red button inside the battery compartment used for pairing with the Wii console.
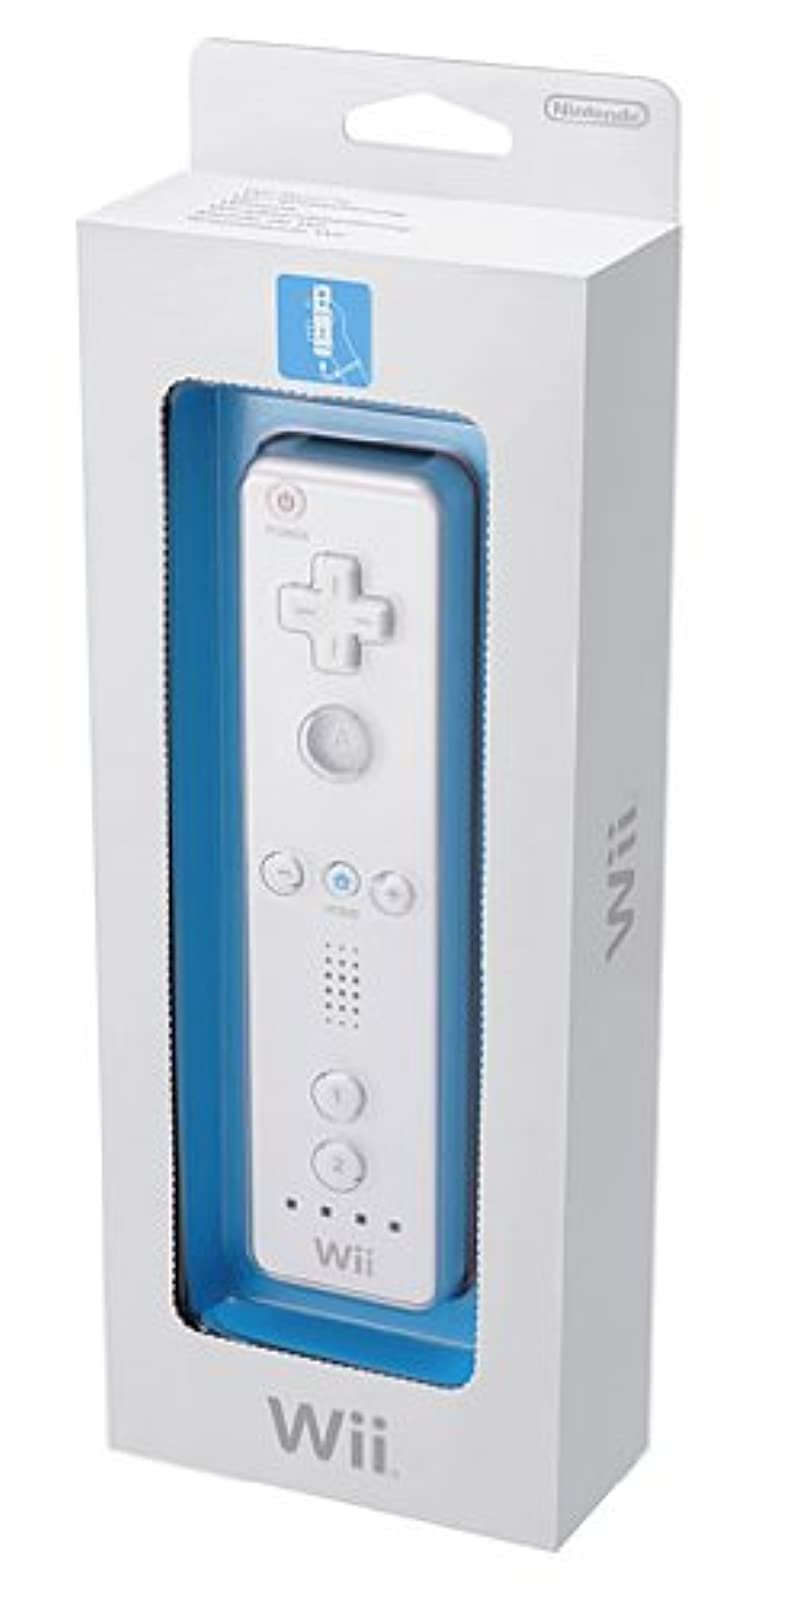
Image: Nintendo Wii Remote Controller, showing the front face with buttons, D-pad, and player indicator lights. A wrist strap is attached to the bottom, and the remote is encased in a translucent silicone sleeve.
Ṣeto
1. Fifi sori batiri
- Open the battery compartment cover on the back of the Wii Remote.
- Insert two fresh AA batteries, ensuring correct polarity (+ and -).
- Pa ideri batiri naa ni aabo.
2. Syncing the Wii Remote
To connect your Wii Remote to the Wii console:
- Turn on your Wii console.
- Open the SD Card slot cover on the front of the Wii console and press the red SYNC button once. The player indicator lights on the console will flash.
- Open the battery compartment cover on the back of the Wii Remote and press the red SYNC button located inside.
- The player indicator lights on the Wii Remote will flash and then one light will remain lit, indicating successful synchronization.
- If multiple remotes are being synced, repeat steps 2 and 3 for each additional remote. Each remote will be assigned a unique player number (1-4).
Awọn ilana Iṣiṣẹ
Awọn iṣakoso ipilẹ
- Ntọkasi: Point the front of the Wii Remote at the TV screen to control the on-screen cursor.
- Imọye Iṣipopada: The remote detects movement, allowing for intuitive control in games that utilize gestures, swings, or tilts.
- Awọn iṣẹ bọtini: Refer to individual game manuals for specific button assignments and functions.
Player Indicator Lights
The illuminated LED light(s) at the bottom of the remote indicate the player number (1-4) assigned to that specific Wii Remote during gameplay.
Itoju
Itọju Batiri
- Replace batteries when the remote's performance diminishes or the player indicator lights begin to flash rapidly.
- Remove batteries from the remote if it will not be used for an extended period to prevent leakage.
Ninu
Wipe the remote with a soft, dry cloth. Do not use liquid cleaners or solvents.
Laasigbotitusita
Latọna jijin Ko Dahun
- Ṣayẹwo boya a ti fi awọn batiri sii daradara ati pe wọn ni idiyele ti o to. Rọpo ti o ba wulo.
- Re-sync the Wii Remote with the console by following the 'Syncing the Wii Remote' steps in the Setup section.
Cursor Inaccuracy or Drift
- Ensure the Sensor Bar is properly positioned above or below your TV and is free from obstructions.
- Calibrate the remote in the Wii System Settings if the issue persists.
Awọn pato
- Nọmba awoṣe: RVLACJW1
- Olupese: Nintendo
- Awọn iwọn: 9 x 7.25 x 0.5 inches
- Ìwúwo: 1.76 iwon
- Agbara: Awọn batiri AA 2 (kii ṣe pẹlu)
- Imọ-ẹrọ Alailowaya: Bluetooth
- Ojo ifisile: Oṣu kọkanla ọjọ 19, ọdun 2006
Alaye Aabo
Always use the included wrist strap and tighten the lock to prevent the Wii Remote from being accidentally released during active gameplay. Ensure adequate space around you to avoid injury or damage to property.
Atilẹyin ọja ati Support
For warranty information and customer support, please refer to the documentation included with your Wii console or visit the official Nintendo support website. The Wii Remote Controller typically includes a 1-year hardware warranty from the manufacturer.


