1. Ifihan
O ṣeun fun riraasing the Pioneer HTP-S313 5.1ch Surround Sound Home Theater System. This system is designed to provide an immersive audio experience for your home entertainment. This manual provides essential information for the safe and efficient operation of your new system. Please read it thoroughly before use and retain it for future reference.
2. Alaye Aabo
Always follow basic safety precautions when using this product to reduce the risk of fire, electric shock, and injury. Keep this equipment away from water and moisture. Do not block ventilation openings. Ensure proper air circulation around the unit. Do not place heavy objects on the unit. Disconnect the power cord from the wall outlet if the unit is to be left unused for a long period. Refer all servicing to qualified service personnel.
3. Package Awọn akoonu
Verify that all items listed below are included in your package. If any items are missing or damaged, please contact your dealer.
- Subwoofer with integrated amplifier and tuner
- Center speaker (Dual)
- Awọn agbọrọsọ iwaju (2)
- Awọn agbọrọsọ agbegbe (2)
- Isakoṣo latọna jijin
- Awọn kebulu agbọrọsọ
- Okun agbara
- AM/FM antennas
- MCACC setup microphone
- AAA batteries (2) for remote control

Aworan 3.1: Pariview of all included components for the Pioneer HTP-S313 home theater system.
4. Eto
4.1 Agbọrọsọ Placement
Proper speaker placement is crucial for optimal surround sound. Position the front speakers to the left and right of your TV, the center speaker directly above or below the TV, and the surround speakers to the sides or slightly behind your listening position. The subwoofer can be placed anywhere in the room, preferably near a wall or corner for enhanced bass.
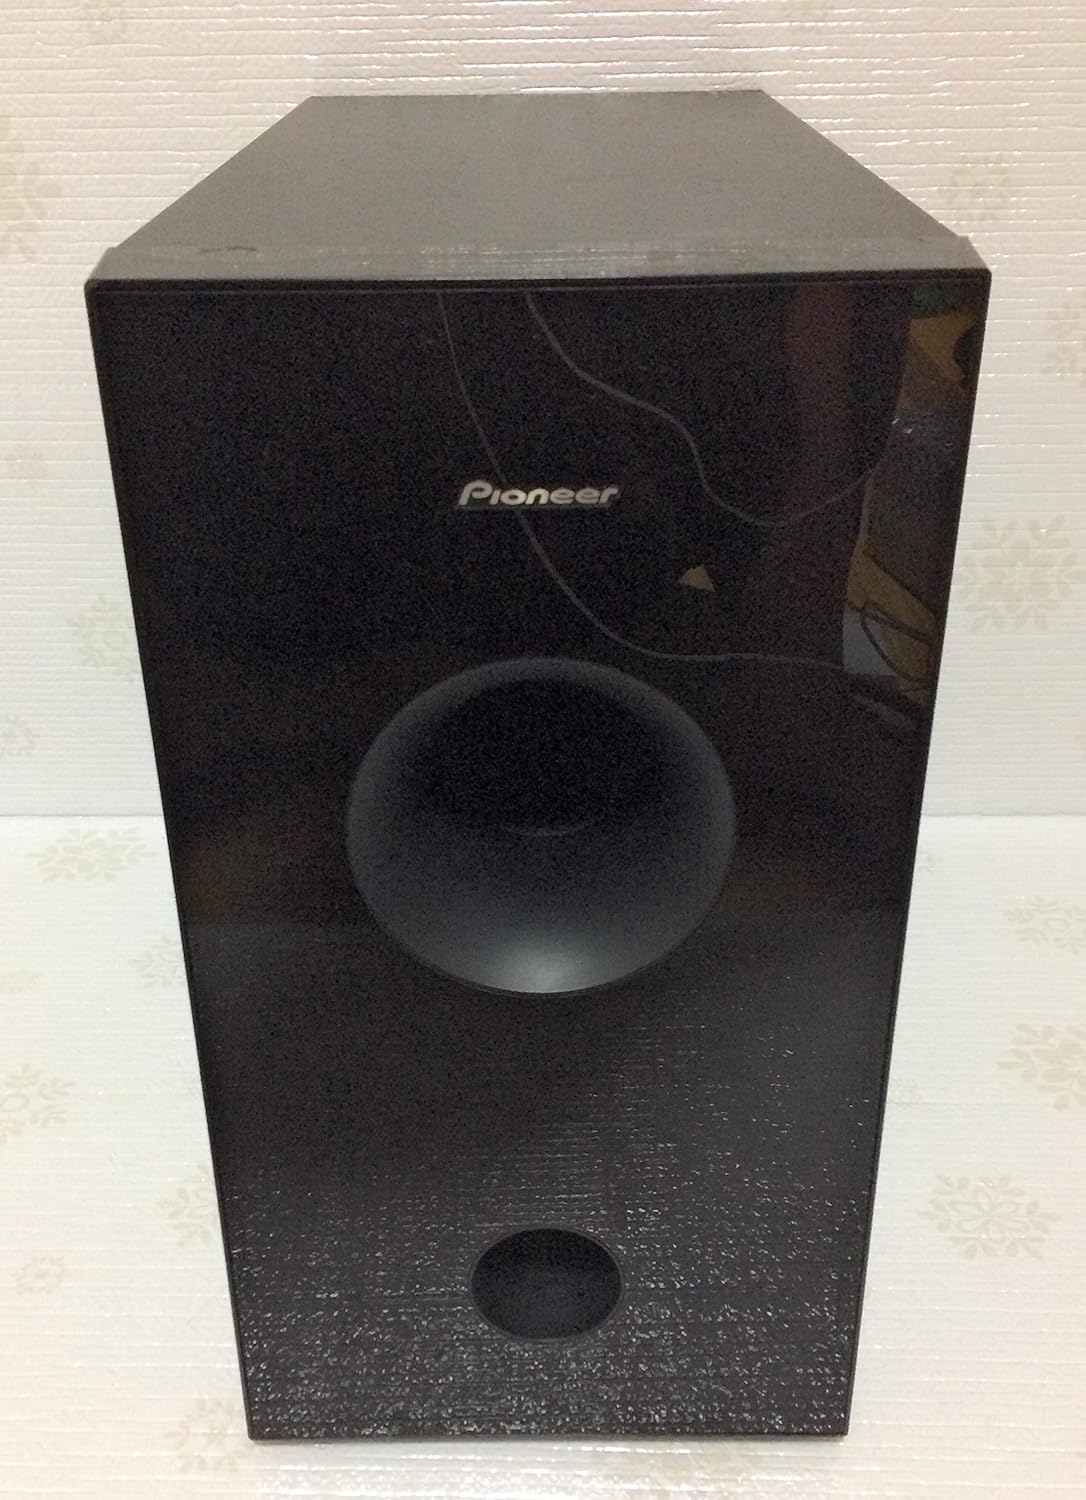
Aworan 4.1: Iwaju view of the Pioneer HTP-S313 subwoofer.
4.2 Awọn isopọ
Connect all speakers to the corresponding terminals on the rear of the subwoofer unit. Ensure correct polarity (+ to + and - to -). Connect your audio sources (e.g., DVD player) to the digital audio inputs (optical or coaxial) on the subwoofer. Connect the AM and FM antennas for radio reception. Finally, connect the power cord to the subwoofer and then to a wall outlet.

Aworan 4.2: Rear panel of the Pioneer HTP-S313 subwoofer with connection ports.
4.3 MCACC Automatic Sound Field Correction
The MCACC (Multi-Channel Acoustic Calibration System) automatically optimizes the sound settings for your room. Place the supplied setup microphone at your primary listening position and follow the on-screen instructions (if available) or the manual's specific steps to initiate the calibration process. This system measures speaker size, level, distance, and frequency response to create an ideal surround sound environment.
5. Awọn ilana Iṣiṣẹ
5.1 Ipilẹ isẹ
- Titan/Apapa: Press the power button on the remote control or the front panel of the subwoofer.
- Aṣayan igbewọle: Use the 'Input' buttons on the remote to select the desired audio source (e.g., Optical 1, Coaxial).
- Iṣakoso iwọn didun: Adjust the master volume using the 'Volume +/-' buttons on the remote.
- Awọn ọna ohun: Cycle through various surround sound modes (e.g., Dolby Digital, DTS, Front Surround Advance) using the 'Sound Mode' button.
5.2 Front Surround Advance
This Pioneer-exclusive technology creates a virtual surround sound experience from front speakers, ideal for situations where rear speaker placement is not feasible. Activate this mode via the remote control to enjoy an expanded sound field.
5.3 Sound Retriever
The Sound Retriever function enhances the quality of highly compressed audio data, such as MP3 files, restoring some of the lost fidelity for a richer listening experience. Enable this feature through the system's menu or a dedicated button on the remote.
5.4 AM / FM Tuner
Select the 'Tuner' input. Use the 'Tune +/-' buttons to manually tune to radio stations or 'Preset +/-' to select pre-stored stations. Refer to the full manual for instructions on how to program station presets.
5.5 SR+ Terminal Integration
If you own a compatible Pioneer plasma TV, connect it using the SR+ terminal for integrated system control. This allows for synchronized power on/off and input switching between the TV and the home theater system.
6. Itọju
To maintain the performance and appearance of your system, regularly clean the exterior surfaces with a soft, dry cloth. Do not use abrasive cleaners, waxes, or solvents. Ensure that ventilation openings are free from dust and obstructions. For internal cleaning or servicing, contact qualified personnel.
7. Laasigbotitusita
If you experience issues with your system, refer to the following common troubleshooting steps:
- Ko si Agbara: Check if the power cord is securely connected to both the unit and the wall outlet. Ensure the outlet is functional.
- Ko si Ohun: Verify that the correct input source is selected. Check all speaker connections. Ensure the volume is not muted or set too low.
- Ohun Yiyi: Check speaker wire connections for loose strands or short circuits. Reduce the volume if it's too high.
- No Surround Effect: Ensure a surround sound mode is selected and the audio source provides multi-channel audio. Run MCACC calibration again.
For more detailed troubleshooting, please consult the comprehensive user manual or contact Pioneer customer support.
8. Awọn pato
| Ẹya ara ẹrọ | Sipesifikesonu |
|---|---|
| Eto Iru | 5.1ch Home Theater System (Separate Type) |
| Iṣeto ni Agbọrọsọ | Center (2), Front (2), Surround (2), Subwoofer |
| Awọn Agbọrọsọ Alailowaya | Ko Atilẹyin |
| Àwọn Olùṣàtúnṣe Ohùn Àyíká | Dolby Digital, DTS, AAC |
| O pọju o wu Power | 100W x 6 channels (600W total) |
| Awọn igbewọle Audio Digital | Optical x 2, Coaxial x 1 |
| HDMI Input / o wu | Ko Atilẹyin |
| Tuner | AM/FM |
| Iduro Agbara Agbara | 0.2W |
| Iwọn Ọja | 9 kg |
| Orisun agbara | AC Agbara okun |
| Awọn batiri Iṣakoso latọna jijin | 2 x AAA (Alkaline) |
| Iṣagbesori Iru | Tabletop Oke |
9. Atilẹyin ọja ati Support
This Pioneer product is covered by a limited warranty. Please refer to the warranty card included with your purchase for details on coverage, terms, and conditions. For technical support, service, or inquiries, please visit the official Pioneer website or contact your local Pioneer customer service center. Keep your proof of purchase for warranty claims.


