1. Ifihan
This document provides comprehensive instructions for the installation, operation, maintenance, and troubleshooting of the Intel Pentium III 1.0GHz 100MHz 256KB Socket 370 CPU. It includes detailed specifications to assist users in understanding and utilizing this processor effectively.
The Intel Pentium III processor is designed for Socket 370 motherboards, featuring a 1.0 GHz clock speed, a 100 MHz system bus, and 256 KB of on-die full-speed L2 cache. This FC-PGA (Flip-Chip Pin Grid Array) CPU incorporates MMX Media Enhancement Technology.
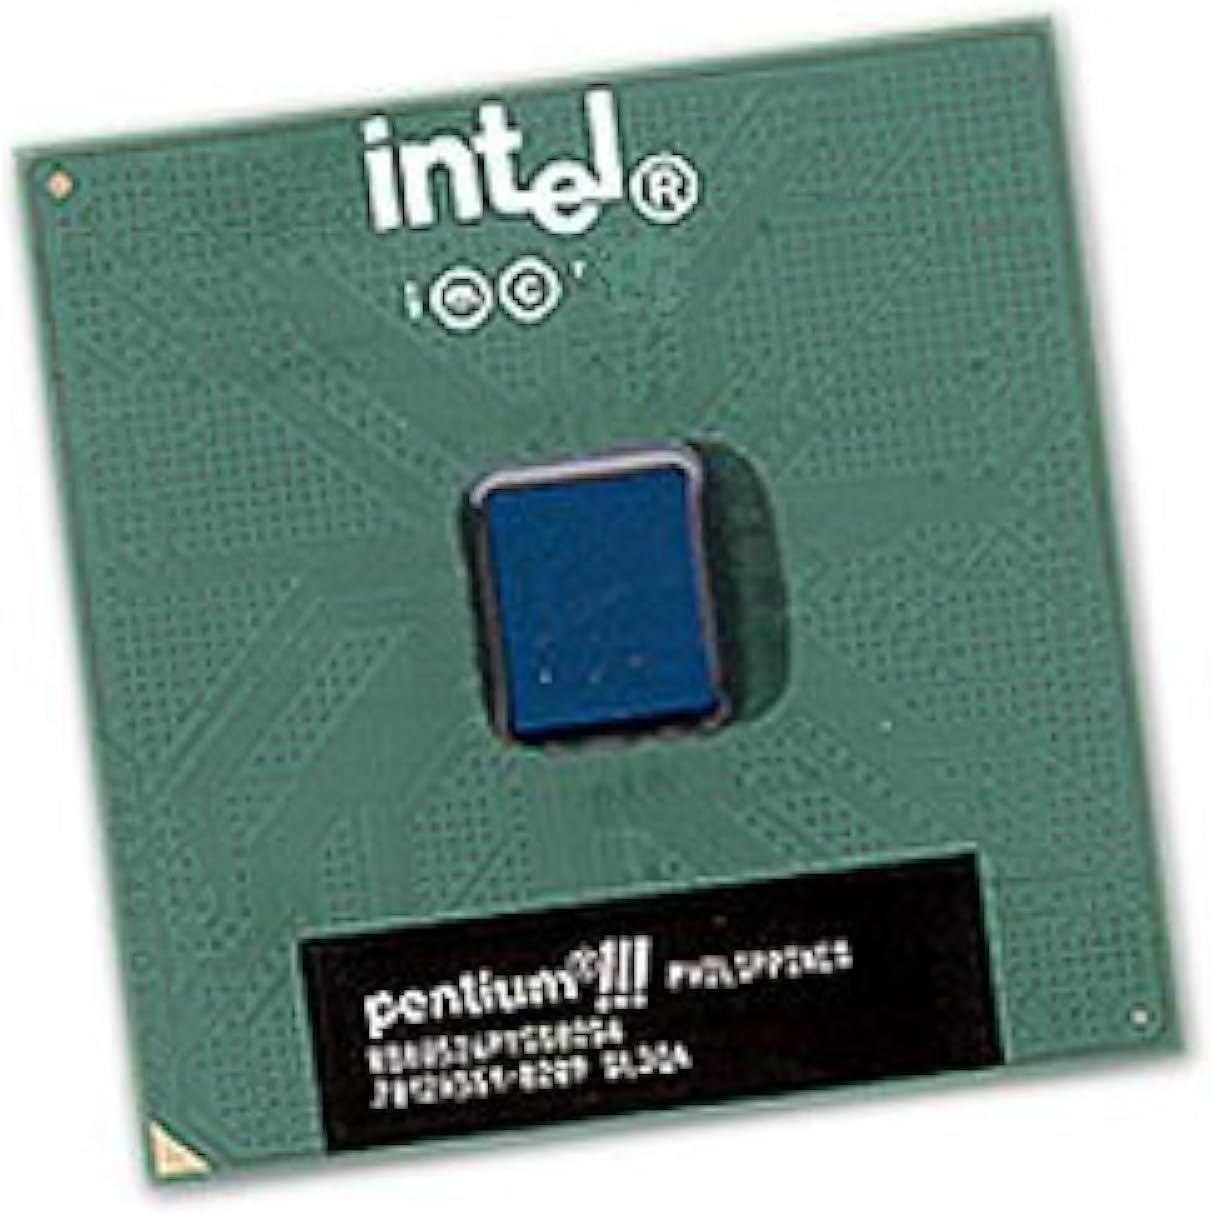
olusin 1: A oke-isalẹ view of the Intel Pentium III processor. The green ceramic package features the Intel logo and 'Pentium III' branding, with the central silicon die visible as a small blue square.
2. Eto ati fifi sori
Proper installation of the CPU is crucial for system stability and performance. Always handle the CPU by its edges to avoid touching the pins or the integrated heat spreader (IHS).
- Igbaradi: Ensure your motherboard is compatible with Socket 370 processors and supports the Intel Pentium III 1.0GHz specification. Consult your motherboard's manual for specific instructions.
- Open CPU Socket: Locate the CPU socket on the motherboard. Gently lift the load lever to open the socket retention mechanism.
- Align CPU: Carefully align the CPU with the socket. The CPU has a notched corner or a triangle marking that corresponds to a similar marking on the socket. Do not force the CPU into the socket; it should drop in with minimal pressure.
- Secure CPU: Once the CPU is properly seated, lower the load lever and push it back into place to secure the CPU in the socket.
- Waye Lẹẹ Gbona: Apply a small amount of high-quality thermal paste to the center of the CPU's IHS. This ensures efficient heat transfer to the heatsink.
- Install Heatsink and Fan: Mount the compatible heatsink and fan assembly onto the CPU, ensuring it makes firm contact with the thermal paste. Secure the heatsink according to its manufacturer's instructions. Connect the fan's power cable to the designated CPU fan header on the motherboard.
3. Awọn Ilana Ṣiṣẹ
The Intel Pentium III 1.0GHz CPU serves as the central processing unit of your computer system. It executes instructions, performs calculations, and manages the flow of data, enabling all software applications and operating system functions. Its 1.0 GHz clock speed dictates the rate at which it processes these instructions, while the 256 KB L2 cache provides fast access to frequently used data, improving overall system responsiveness.
4. Itọju
While CPUs generally require minimal direct maintenance, ensuring optimal operating conditions is essential for longevity and performance.
- Yiyọ eruku kuro: Periodically clean the heatsink and fan to prevent dust buildup, which can impede airflow and lead to overheating. Use compressed air to gently remove dust from the fins and fan blades.
- Lẹẹ igbona: If the heatsink is removed for any reason, the old thermal paste should be cleaned off both the CPU and heatsink, and a fresh layer applied before reinstallation.
- Abojuto iwọn otutu: Utilize system monitoring software to keep track of CPU temperatures. Excessive temperatures can indicate cooling issues.
5. Laasigbotitusita
If you encounter issues after installing or during the operation of your CPU, consider the following troubleshooting steps:
- No Boot/Black Screen:
- Verify the CPU is correctly seated in the socket and the load lever is secured.
- Ensure the CPU fan is connected and spinning.
- Check that all power cables (including the CPU power connector) are firmly attached to the motherboard.
- Confirm motherboard compatibility and BIOS version support for the Pentium III 1.0GHz CPU.
- Overheating/System Shutdowns:
- Ensure the heatsink is properly installed and making good contact with the CPU.
- Verify thermal paste application.
- Nu eruku eyikeyi kuro ninu heatsink ati afẹfẹ.
- Check for adequate case airflow.
- Aisedeede/iparun eto:
- Ensure RAM modules are correctly installed and compatible.
- Check power supply unit (PSU) wattage and stability.
- Update motherboard BIOS to the latest version if available and compatible.
6. Awọn pato
| Ẹya ara ẹrọ | Sipesifikesonu |
|---|---|
| Brand | Intel |
| Sipiyu Awoṣe | Pentium III |
| Sipiyu Iyara | 1.0 GHz (1000MHz) |
| System Bus Speed | 100 MHz |
| L2 kaṣe | 256 KB On-Die Full-Speed |
| Sipiyu Socket | Socket 370 (FC-PGA) |
| MMX Technology | Atilẹyin |
| S-Spec | SL5QV |
| Nọmba Awoṣe Nkan | 8541608153 |
| Iwọn Nkan | 1 iwon |
| Ọjọ Akọkọ Wa | Oṣu Kẹfa Ọjọ 9, Ọdun 2008 |
7. atilẹyin ọja Information
This Intel processor is typically covered by a manufacturer's limited warranty. For specific details regarding warranty duration, terms, and conditions, please refer to the official Intel webAaye ayelujara tabi iwe atilẹyin ọja ti o wa pẹlu rira rẹ. Pa ẹri rira rẹ mọ fun awọn ẹtọ atilẹyin ọja.
8. Atilẹyin
For further technical assistance, driver downloads, or additional product information, please visit the official Intel support webojula:
You may also consult your motherboard manufacturer's support resources for system-specific guidance.


