Ọrọ Iṣaaju
Thank you for choosing the Pronomic MS-100 Microphone Stand. This manual provides essential information for the safe and effective setup, operation, and maintenance of your microphone stand. Please read these instructions carefully before use and retain them for future reference.

Nọmba 1: The Pronomic MS-100 Microphone Stand. This image displays the complete microphone stand with its round base and adjustable shaft, ready for use.
Package Awọn akoonu
Jọwọ rii daju pe gbogbo awọn nkan ti a ṣe akojọ rẹ si isalẹ wa ninu package rẹ:
- Pronomic MS-100 Microphone Stand (main assembly)
- Reducing thread (for microphone clip attachment)
- 2 x Locking nuts
- 2 x Awọn asopọ okun
Awọn Itọsọna Aabo
- Rii daju pe a gbe iduro sori iduro, ipele ipele lati ṣe idiwọ tipping.
- Do not exceed the maximum recommended load for the stand.
- Avoid overtightening adjustment knobs, as this may damage the threads.
- Jẹ́ kí ọwọ́ rẹ jìnnà sí àwọn ẹ̀yà ara tí ń gbéra nígbà tí o bá ń ṣe àtúnṣe gíga rẹ.
- Ṣayẹwo iduro nigbagbogbo fun eyikeyi ami ti wọ tabi ibajẹ. Maṣe lo ti o ba bajẹ.
Ṣeto
- Attach the Stand Pole to the Base:
Carefully screw the main stand pole into the heavy round base. Ensure it is securely tightened to provide maximum stability.
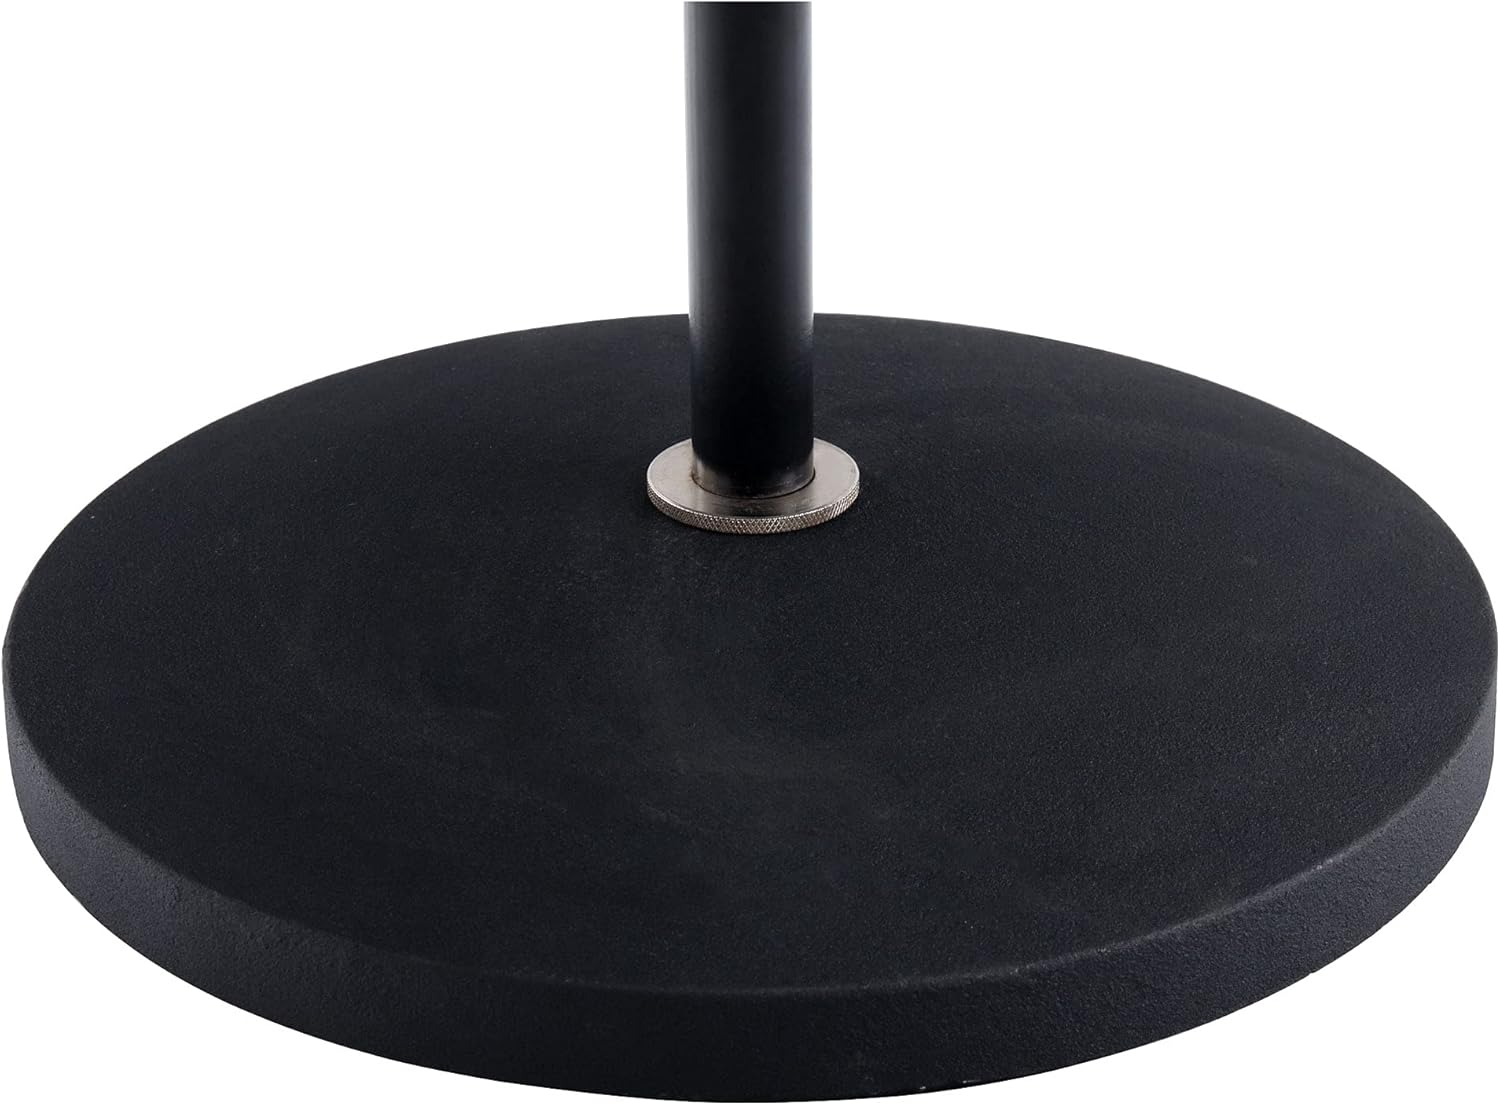
Nọmba 2: Sun mo tipetipe view of the heavy round base where the stand pole is securely attached. This ensures the stand's stability.
- Attach Microphone Clip/Holder:
Screw your microphone clip or holder onto the threaded top of the stand. If your clip requires a different thread size, use the included reducing thread. Secure it with the provided locking nuts.

Nọmba 3: Detail of the threaded top of the stand, showing where a microphone clip or holder is attached. The reducing thread and locking nuts ensure compatibility and security.
Isẹ
- Siṣàtúnṣe Giga:
Loosen the height adjustment knob located on the stand pole. Extend or retract the upper section to the desired height (88 cm to 158 cm). Once the desired height is reached, firmly tighten the knob to secure the stand in position.
- Iṣakoso USB:
Use the two included cable ties to neatly secure your microphone cable along the stand pole. This prevents the cable from dangling, reducing trip hazards and unwanted noise.

Nọmba 4: A close-up of a cable tie attached to the stand pole, demonstrating how microphone cables can be neatly managed to prevent tangling and ensure a tidy setup.
Itoju
- Fi aṣọ rírọrùn tó gbẹ nu àpótí náà. Yẹra fún àwọn ohun ìfọṣọ tàbí àwọn ohun èlò ìfọṣọ.
- Periodically check all screws and knobs for tightness.
- Store the stand in a dry environment when not in use.
Laasigbotitusita
- Iduro naa n mì tìtì: Ensure the base is fully tightened to the pole and placed on a flat surface.
- Microphone clip does not fit: Verify you are using the correct reducing thread and locking nuts for your microphone clip.
- Height adjustment is difficult: Check for any obstructions or debris in the telescoping mechanism. Do not force adjustment.
Awọn pato
| Awoṣe | MS-100 |
| Brand | Olokiki |
| Adijositabulu Giga | 88 - 158 cm (approx. 34.6 - 62.2 inches) |
| Ipilẹ Opin | Approx. 25 cm (approx. 9.8 inches) |
| Iwọn | Kg 3.4 (isunmọ 7.5 lbs) |
| Ohun elo | Metal (Cast Iron Base) |
| Àwọ̀ | Dudu |
| Microphone Thread Compatibility | 3/8" or 5/8" (with included reducer) |
Atilẹyin ọja ati Support
For warranty information or technical support, please refer to the documentation provided at the time of purchase or contact Pronomic customer service through their official webojula.


