1. Ifihan
This manual provides detailed instructions for the installation, operation, and maintenance of your GIGABYTE GA-H77N-WIFI Mini ITX Motherboard. This motherboard supports 3rd and 2nd generation Intel Core processors with an LGA1155 socket, features Intel H77 chipset, integrated Wi-Fi and Bluetooth 4.0, dual Gigabit LAN, and multiple display outputs including HDMI and DVI.
2. Eto ati fifi sori
2.1 Ifilelẹ modaboudu
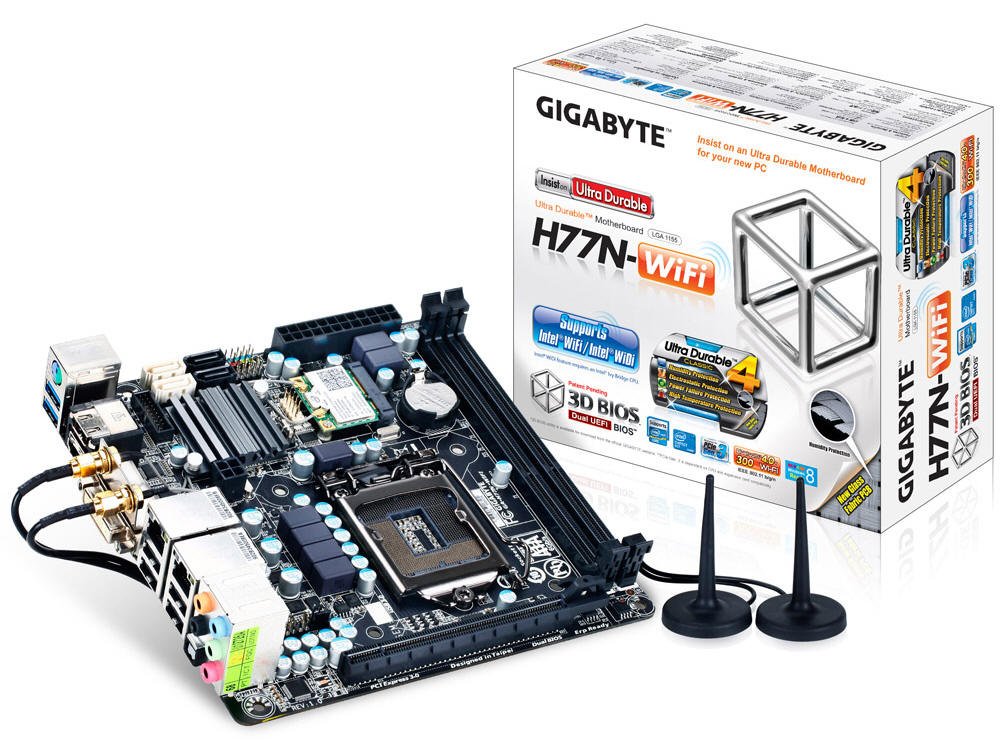
olusin 1: Top-isalẹ view of the GA-H77N-WIFI motherboard, showing CPU socket, DIMM slots, and various connectors.
Familiarize yourself with the layout of the motherboard before proceeding with installation. Refer to Figure 1 for a general overview of component placement.
2.2 Sipiyu fifi sori
- Wa iho LGA1155 CPU lori modaboudu naa.
- Gently lift the load lever and open the CPU socket cover.
- Mu aami onigun mẹta pọ si lori Sipiyu pẹlu aami ti o baamu lori iho. Farabalẹ gbe Sipiyu sinu iho lai fi agbara mu.
- Pa ideri iho ki o si tẹ mọlẹ fifuye lefa titi ti o tilekun sinu ibi.
- Fi Sipiyu kula ni ibamu si awọn ilana olupese rẹ.
2.3 Memory (Àgbo) fifi sori
- Locate the two DDR3 DIMM sockets.
- Ṣii awọn agekuru ni opin mejeeji ti iho DIMM.
- Align the notch on the DDR3 memory module with the key in the DIMM socket.
- Insert the memory module firmly into the socket until the clips snap into place. Ensure both clips are closed.
2.4 Fifi sori ẹrọ Ibi ipamọ
Connect your SATA 6Gb/s storage devices (HDDs, SSDs) to the SATA ports on the motherboard using SATA data cables. Ensure the power cables from your power supply are also connected to the storage devices.
2.5 Awọn isopọ agbara
- So 24-pin ATX asopo agbara akọkọ lati ipese agbara rẹ si iho ti o baamu lori modaboudu.
- Connect the 4-pin ATX 12V power connector to its socket, typically located near the CPU.
2.6 Iwaju Panel ati Agbeegbe awọn isopọ

olusin 2: Angled view of the GA-H77N-WIFI motherboard, showing various onboard headers and rear I/O ports.
Connect the front panel headers (power switch, reset switch, HDD LED, power LED, front audio, front USB) from your computer case to the corresponding pins on the motherboard. Refer to the motherboard's printed labels for correct orientation.
2.7 Ru I / Eyin Panel Awọn isopọ

Figure 3: Rear I/O panel of the GA-H77N-WIFI motherboard, showing connectivity options.
Connect your peripherals to the rear I/O panel (Figure 3):
- Awọn ibudo USB: Connect USB devices such as keyboard, mouse, and external drives.
- Awọn abajade fidio: Connect your monitor(s) to the HDMI or DVI ports.
- Awọn Ibudo LAN: Connect Ethernet cables for network access.
- Awọn Jacks Audio: So agbohunsoke, agbekọri, tabi microphones.
- Eriali Alailowaya: Screw in the included Wi-Fi antennas to the connectors.
3. Awọn ilana Iṣiṣẹ
3.1 BIOS / UEFI iṣeto ni
Nígbà tí o bá ti ṣí agbára ní ìbẹ̀rẹ̀, tẹ DEL key during the POST (Power-On Self-Test) to enter the BIOS Setup Utility. The GIGABYTE 3D BIOS (Dual UEFI) provides an intuitive interface for configuring system settings, boot order, and hardware parameters.
3.2 Fifi sori ẹrọ eto
Insert your operating system installation media (USB drive or DVD) and set the boot priority in the BIOS to boot from the installation media. Follow the on-screen instructions to install your preferred operating system.
3.3 Driver fifi sori
After installing the operating system, install the necessary drivers for the motherboard components. These typically include chipset drivers, graphics drivers (if using integrated graphics), audio drivers, LAN drivers, and Wi-Fi/Bluetooth drivers. Drivers are usually provided on a support CD or can be downloaded from the GIGABYTE webojula.
3.4 Iṣeto Nẹtiwọọki
The motherboard features dual Realtek Gigabit Ethernet LAN for wired network connections and an Intel Wi-Fi module for wireless connectivity. Configure your network settings within your operating system. For Wi-Fi, ensure the antennas are connected and select your network from the available options.
3.5 GIGABYTE On/Off Charge
The GIGABYTE On/Off Charge feature allows for faster charging of USB devices, even when the PC is turned off or in standby mode. Ensure the necessary drivers/utilities are installed for this feature to function.
4. Itọju
4.1 Ninu
Regularly clean the interior of your computer case to prevent dust buildup, which can lead to overheating. Use compressed air to remove dust from components, especially heatsinks and fans. Ensure the system is powered off and unplugged before cleaning.
4.2 Awọn imudojuiwọn BIOS ati awakọ
Lokọọkan ṣayẹwo GIGABYTE website for updated BIOS versions and drivers. Updating these can improve system stability, performance, and compatibility. Follow the instructions provided by GIGABYTE carefully when performing updates.
5. Laasigbotitusita
If you encounter issues, consider the following basic troubleshooting steps:
- Ko si Agbara: Check all power connections from the power supply to the motherboard and components. Ensure the power supply switch is on.
- Ko si Ifihan: Verify that the monitor is connected correctly to the motherboard's video output (HDMI/DVI) and is powered on. Try reseating the memory modules.
- Aiduroṣinṣin eto: Ensure all components are properly seated. Check for overheating by monitoring CPU and system temperatures. Update BIOS and drivers.
- Awọn oran Nẹtiwọọki: Verify Ethernet cables are securely connected. Check Wi-Fi antenna connections. Ensure network drivers are installed and configured correctly.
- A ko rii Agbeegbe: Ensure USB devices are connected to functional ports. Check device manager for driver issues.
For more advanced troubleshooting or persistent issues, refer to the GIGABYTE support webaaye tabi kan si atilẹyin imọ-ẹrọ wọn.
6. Awọn pato
| Ẹya ara ẹrọ | Sipesifikesonu |
|---|---|
| Sipiyu Socket | LGA 1155 |
| Awọn isise ibaramu | Intel Core i7/i5/i3/Pentium/Celeron (3rd and 2nd Gen) |
| Chipset | Intel H77 Express |
| Iho iranti | 2 x DDR3 DIMM iho |
| Maks Memory Agbara | 16 GB |
| Iranti Iru | DDR3 1600/1333/1066/800 MHz |
| LAN | 2 x Realtek GbE LAN (10/100/1000 Mbit) |
| Ailokun | Intel Wi-Fi module, Bluetooth 4.0 |
| Awọn ibudo SATA | SATA 6Gb/s |
| Awọn ibudo USB | USB 3.0, USB 2.0 |
| Awọn abajade fidio | HDMI, DVI |
| Imugboroosi Iho | PCI Express Gen 3.0 |
| Fọọmù ifosiwewe | Mini ITX |
| Awọn iwọn | 17 x 16 x 10 inches (Awọn iwọn Ọja) |
| Iwọn | 1.6 iwon |
7. Atilẹyin ọja ati Support
For information regarding product warranty, please refer to the warranty card included with your motherboard or visit the official GIGABYTE website. For technical support, driver downloads, and BIOS updates, please visit the GIGABYTE support portal:


