1. Ifihan
This manual provides comprehensive instructions for the installation, operation, and maintenance of the Intel D945GCNL MicroATX Motherboard. This motherboard is designed for desktop systems, featuring the Intel 945GC Chipset and an LGA775 socket, supporting DDR2 SDRAM. Please read this manual thoroughly before proceeding with installation to ensure proper setup and functionality.
2. Ọja Ipariview
The Intel D945GCNL motherboard integrates essential components for a desktop computing system. Familiarize yourself with the layout and connectors before installation.

Nọmba 2.1: Igun view of the Intel D945GCNL MicroATX Motherboard. This image displays the overall layout, including the CPU socket, RAM slots, expansion slots, and the rear I/O panel connectors such as PS/2 ports, USB ports, Ethernet, and audio jacks.

Nọmba 2.2: Oke-isalẹ view of the Intel D945GCNL Motherboard. This perspective clearly shows the LGA775 CPU socket, two DDR2 DIMM slots, the chipset heatsink, and various power connectors and headers for front panel controls.

Nọmba 2.3: Rear I/O Panel of the Intel D945GCNL Motherboard. This image details the available external ports, including PS/2 ports for keyboard and mouse, serial port, parallel port, VGA output, USB 2.0 ports, Ethernet port, and 3.5mm audio jacks.
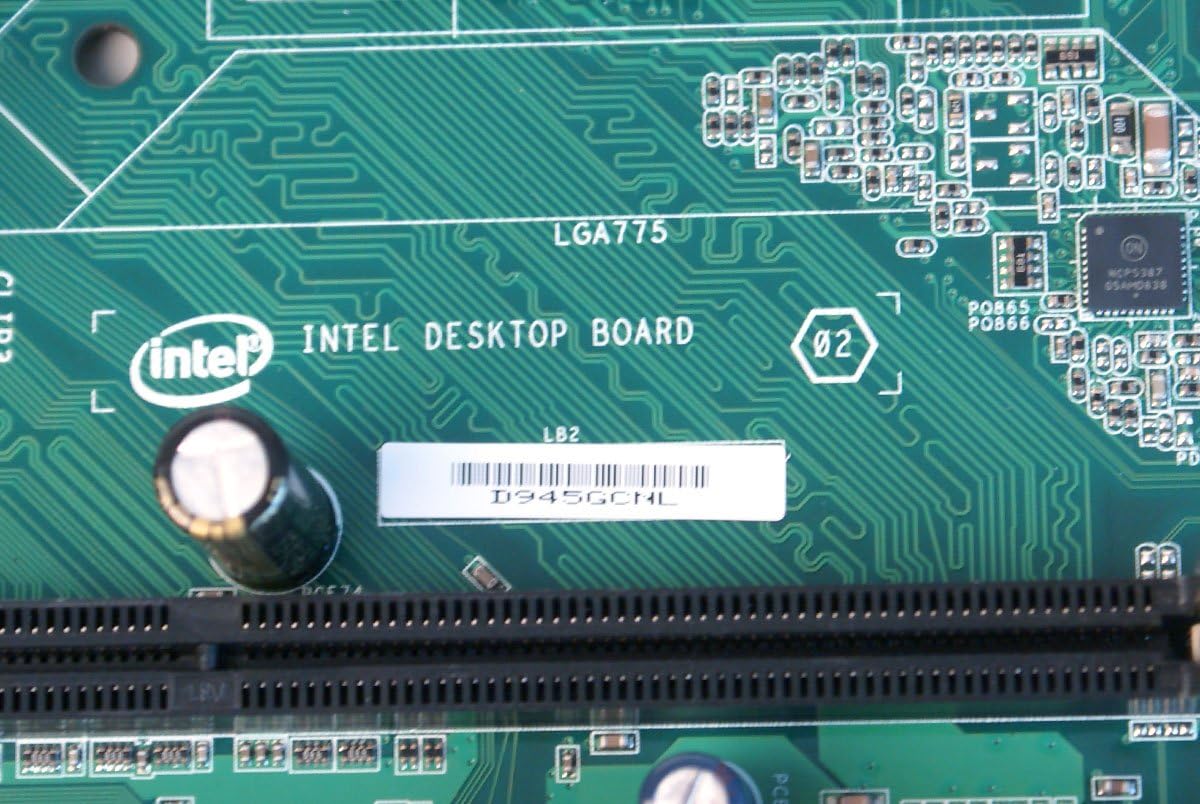
Nọmba 2.4: Sun mo tipetipe view of the Intel D945GCNL model designation printed on the motherboard's PCB, confirming the specific model.
3. Eto ati fifi sori
Follow these steps carefully to install your Intel D945GCNL motherboard into a compatible computer chassis.
- Igbaradi: Ensure you are working in a static-free environment. Use an anti-static wrist strap or frequently touch a grounded metal object to discharge static electricity. Gather necessary tools: screwdriver, thermal paste, and your compatible components (CPU, RAM, power supply, storage).
- Fifi sori ẹrọ Sipiyu:
- Wa iho LGA775 CPU lori modaboudu naa.
- Gently lift the load lever and open the CPU retention plate.
- Align the Intel Core 2 DUO processor with the socket, matching the gold triangle on the CPU to the triangle on the socket. Do not force the CPU into the socket.
- Close the retention plate and secure the load lever.
- Fi fẹlẹfẹlẹ tinrin, ti o dọgba ti lẹẹmọ ooru si oke CPU naa.
- Install the CPU cooler according to its manufacturer's instructions, ensuring it makes firm contact with the CPU.
- Fifi sori ẹrọ Ramu:
- Identify the two DDR2 DIMM slots.
- Open the clips at both ends of the RAM slot.
- Align the notch on the DDR2 SDRAM module with the key in the slot.
- Tẹ mọlẹ ṣinṣin lori awọn opin mejeeji ti module iranti titi awọn agekuru yoo fi rọ si aaye.
- Iṣagbesori modaboudu:
- Install standoffs in your computer chassis that align with the screw holes on the D945GCNL motherboard.
- Carefully place the motherboard onto the standoffs, ensuring the rear I/O ports align with the chassis' I/O shield (if available).
- Oluso modaboudu pẹlu skru, sugbon ko ba overtighten.
- Awọn isopọ Ipese Agbara:
- So 24-pin ATX asopo agbara akọkọ lati ipese agbara rẹ si akọsori ti o baamu lori modaboudu.
- Connect the 4-pin ATX 12V power connector (CPU power) to its designated header near the CPU socket.
- Awọn isopọ Agbeegbe:
- Connect SATA or IDE cables for storage drives (hard drives, SSDs, optical drives).
- Connect front panel headers (power button, reset button, HDD LED, power LED, front USB, front audio) to their respective pins on the motherboard. Refer to the motherboard's silkscreen labels for correct orientation.
- Install any necessary expansion cards (e.g., graphics card) into the PCI or PCI Express slots and secure them.
4. Awọn ilana Iṣiṣẹ
Once the motherboard and all components are installed, you can proceed with initial system startup.
- Bata Ibẹrẹ: Connect your monitor, keyboard, and mouse. Power on the system. The system should display the BIOS splash screen.
- Wọle si BIOS/UEFI: Lakoko ibẹrẹ, tẹ bọtini naa leralera F2 or Paarẹ key (depending on BIOS version) to enter the BIOS setup utility. Here you can configure boot order, system time, and other hardware settings.
- Fifi sori ẹrọ eto iṣẹ: Insert your operating system installation media (USB drive or DVD) and configure the boot order in BIOS to boot from it. Follow the on-screen instructions to install your preferred operating system.
- Fifi sori Awakọ: After the operating system is installed, install the necessary drivers for the motherboard's chipset, audio, network, and integrated graphics. These drivers are typically available on Intel's official support webojula.
5. Itọju
Itọju to dara ṣe idaniloju gigun ati iṣẹ iduroṣinṣin ti modaboudu rẹ.
- Yiyọ eruku kuro: Periodically clean the interior of your computer case, especially the motherboard and CPU cooler, using compressed air. Ensure the system is powered off and unplugged before cleaning.
- Awọn imudojuiwọn BIOS: Check Intel's official website for the latest BIOS updates. BIOS updates can improve compatibility, stability, and performance. Follow Intel's instructions carefully when updating the BIOS to avoid system damage.
- Awọn imudojuiwọn Awakọ: Keep your system drivers updated. Visit the Intel support website for the latest chipset, audio, and network drivers for the D945GCNL motherboard.
6. Laasigbotitusita
Ti o ba pade awọn ọran pẹlu modaboudu rẹ, tọka si awọn igbesẹ laasigbotitusita ti o wọpọ wọnyi:
- Eto Ko Ni Agbara:
- Verify that the power supply is connected correctly to both the motherboard (24-pin and 4-pin connectors) and the wall outlet.
- Rí i dájú pé okùn bọ́tìnì agbára iwájú wà ní ìsopọ̀ dáadáa pẹ̀lú àkọlé modaboudu náà.
- Test the power supply with another system or a power supply tester if possible.
- Ko si Ifihan (Ko si Ifiranṣẹ):
- Check that the monitor is properly connected to the motherboard's VGA port or a dedicated graphics card.
- Reseat the RAM modules. Try booting with only one RAM module installed.
- Ensure the CPU and CPU cooler are correctly installed and the CPU power cable is connected.
- Listen for any beep codes from the motherboard, which can indicate specific hardware issues. Consult the Intel support website for beep code interpretations.
- A ko ṣe awari Agbeegbe:
- Verify that USB devices are connected to functional USB ports.
- Ensure SATA/IDE cables are securely connected to both the motherboard and the storage device.
- Check device manager in your operating system for driver issues or unrecognized hardware.
- Missing I/O Shield: Please note that some motherboard packages may not include a rear I/O shield. This component is often sold separately or may need to be sourced independently if required for your chassis.
7. Awọn pato
| Brand | Intel |
| Awọn nọmba awoṣe | D945GCNL, D97184-107, BTNL846003AN |
| Fọọmù ifosiwewe | MicroATX (mATX) |
| Sipiyu Socket | LGA 775 |
| Awọn isise ibaramu | Intel Core 2 DUO |
| Chipset Iru | Intel 945GC Express, Intel ICH7 |
| Ramu Memory Technology | DDR2 SDRAM (DIMM) |
| Iho iranti Wa | 2 |
| Ramu Memory pọju Iwon | 2 GB |
| Graphics Card Interface | PCI, PCI Express |
| Approximate Dimensions (Board) | Derived from package dimensions: Approximately 9.6 x 9.3 inches (24.4 cm x 23.6 cm) for MicroATX standard. |
| Olupese | Intel |
| Ọjọ Akọkọ Wa | Oṣu Kẹwa Ọjọ 18, Ọdun 2012 |
8. Atilẹyin ọja ati Support
For detailed warranty information, technical support, and additional resources, please visit the official Intel website. You can find drivers, BIOS updates, and further documentation specific to the D945GCNL motherboard.
Visit the Intel Store on Amazon for more Intel products and information.


