Ọrọ Iṣaaju
This manual provides essential information for the safe and efficient operation of your Pioneer PDR-D5 CD Recorder. Please read it thoroughly before using the unit and keep it for future reference.
Awọn iṣọra Aabo
- Ibi ti ina elekitiriki ti nwa: Ensure the unit is connected to an AC 100V, 50/60Hz power source.
- Afẹfẹ: Ma ṣe dina awọn ṣiṣi atẹgun. Gba aaye to peye ni ayika ẹyọkan fun ṣiṣan afẹfẹ to dara.
- Ọrinrin: Ma ṣe fi ẹrọ naa han si ojo tabi ọrinrin lati yago fun ina tabi mọnamọna.
- Awọn nkan ajeji: Má ṣe fi ohunkóhun sínú àwọn ihò ẹ̀rọ náà.
- Ṣiṣẹ: Tọkasi gbogbo iṣẹ si awọn oṣiṣẹ iṣẹ ti o peye.
Package Awọn akoonu
Jẹrisi pe gbogbo awọn ohun kan wa ninu package:
- Pioneer PDR-D5 CD Recorder unit
- Isakoṣo latọna jijin
- Okun agbara
- RCA Audio Cables
- Ilana Afowoyi (iwe yii)

Ṣeto
1. Ifiweranṣẹ
Place the PDR-D5 on a stable, level surface away from direct sunlight, heat sources, and excessive dust or vibrations. Ensure adequate ventilation around the unit.
2. Awọn isopọ
Before making any connections, ensure the unit and all connected components are powered off.
- Iṣawọle Olohun: Connect the audio output of your source component (e.g., amplifier, tuner) to the ILA NINU (L/R) jacks on the rear panel of the PDR-D5 using RCA audio cables.
- Ijade ohun: Sopọ awọn ÌLÁJÚ (L/R) jacks on the rear panel of the PDR-D5 to an available audio input on your amplifier tabi olugba.
- Digital Input (Optional): For digital recording, connect a digital audio source (e.g., CD player, DAT player) to the DIGITAL IN (OPTICAL or COAXIAL) ebute oko.
- Digital Output (Optional): For digital playback to a compatible receiver, connect the DIGITAL OUT (OPTICAL or COAXIAL) ebute oko.
- Asopọ agbara: Pulọọgi awọn agbara okun sinu awọn AC IN terminal on the rear panel, then plug the other end into a wall outlet.

Awọn ilana Iṣiṣẹ
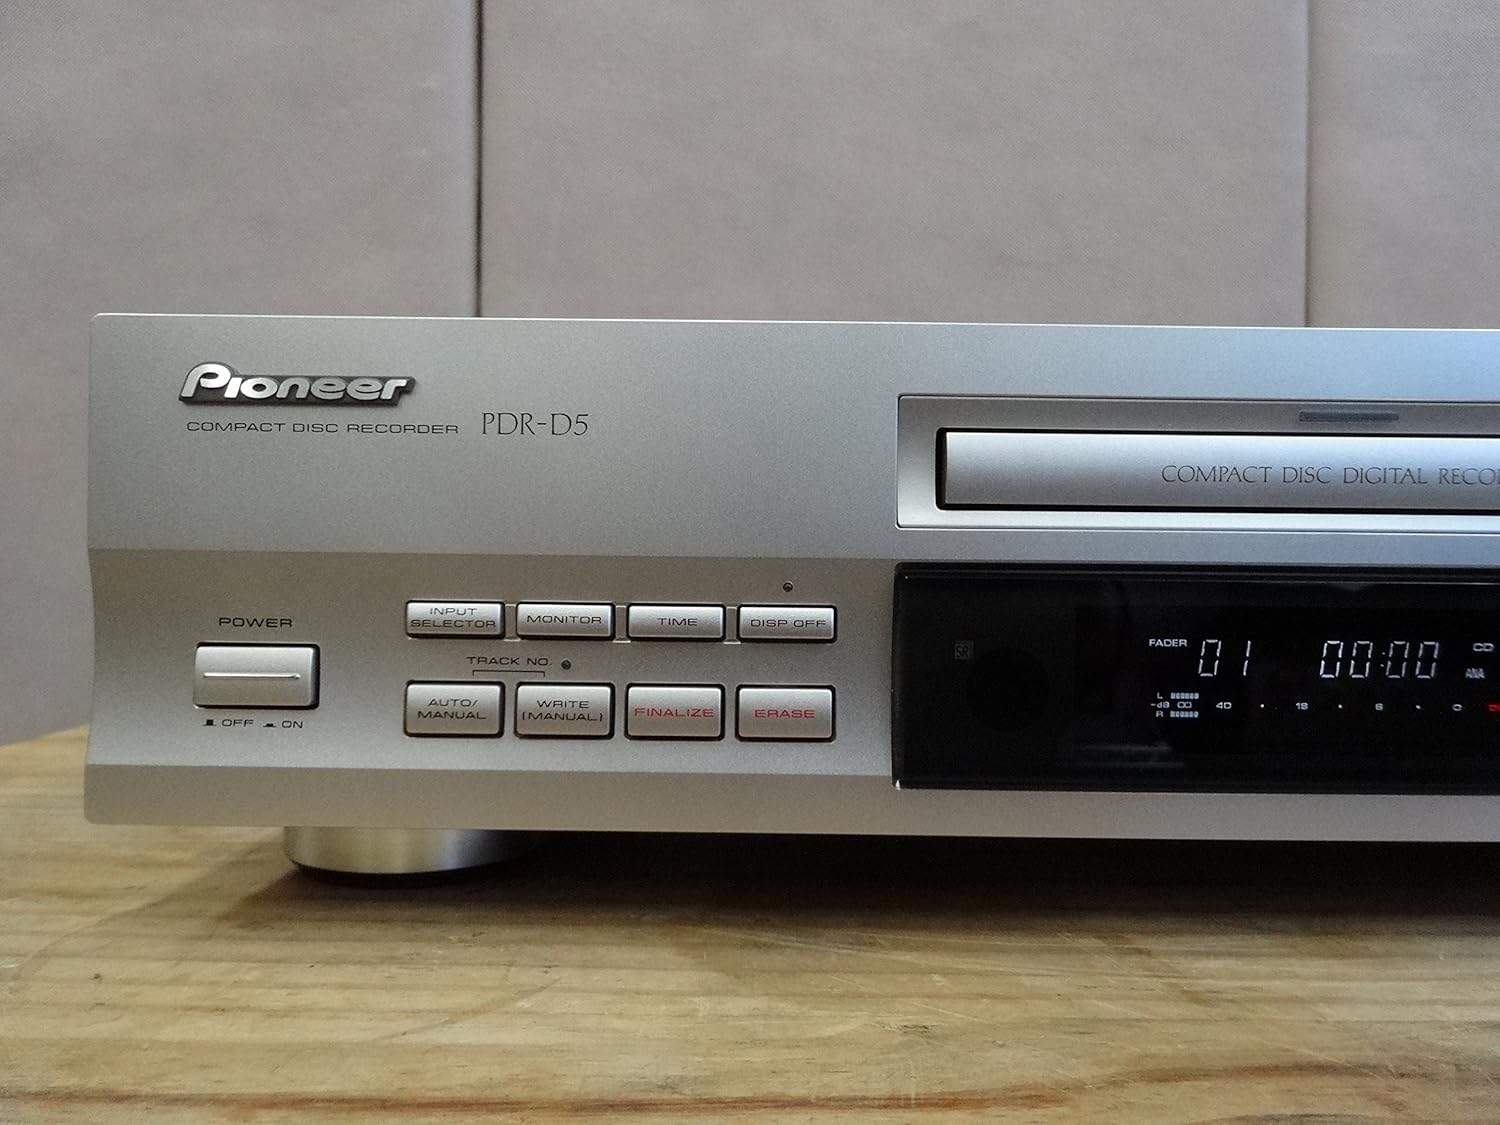
1. Agbara Tan / Paa
Tẹ awọn AGBARA button on the front panel to turn the unit on or off. The display will illuminate when powered on.
2. CD Sisisẹsẹhin
- Tẹ awọn ŠI / PADE bọtini lati ṣii atẹ disiki naa.
- Place a CD (CD-DA format) onto the disc tray with the label side up.
- Tẹ awọn ŠI / PADE bọtini lẹẹkansi lati pa awọn atẹ. Ẹyọ naa yoo ka disiki naa.
- Tẹ awọn ERE (►) bọtini lati bẹrẹ ṣiṣiṣẹsẹhin.
- Lo awọn SORI (◀◀ / ►}) awọn bọtini lati lilö kiri laarin awọn orin.
- Tẹ awọn PAUSE (▐▐) button to temporarily stop playback, and Duro (■) to stop completely.

3. CD Recording
The PDR-D5 can record to CD-R (recordable) and CD-RW (rewritable) discs.
- Tẹ awọn ŠI / PADE button and insert a blank CD-R or CD-RW disc. Close the tray.
- Yan orisun titẹ sii nipa lilo Oluyanju INPUT bọtini (fun apẹẹrẹ, Analog, Digital).
- Ṣatunṣe ipele gbigbasilẹ nipa lilo awọn ANALOG REC LEVEL or DIGITAL REC LEVEL knobs. Monitor the level indicators on the display to avoid distortion.
- Tẹ awọn Àkọsílẹ̀ (●) button to enter record-pause mode.
- Start playback on your source component, then press the ERE (►) button on the PDR-D5 to begin recording.
- Lati da gbigbasilẹ duro, tẹ bọtini naa Duro (■) bọtini.
4. Finalizing a Disc (CD-R)
After recording to a CD-R disc, it must be finalized to be playable on standard CD players.
- Ensure the recorded CD-R disc is in the tray.
- Tẹ awọn PARI bọtini.
- Follow the on-screen prompts to confirm finalization. This process is irreversible.
5. Eriasing a Disc (CD-RW)
CD-RW discs can be erased and re-recorded.
- Ensure the CD-RW disc is in the tray.
- Tẹ awọn PAARA bọtini.
- Follow the on-screen prompts to confirm erasure.
Itoju
Ninu Unit
- Mu ese ita kuro pẹlu asọ ti o gbẹ.
- Do not use abrasive cleaners, solvents, or chemical cloths, as they may damage the finish.
- Jeki atẹ disiki naa di mimọ ati laisi eruku.
Disiki mimu
- Handle discs by their edges to avoid fingerprints on the recording surface.
- Tọju awọn disiki ni awọn ọran wọn nigbati o ko ba wa ni lilo lati daabobo wọn lati eruku ati awọn idọti.
- Do not expose discs to direct sunlight or high temperatures.
Laasigbotitusita
If you experience problems with your PDR-D5, refer to the following common issues before seeking service.
| Isoro | Owun to le Fa | Ojutu |
|---|---|---|
| Ẹka ko ni agbara lori. | Okun agbara ko ni asopọ ni aabo. | Ṣayẹwo asopọ okun agbara si ẹyọkan ati iṣan odi. |
| "NO DISC" or "CHECK DISC" error displayed. | Disc is inserted incorrectly, dirty, scratched, or incompatible. | Ensure disc is inserted correctly. Clean the disc. Try a different, known-good disc. Ensure it's a standard CD-DA, CD-R, or CD-RW. |
| Ko si ohun nigba šišẹsẹhin. | Audio cables are not connected correctly or input selector is wrong. | Check RCA audio cable connections. Ensure your amplifier/receiver is set to the correct input. |
| Recording fails or sound is distorted. | Recording levels are too high/low, or disc is faulty/full. | Adjust recording levels. Use a new, blank CD-R/RW. Ensure the disc is not scratched. |
| Disc cannot be finalized. | Disc is not a CD-R, or there is insufficient space. | Ensure you are using a CD-R disc. Finalization requires some disc space. |
Awọn pato
| Ẹya ara ẹrọ | Sipesifikesonu |
|---|---|
| Brand | Aṣáájú-ọ̀nà |
| Olupese | Aṣáájú-ọ̀nà |
| Media ibaramu | CD, CD-R, CD-RW |
| Iwọn Nkan | 600 g |
| Package Mefa | 48.2 x 28.4 x 14.2 cm |
| Awọn batiri To wa | Rara |
| Awọn batiri ti a beere | Rara |
| ASIN | B00ESY7I72 |
| Akọkọ Wa Ọjọ lori Amazon.co.jp | 2013/8/27 |
| Idiwon | 2.5 ninu 5 irawọ (awọn idiyele 13) |
| Amazon ti o dara ju awon ti o ntaa ipo | Electronics - 405,242nd; Disc Players/Recorders - 437th |
Atilẹyin ọja ati Support
Pioneer products are designed for reliability and performance. For specific warranty details, please refer to the warranty card included with your purchase or visit the official Pioneer webaaye fun agbegbe rẹ.
For technical support, troubleshooting assistance beyond this manual, or service inquiries, please contact Pioneer customer support through their official webaaye tabi alaye olubasọrọ ti a pese ninu iwe ọja rẹ.