Ọrọ Iṣaaju
The Corsair Carbide Series 100R Silent Edition Mid Tower Case is designed for PC builders seeking a quiet and versatile chassis. This manual provides essential information for the proper installation, operation, and maintenance of your computer case. It features a clean, modern design, sound-damping side panels, and a 3-speed fan controller for optimized cooling and acoustics.
Alaye Aabo
- Máa yọ agbára iná kúrò nínú ihò ògiri kí o tó ṣe ìfisí tàbí ìtọ́jú èyíkéyìí.
- Mu awọn paati inu inu pẹlu iṣọra lati yago fun ibajẹ lati ina aimi. Lo okun-ọwọ anti-aimi ti o ba wa.
- Pa awọn ẹya kekere ati awọn skru kuro lati ọdọ awọn ọmọde.
- Rí i dájú pé afẹ́fẹ́ tó yẹ wà ní àyíká àpótí náà kí ó má baà gbóná jù.
Case Awọn ẹya ara ẹrọ
The Carbide Series 100R Silent Edition offers a range of features designed for ease of use and performance:
- Clean, Modern Design: An understated aesthetic suitable for various setups.
- Ohun-Damping Side Panels: Reduces overall PC noise for a quieter operation.
- 3-Speed Fan Controller: Allows adjustment of fan speed for optimal balance between cooling and noise.
- Two 120mm Fans Included: Provides initial cooling for your system.
- USB 3.0 ibaramu: Features modern connectivity options on the front panel.
- Easy Installation and Upgradability: Tool-free side door for convenient access to the interior.
- Ibamu modaboudu: Supports Mini-ITX, Micro-ATX, and ATX motherboards.

olusin 1: Angled view of the Corsair Carbide Series 100R Silent Edition Mid Tower Case, showcasing its clean exterior.

olusin 2: Top-isalẹ view of the front panel, showing USB 3.0 ports, audio jacks, and power/reset buttons.
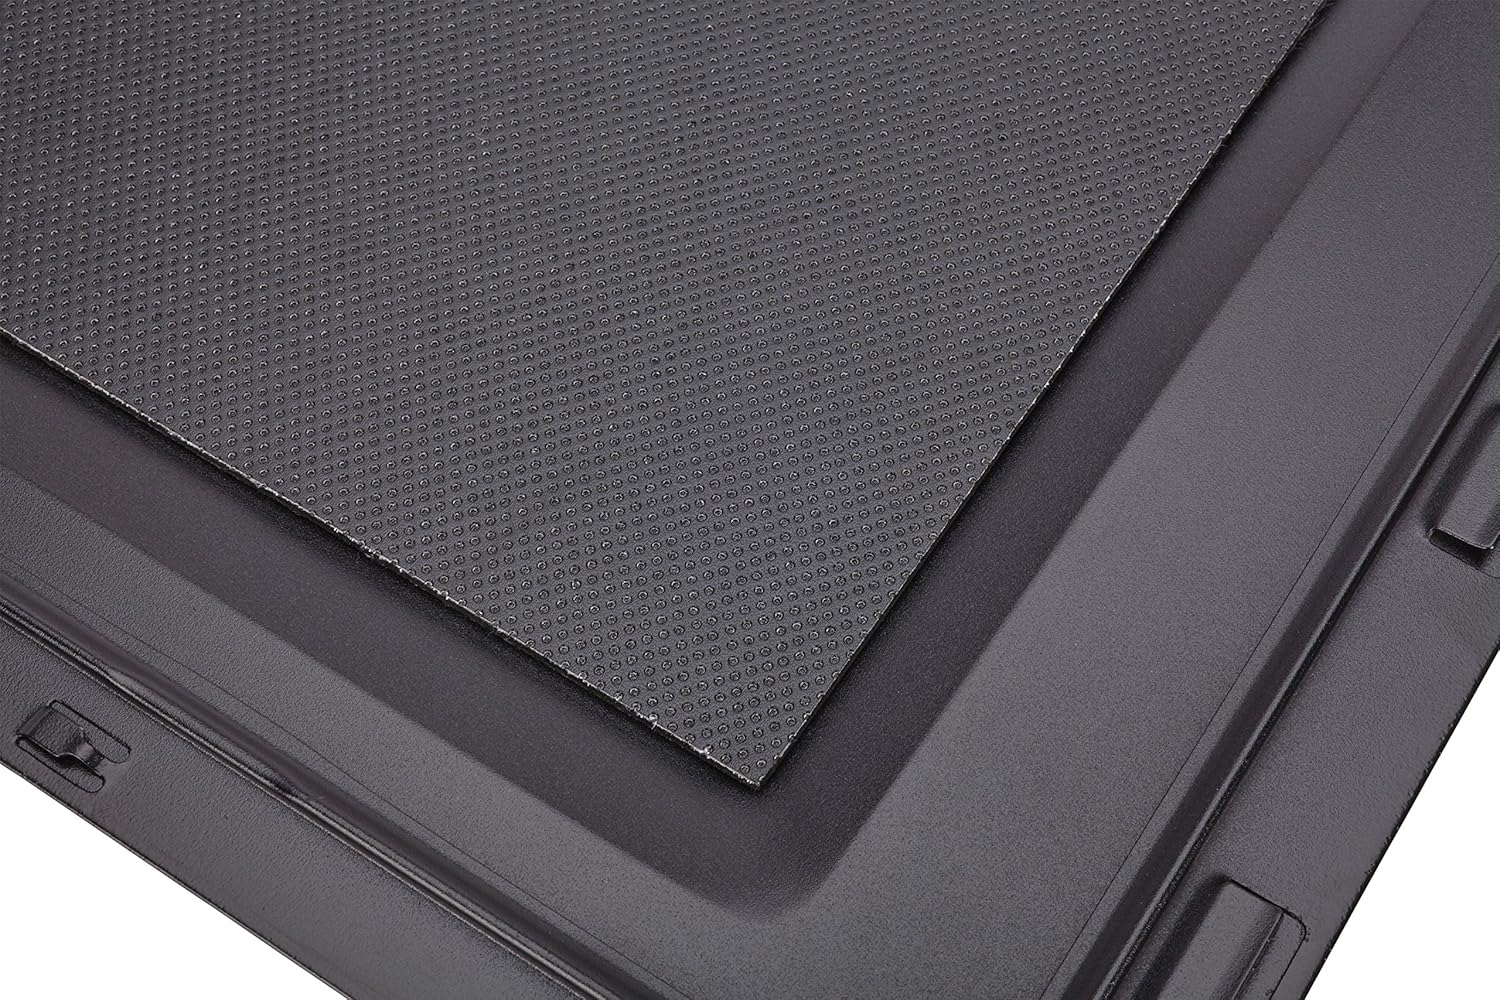
Figure 3: Close-up of the sound-damping material applied to the interior of a side panel, designed to reduce noise.
Eto Itọsọna
1. Ngbaradi Ọran naa
- Gbe ọran naa sori iduro, dada alapin.
- Remove the side panels by unscrewing the two captive thumb screws at the rear of the case for each panel. Slide the panels backward and lift them off.

Figure 4: A hand unscrewing a thumb screw from the rear of the case, demonstrating the tool-free access feature.
2. Modaboudu fifi sori
- Install the I/O shield provided with your motherboard into the opening at the rear of the case.
- Align your motherboard with the pre-installed standoffs. Additional standoffs may be required depending on your motherboard form factor (ATX, Micro-ATX, Mini-ITX).
- Ṣe aabo modaboudu nipa lilo awọn skru ti a pese.
3. wakọ sori
The case supports 5.25-inch optical drives, 3.5-inch hard drives, and 2.5-inch solid-state drives.
- 5.25-inch Drives: Remove the front panel bay cover. Slide the drive into the bay until it clicks into place.
- 3.5-inch Drives: Pull out a drive tray from the drive cage. Flex the tray and insert the 3.5-inch drive. Slide the tray back into the cage until it locks.
- 2.5-inch Drives: Secure the 2.5-inch drive to a 3.5-inch drive tray using the provided screws, then slide the tray into the cage.

Nọmba 5: View of the internal drive bays, showing the removable trays for 3.5-inch and 2.5-inch drives, and the front intake fan.
4. Fifi sori Ipese Agbara
- Position the power supply unit (PSU) at the bottom rear of the case, ensuring the fan faces downwards (if the case has a bottom vent) or upwards.
- Secure the PSU to the case using the screws provided with your power supply.
5. Component Installation (Graphics Cards, Expansion Cards)
- Yọ awọn ideri aaye imugboroosi pataki kuro ni ẹhin apoti naa.
- Insert your graphics card or other expansion cards into the appropriate PCIe slots on your motherboard.
- Secure the cards with the provided screws.

olusin 6: Example of a fully assembled system inside the case, showing motherboard, CPU cooler, graphics card, and power supply.
6. Iṣakoso USB
Utilize the cutouts and tie-down points on the motherboard tray to route cables behind the tray. This improves airflow and maintains a clean interior appearance.
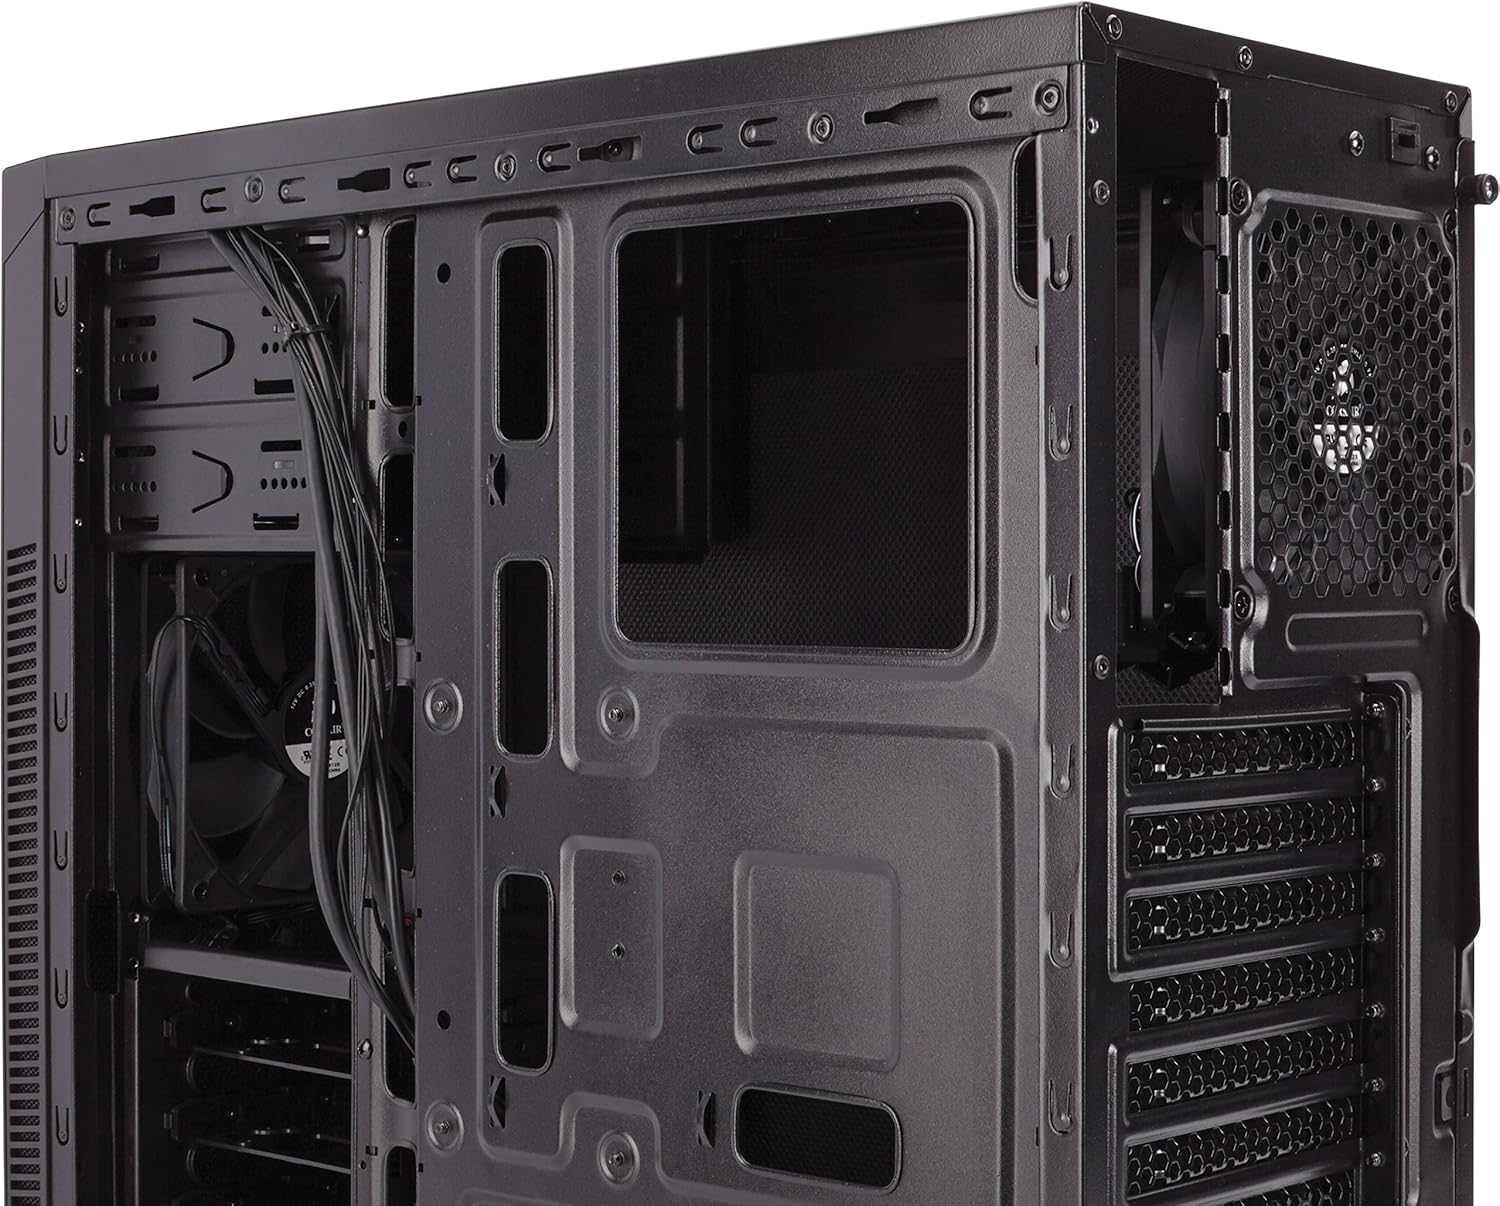
Figure 7: Angled internal view highlighting the cable routing cutouts and space behind the motherboard tray for cable management.
Isẹ
Oluṣakoso Fan
The Carbide Series 100R Silent Edition includes a 3-speed fan controller located at the rear of the case. This switch allows you to adjust the speed of the connected case fans:
- Kekere: For quiet operation and minimal airflow.
- Alabọde: A balanced setting for general use.
- Ga: Provides maximum airflow for demanding tasks or higher temperatures.

Figure 8: The 3-speed fan controller switch located on the rear panel of the case.
Iwaju Panel Ports
Pẹpẹ iwaju pese iwọle ti o rọrun si:
- Awọn ebute oko oju omi USB 3.0 meji
- Agbekọri Jack
- Gbohungbohun Jack
- Bọtini agbara
- Bọtini atunto
Itoju
Ninu
- Lo asọ, damp cloth to clean the exterior surfaces of the case. Avoid abrasive cleaners.
- For internal cleaning, use compressed air to remove dust from components and fans. Ensure the system is powered off and unplugged.
Itọju Àlẹmọ eruku
The case includes dust filters to prevent dust buildup inside. Regularly clean these filters to maintain optimal airflow and cooling performance.
- Locate the dust filter at the bottom of the case (under the power supply intake).
- Slide out the filter for cleaning.
- Clean the filter with water and mild soap, or use compressed air. Ensure it is completely dry before reinserting.

Nọmba 9: View of the removable dust filter located at the bottom of the case, beneath the power supply area.
Laasigbotitusita
- Ètò kò ṣiṣẹ́: Double-check all power connections, including the 24-pin ATX, 8-pin CPU, and front panel power switch headers on the motherboard. Ensure the power supply switch is in the 'ON' position.
- Àwọn olùfẹ́ tí kò yípo: Verify that the fans are correctly connected to the fan controller or motherboard headers. Check the fan controller setting.
- Ariwo nla: Ensure all screws are tightened, especially on side panels and drive bays. Check fan blades for obstructions. Adjust the fan controller to a lower speed setting.
- Poor airflow/high temperatures: Clean dust filters and internal components. Ensure fans are oriented correctly for optimal airflow (intake/exhaust).
Awọn pato
| Ẹya ara ẹrọ | Ẹ̀kúnrẹ́rẹ́ |
|---|---|
| Orukọ awoṣe | CC-9011077-WW |
| Iru Irú | Ile-iṣọ Mid |
| Modaboudu Ibamu | ATX, Micro ATX, Mini ITX |
| Ohun elo ọran | Irin |
| Awọn iwọn (L x W x H) | 18.5 x 7.9 x 16.9 inches (470 x 200 x 430 mm) |
| Iwọn Nkan | 10.56 poun (4.79 kg) |
| Imugboroosi Iho | 7 |
| Wakọ Bays | 2x 5.25", 4x 3.5"/2.5" combo |
| Iwaju Awọn Ibudo I / O | 2x USB 3.0, Headphone, Microphone, Power, Reset |
| Awọn onijakidijagan to wa | 2x 120mm |
| Fan Iwon | 120 millimeters |
| Ọna Itutu | Afẹfẹ |
| Agbara Ipese Iṣagbesori Iru | Isalẹ Oke |
Atilẹyin ọja ati Support
For technical assistance or warranty inquiries, please contact Corsair customer support.
Corsair Technical Support: 1-888-222-4346 opt #1
Please have your product model number (CC-9011077-WW) and proof of purchase available when contacting support.


