1. Ifihan
O ṣeun fun riraasing the Gotech GTV-7-TFT 7-inch Portable Color TFT LCD TV. This manual provides essential information for the safe and efficient operation of your device. Please read it thoroughly before use and retain it for future reference.
2. Awọn Ilana Aabo pataki
- Ma ṣe fi ẹrọ naa han si ojo tabi ọrinrin lati yago fun ina tabi mọnamọna.
- Maṣe ṣii casing. Tọkasi gbogbo iṣẹ si oṣiṣẹ oṣiṣẹ.
- Yago fun gbigbe ẹrọ naa si nitosi awọn orisun ooru tabi ni imọlẹ orun taara.
- Rii daju pe fentilesonu to dara ni ayika ẹyọ naa.
- Lo oluyipada agbara pàtó kan.
- Jeki ẹyọ kuro lati awọn aaye oofa to lagbara.
- Fi aṣọ gbígbẹ tó rọ, tó sì rọ̀ mọ́ ẹ̀rọ náà. Má ṣe lo àwọn ohun èlò ìfọmọ́ omi.
3. Package Awọn akoonu
Jẹrisi pe gbogbo awọn ohun kan wa ninu package:
- Gotech GTV-7-TFT Portable TV Unit
- Isakoṣo latọna jijin
- AC / DC Adapter
- Car Cord (Car Holder not explicitly listed as included, but mentioned as a feature)
- Eriali Jack
- AV Cable
- Imuduro ti o ṣee ṣe kuro

Image 3.1: The retail box for the Gotech GTV-7-TFT Portable TV, showing the product, remote control, and included accessories.
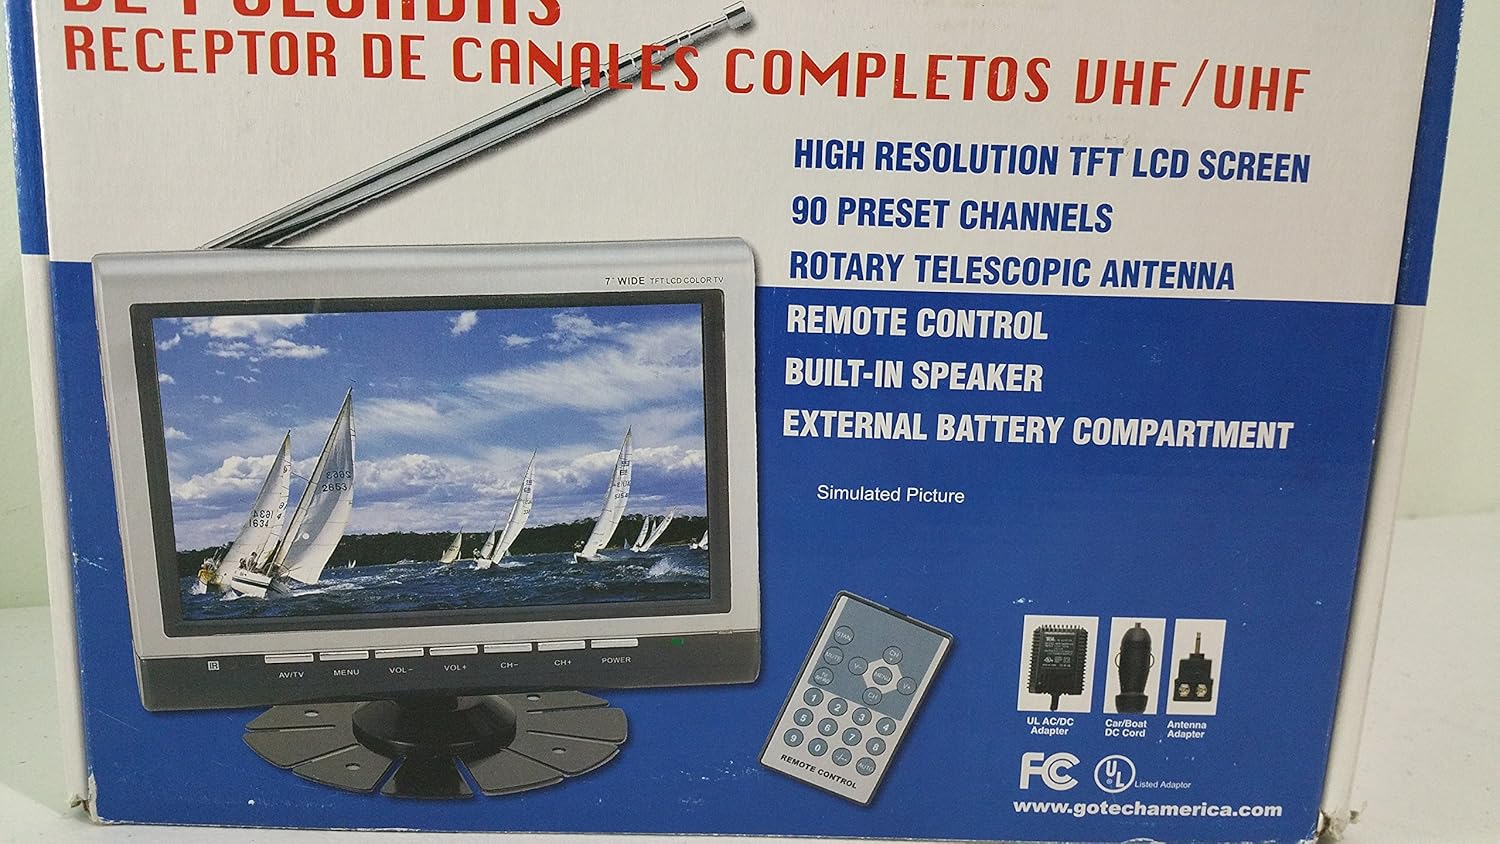
Aworan 3.2: A jo view of the Gotech GTV-7-TFT TV screen and the remote control, as depicted on the product packaging.
4. Ọja Ipariview
4.1 Key Awọn ẹya ara ẹrọ
- 7-inch High Resolution TFT LCD Screen
- Full Channel VHF/UHF Receiver
- 90 Awọn ikanni tito tẹlẹ
- Digital Up/Down Tuning
- Auto Channel Programming
- Rotari Telescopic Eriali
- On-Screen Display (OSD) for Picture and Volume Adjustment
- Agbọrọsọ ti a ṣe sinu
- External Battery Compartment (requires 10x AA batteries, not included)
- Remote Control with Button Cell
- New Detachable Stand with Battery

Image 4.1: Side panel of the Gotech GTV-7-TFT packaging, detailing the product's main features.
5. Eto
5.1 Powering the TV
The GTV-7-TFT can be powered in several ways:
- Adapter AC/DC: Connect the provided AC/DC adapter to the TV's power input and then to a standard wall outlet.
- Car Cord: For in-vehicle use, connect the car cord to the TV's power input and then to your vehicle's 12V power outlet.
- Awọn batiri ita: Open the external battery compartment and insert 10x AA size batteries (UM3) according to the polarity indicators. Ensure the batteries are fresh and correctly oriented.
5.2 Nsopọ eriali
Extend the rotary telescopic antenna for optimal signal reception. For improved reception, you may connect an external antenna to the antenna jack using the provided antenna jack adapter.
5.3 Connecting External Devices (AV Input)
To connect external devices such as a DVD player or gaming console, use the provided AV cable. Connect one end to the TV's AV input port and the other end to the AV output ports of your external device. Select the AV input source on the TV to view akoonu lati ẹrọ ti a ti sopọ.
6. Isẹ
6.1 Agbara Tan / Pa
Tẹ awọn AGBARA button on the TV unit or the remote control to turn the TV on or off.
6.2 Ṣíṣe àtúnṣe ikanni
- Ṣíṣeto Ikanni Aifọwọyi: It is recommended to perform an auto channel scan upon first use or when moving to a new location. Access the menu, navigate to the channel setup, and select 'Auto Scan' or 'Auto Program'. The TV will search and store available channels.
- Digital Up/Down Tuning: Lo awọn CH+ ati CH- buttons on the TV or remote control to navigate through the preset channels.
6.3 Volume and Picture Adjustment
Lo awọn VOL+ ati VOL- buttons on the TV or remote control to adjust the volume. Picture settings (brightness, contrast, color) can be adjusted via the on-screen display (OSD) menu. Press the Akojọ button to access these options.
6.4 Iṣakoso latọna jijin
The remote control allows convenient operation from a distance. Ensure the button cell battery is correctly inserted. Point the remote control directly at the TV's infrared sensor.
7. Itọju
7.1 Ninu
Wipe the TV screen and casing with a soft, dry, lint-free cloth. Do not use abrasive cleaners, waxes, or solvents as they may damage the finish or screen.
7.2 Ibi ipamọ
If the TV will not be used for an extended period, remove the external batteries to prevent leakage. Store the unit in a cool, dry place away from direct sunlight and extreme temperatures.
8. Laasigbotitusita
| Isoro | Owun to le Fa | Ojutu |
|---|---|---|
| Ko si agbara | Agbára adapter kò sopọ̀ mọ́; Àwọn bátìrì ti bàjẹ́ tàbí wọ́n ti fi sínú rẹ̀ lọ́nà tí kò tọ́. | Check power connections; Replace or correctly insert batteries. |
| Ko si aworan/ohun | Incorrect input source; Antenna not connected or extended; No channels scanned. | Select correct input (TV/AV); Extend antenna or connect external one; Perform auto channel scan. |
| Gbigbawọle ti ko dara | Weak signal; Antenna position. | Adjust antenna position; Try an external antenna; Check for local signal strength. |
| Isakoṣo latọna jijin ko ṣiṣẹ | Battery depleted; Obstruction between remote and TV. | Replace remote control battery; Remove any obstructions. |
9. Awọn pato
| Ẹya ara ẹrọ | Ẹ̀kúnrẹ́rẹ́ |
|---|---|
| Nọmba awoṣe | gtv-7-tft |
| Iwon iboju | 7 inches (17.8 cm) |
| Ifihan Iru | TFT LCD Awọ Ifihan |
| Tuner Iru | Full Channel VHF/UHF Receiver |
| Awọn ikanni tito tẹlẹ | 90 |
| Audio o wu Iru | Agbọrọsọ ti a ṣe sinu |
| Ọna Iṣakoso | Isakoṣo latọna jijin |
| Awọn ẹrọ ibaramu | Telifisonu, Agbọrọsọ |
| Orisun agbara | AC/DC Adapter, Car Cord, External Battery Compartment (10x AA batteries, not included) |
10. Atilẹyin ọja ati Support
Specific warranty information and customer support details are not provided within this manual. Please refer to the product packaging or contact your retailer for warranty claims and technical assistance.


