1. Ifihan
Thank you for choosing the Trixie Tinos Pet Carrier. This manual provides important information for the safe and proper use, assembly, and maintenance of your pet carrier. Please read these instructions carefully before use and retain them for future reference.
The Trixie Tinos Pet Carrier is designed for the comfortable and secure transport of small pets. It features durable plastic construction, a convenient carrying handle, and ventilation slots to ensure optimal air circulation for your pet.
2. Awọn ilana aabo
- Always ensure the carrier is fully assembled and all latches are securely fastened before placing your pet inside or transporting.
- Do not leave your pet unattended in the carrier for extended periods, especially in extreme temperatures.
- Ensure the carrier is appropriately sized for your pet to allow them to stand, turn around, and lie down comfortably.
- Regularly inspect the carrier for any damage, cracks, or loose parts. Discontinue use if any damage is found.
- Keep the carrier away from open flames or excessive heat sources.
- This carrier is intended for pet transport only. Do not use it for any other purpose.
3. Package Awọn akoonu
Ni ṣiṣi package, jọwọ rii daju pe gbogbo awọn paati wa:
- Top section of the carrier
- Bottom section of the carrier
- Ilekun
- Mu
- Fasteners/Clips (integrated into the design)
4. Eto ati Apejọ
The Trixie Tinos Pet Carrier typically comes in two main plastic sections that need to be joined. Follow these steps for assembly:
- Prepare the sections: Place the bottom section of the carrier on a flat, stable surface.
- Align the top section: Carefully align the top section of the carrier with the bottom section, ensuring that the edges match perfectly.
- Secure the latches: Press the top and bottom sections together firmly. Engage all plastic latches or clips located around the perimeter of the carrier. Ensure each latch clicks into place securely.
- Attach the door: Insert the door's hinges into the designated slots on the carrier. Close the door and ensure the locking mechanism functions correctly.
- Attach the handle: Secure the carrying handle to the designated attachment points on the top of the carrier.
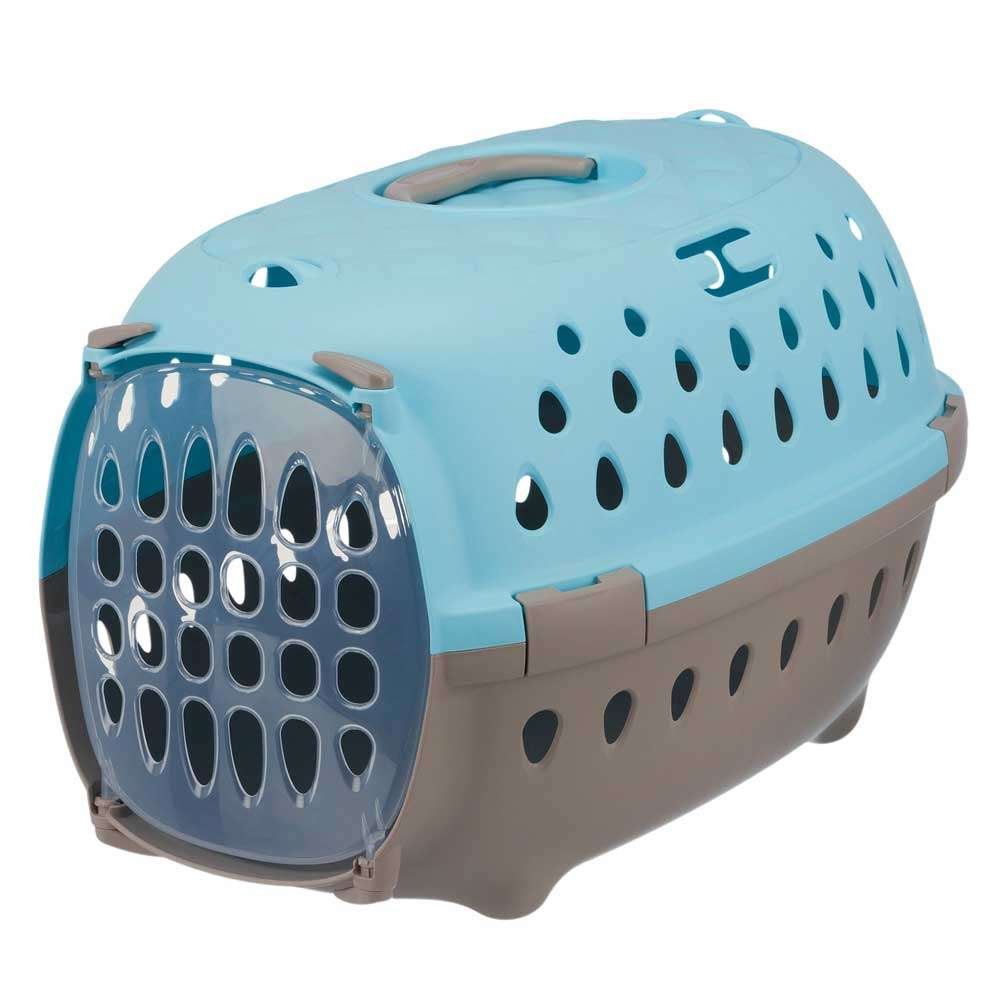
Image 1: Fully assembled Trixie Tinos Pet Carrier, showing the top and bottom sections joined, with the door closed and handle attached. The carrier is brown and light blue.
5. Awọn ilana Iṣiṣẹ
5.1 Gbígbé Ẹranko Rẹ Sínú
- Open the carrier door by disengaging the locking mechanism.
- Gently encourage your pet to enter the carrier. You may use treats or familiar bedding to make the experience positive.
- Once your pet is inside, securely close and lock the door. Double-check that the door is fully latched.
5.2 Transporting Your Pet
- Always carry the carrier using the designated handle. Ensure a firm grip.
- When placing the carrier in a vehicle, secure it to prevent movement during transit. Use seatbelts or other restraints if available.
- Avoid sudden stops or movements that could distress your pet.
- Ensure adequate ventilation during transport, especially in warm weather.
6. Itọju ati Cleaning
Regular cleaning and maintenance will prolong the life of your Trixie Tinos Pet Carrier and ensure a hygienic environment for your pet.
- Ninu: The carrier can be easily cleaned with warm water and a mild, pet-safe detergent. Rinse thoroughly to remove all soap residue.
- Gbigbe: Gba gbogbo awọn ẹya laaye lati gbẹ patapata ṣaaju iṣakojọpọ tabi titoju.
- Ayewo: Periodically check all latches, hinges, and the handle for wear or damage. Replace the carrier if any critical components are compromised.
- Ibi ipamọ: Store the carrier in a clean, dry place when not in use.
7. Laasigbotitusita
7.1 Carrier Door Not Closing Properly
- Ṣayẹwo titete: Ensure the door is correctly aligned with the frame and hinges.
- Awọn idilọwọ: Look for any debris or foreign objects blocking the latch mechanism.
- Bibajẹ: Inspect the door and latch for any visible damage or bending. If damaged, discontinue use.
7.2 Sections Not Joining Securely
- Proper alignment: Ensure the top and bottom sections are perfectly aligned before attempting to engage the latches.
- Latch engagement: Apply firm, even pressure to each latch until it clicks into place.
- Awọn idilọwọ: Check for any material or debris preventing the sections from fitting flush.
8. Awọn pato
| Ẹya ara ẹrọ | Ẹ̀kúnrẹ́rẹ́ |
|---|---|
| Nọmba awoṣe | 39782 |
| Brand | Trixie |
| Ohun elo | Ṣiṣu |
| Awọn iwọn (W x D x H) | 35 x 32 x 50 cm (isunmọ. 13.8 x 12.6 x 19.7 inches) |
| Iwọn | Kg 1.1 (isunmọ 2.4 lbs) |
| Awọn ẹya ara ẹrọ | Handle, Ventilation slots, Non-slip base |
9. Atilẹyin ọja ati Support
Trixie products are manufactured with quality and durability in mind. For specific warranty information, please refer to the documentation provided at the point of purchase or visit the official Trixie webojula.
For product support, spare parts, or further inquiries, please contact Trixie customer service through their official channels. You can often find contact information on the product packaging or on the Trixie brand webojula: Trixie Official Store.


