Ọrọ Iṣaaju
Thank you for choosing the Billboard Bluetooth Wireless Hook Over Earbuds. This manual provides essential information for setting up, operating, and maintaining your new earbuds. Please read these instructions carefully before use to ensure optimal performance and longevity of your device. Keep this manual for future reference.
Package Awọn akoonu
Rii daju pe gbogbo awọn nkan wa ninu package:
- Bọ́ọ̀dì Bluetooth Wireless Hook Over Earbuds
- Micro USB Ngba agbara USB
- Afowoyi Olumulo (iwe-ipamọ yii)
Ọja Pariview
The Billboard Bluetooth Wireless Hook Over Earbuds are designed for comfortable and secure fit, featuring a tangle-free flat cord and integrated controls for music and calls.
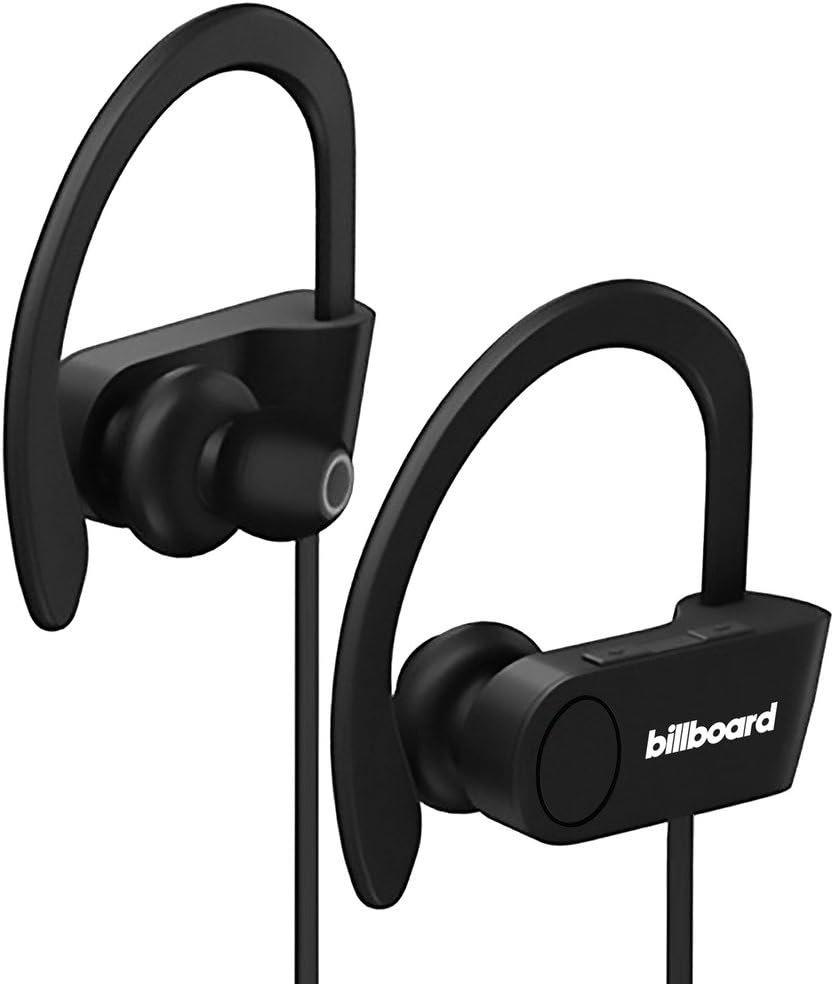
Image: Billboard Bluetooth Wireless Hook Over Earbuds, front view. These black earbuds feature an over-ear hook design for secure placement and a flat cord connecting the two earpieces.

Image: Billboard Bluetooth Wireless Hook Over Earbuds, showing the flat tangle-free cord. The design emphasizes a comfortable fit with the ear hooks and the practical flat cable.
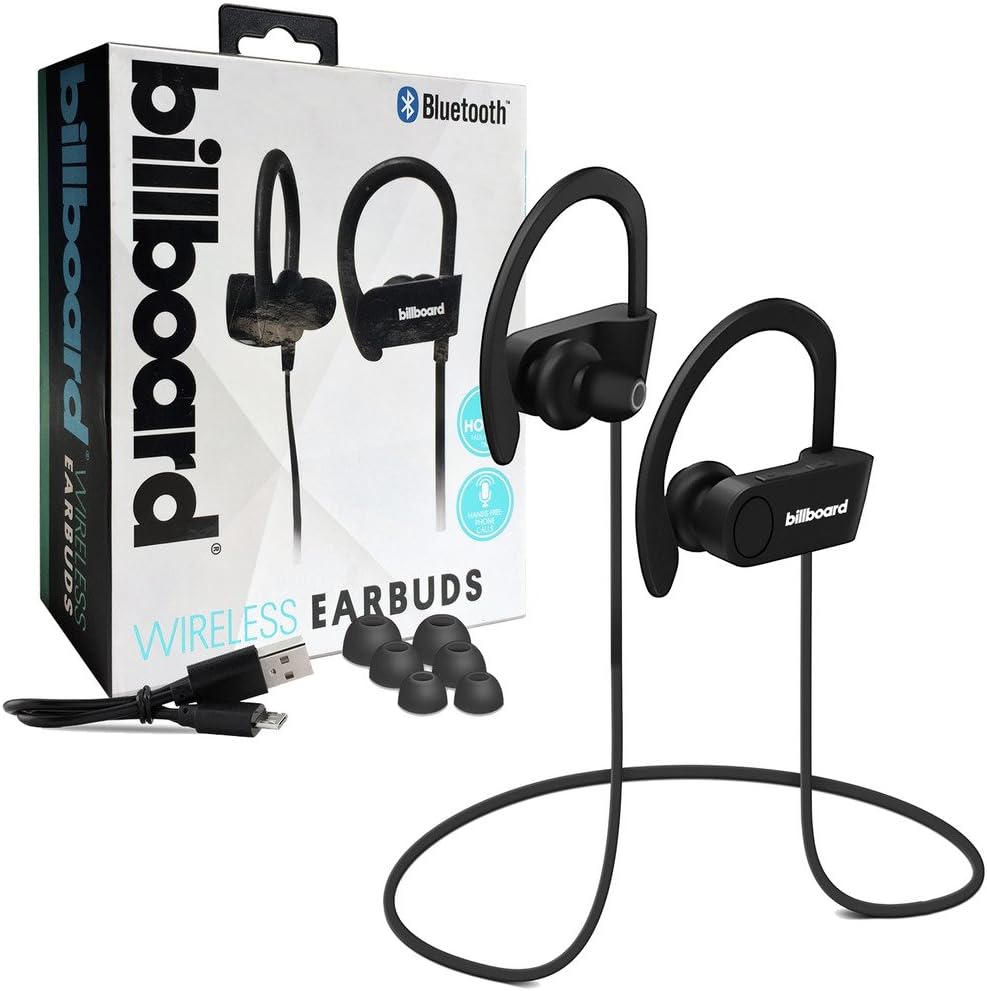
Image: Billboard Bluetooth Wireless Hook Over Earbuds packaging with included accessories. The box displays the earbuds, a charging cable, and additional ear tips, highlighting the product's features.
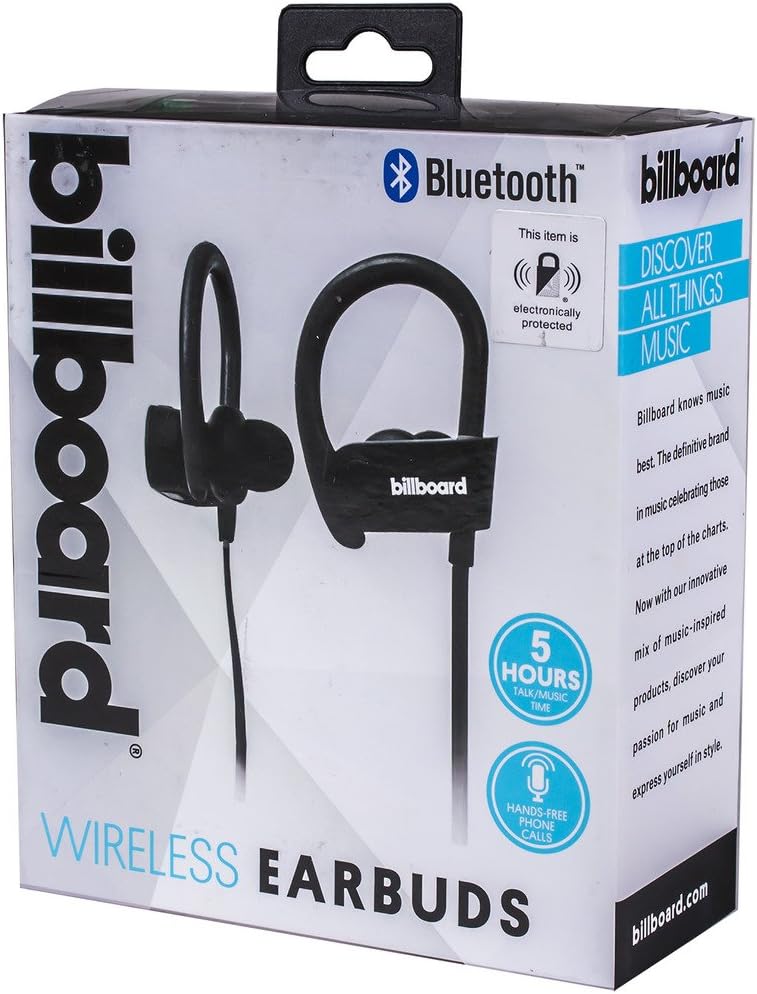
Image: Close-up of Billboard Bluetooth Wireless Hook Over Earbuds packaging, detailing features. The packaging highlights key features such as Bluetooth connectivity, 5 hours of talk/music time, and hands-free phone calls.
Ṣeto
1. Ngba agbara si Earbuds
- Locate the Micro USB charging port on one of the earbuds (typically on the control module).
- Connect the provided Micro USB charging cable to the earbud's charging port.
- Plug the other end of the USB cable into a USB power source (e.g., computer USB port, wall adapter).
- The LED indicator light will illuminate, typically red, to show that the earbuds are charging.
- Once fully charged, the LED indicator light will change color (e.g., turn blue or off). A full charge usually takes approximately 1-2 hours.
Akiyesi: Rí i dájú pé àwọn agbekọri náà ti gba agbára kíkún kí o tó lò ó fún ìgbà àkọ́kọ́ kí ó tó lè pẹ́ tó.
2. Sisopọ Bluetooth
- Agbara Tan: Press and hold the Multi-function button (usually the center button on the control module) for a few seconds until the LED indicator light flashes blue and red alternately, indicating pairing mode.
- Mu Bluetooth ṣiṣẹ: On your smartphone or other Bluetooth-enabled device, go to the Bluetooth settings and ensure Bluetooth is turned on.
- Wa fun Awọn ẹrọ: Your device will automatically search for nearby Bluetooth devices.
- Select Earbuds: From the list of available devices, select "Billboard Earbuds" or a similar name.
- Jẹrisi Isopọpọ: Once successfully paired, the LED indicator light on the earbuds will typically flash blue slowly or turn off, and you will hear an audible confirmation.
- Tí a bá béèrè fún ọ̀rọ̀ìpamọ́, tẹ "0000" (odò mẹ́rin).
Akiyesi: The earbuds will automatically attempt to reconnect to the last paired device when powered on, if that device's Bluetooth is active and within range.
Awọn ilana Iṣiṣẹ
Awọn Iṣakoso Loriview
The control module on the earbud cord typically includes a Multi-function button (MFB) and Volume Up/Down buttons.
- Bọtini iṣẹ-ọpọlọpọ (MFB): Power On/Off, Play/Pause, Answer/End Call, Reject Call.
- Iwọn didun soke (+): Mu iwọn didun pọ si, Orin atẹle.
- Iwọn didun isalẹ (-): Dín iwọn didun kù, Orin ti o ti kọja.
Titan / Paa
- Agbara Tan: Press and hold the MFB for approximately 3 seconds until the LED flashes blue and you hear a power-on prompt.
- Agbara Pa: Press and hold the MFB for approximately 3-5 seconds until the LED flashes red and you hear a power-off prompt.
Sisisẹsẹhin Orin
- Ṣiṣẹ/Daduro: Tẹ MFB lẹẹkan.
- Orin t’okan: Tẹ mọlẹ bọtini Iwọn didun Up (+).
- Tẹlẹ Orin: Tẹ mọlẹ bọtini Iwọn didun isalẹ (-).
Isakoso Ipe
- Idahun/Ipe Ipari: Press the MFB once during an incoming call or during an active call.
- Kọ Ipe: Press and hold the MFB for approximately 2 seconds during an incoming call.
- Nọmba Ikẹhin Tun Tun: Double-press the MFB when no call is active.
Iṣakoso iwọn didun
- Mu iwọn didun pọ si: Press the Volume Up (+) button repeatedly.
- Din iwọn didun silẹ: Press the Volume Down (-) button repeatedly.
Itoju
- Ninu: Use a soft, dry cloth to clean the earbuds. Do not use abrasive cleaners or solvents.
- Ibi ipamọ: Tọ́jú àwọn ètí ìgbọ́rọ̀ náà sí ibi tí ó tutù tí ó sì gbẹ, tí kò sí ìmọ́lẹ̀ oòrùn tààrà àti ooru líle koko.
- Itọju Batiri: To preserve battery life, charge the earbuds regularly, even if not in frequent use. Avoid fully discharging the battery for extended periods.
- Ifihan omi: These earbuds are not waterproof. Avoid exposure to water or excessive moisture.
Laasigbotitusita
| Isoro | Ojutu |
|---|---|
| Earbuds will not power on. | Ensure the earbuds are fully charged. Connect to a power source and check the charging indicator light. |
| Ko le so pọ pẹlu ẹrọ. | Make sure the earbuds are in pairing mode (flashing blue and red). Ensure Bluetooth is enabled on your device and it is within range (typically 10 meters). Try turning both devices off and on again. |
| Ko si ohun tabi iwọn kekere. | Check the volume levels on both the earbuds and your connected device. Ensure the earbuds are properly paired and connected. Try playing different audio sources. |
| Asopọmọra igba diẹ. | Move closer to your connected device. Avoid obstacles between the earbuds and the device. Ensure there is no interference from other wireless devices. |
Awọn pato
- Brand: Billboard
- Awoṣe: B073CCBSLL
- Àwọ̀: Dudu
- Gbigbe Eti: In Ear (with Over-Ear Hook)
- Okunfa Fọọmu: Eti-meji
- Asopọmọra: Alailowaya Bluetooth
- Ibudo gbigba agbara: Micro USB
- Battery Life (Talk/Music Time): O fẹrẹ to awọn wakati 5
- Awọn ẹrọ ibaramu: Universal/Smartphones
- Awọn ẹya: Tangle-Free Flat Cord, Built-in Microphone, Integrated Controls
Atilẹyin ọja ati Support
Fún ìwífún nípa àtìlẹ́yìn àti ìrànlọ́wọ́ oníbàárà, jọ̀wọ́ tọ́ka sí àwọn ìwé tí ó wà pẹ̀lú ríra rẹ tàbí kí o lọ sí àtìlẹ́yìn ọjà Billboard tí ó jẹ́ ti ìjọba webojula. Jeki ẹri rira rẹ fun eyikeyi awọn ibeere atilẹyin ọja.
If you encounter issues not covered in this manual, please contact customer service for assistance.


