1. Ọja Ipariview
The Diswoe Switch Pro Controller is a versatile wireless gaming controller designed for an enhanced gaming experience across multiple platforms. It offers universal compatibility with Nintendo Switch, Switch 2, Switch Lite, Switch OLED, Windows PC, and Android phones. Featuring Hall Effect joysticks, dual vibration motors, a 6-axis gyro sensor, and turbo functionality, this controller provides precise control and immersive feedback for a wide range of games. Its ergonomic design ensures comfort during extended play sessions, and a high-performance rechargeable battery offers long hours of uninterrupted gaming.

olusin 1: Iwaju view of the Diswoe Switch Pro Controller.
2. Eto ati Asopọ
2.1 Gbigba agbara Adarí
Before first use, fully charge the controller. The controller features a built-in 550mAh rechargeable battery. Connect the controller to a standard USB Type-A wall charger using the provided USB-C cable. A full charge typically takes 2-3 hours and provides 6-8 hours of usage time.
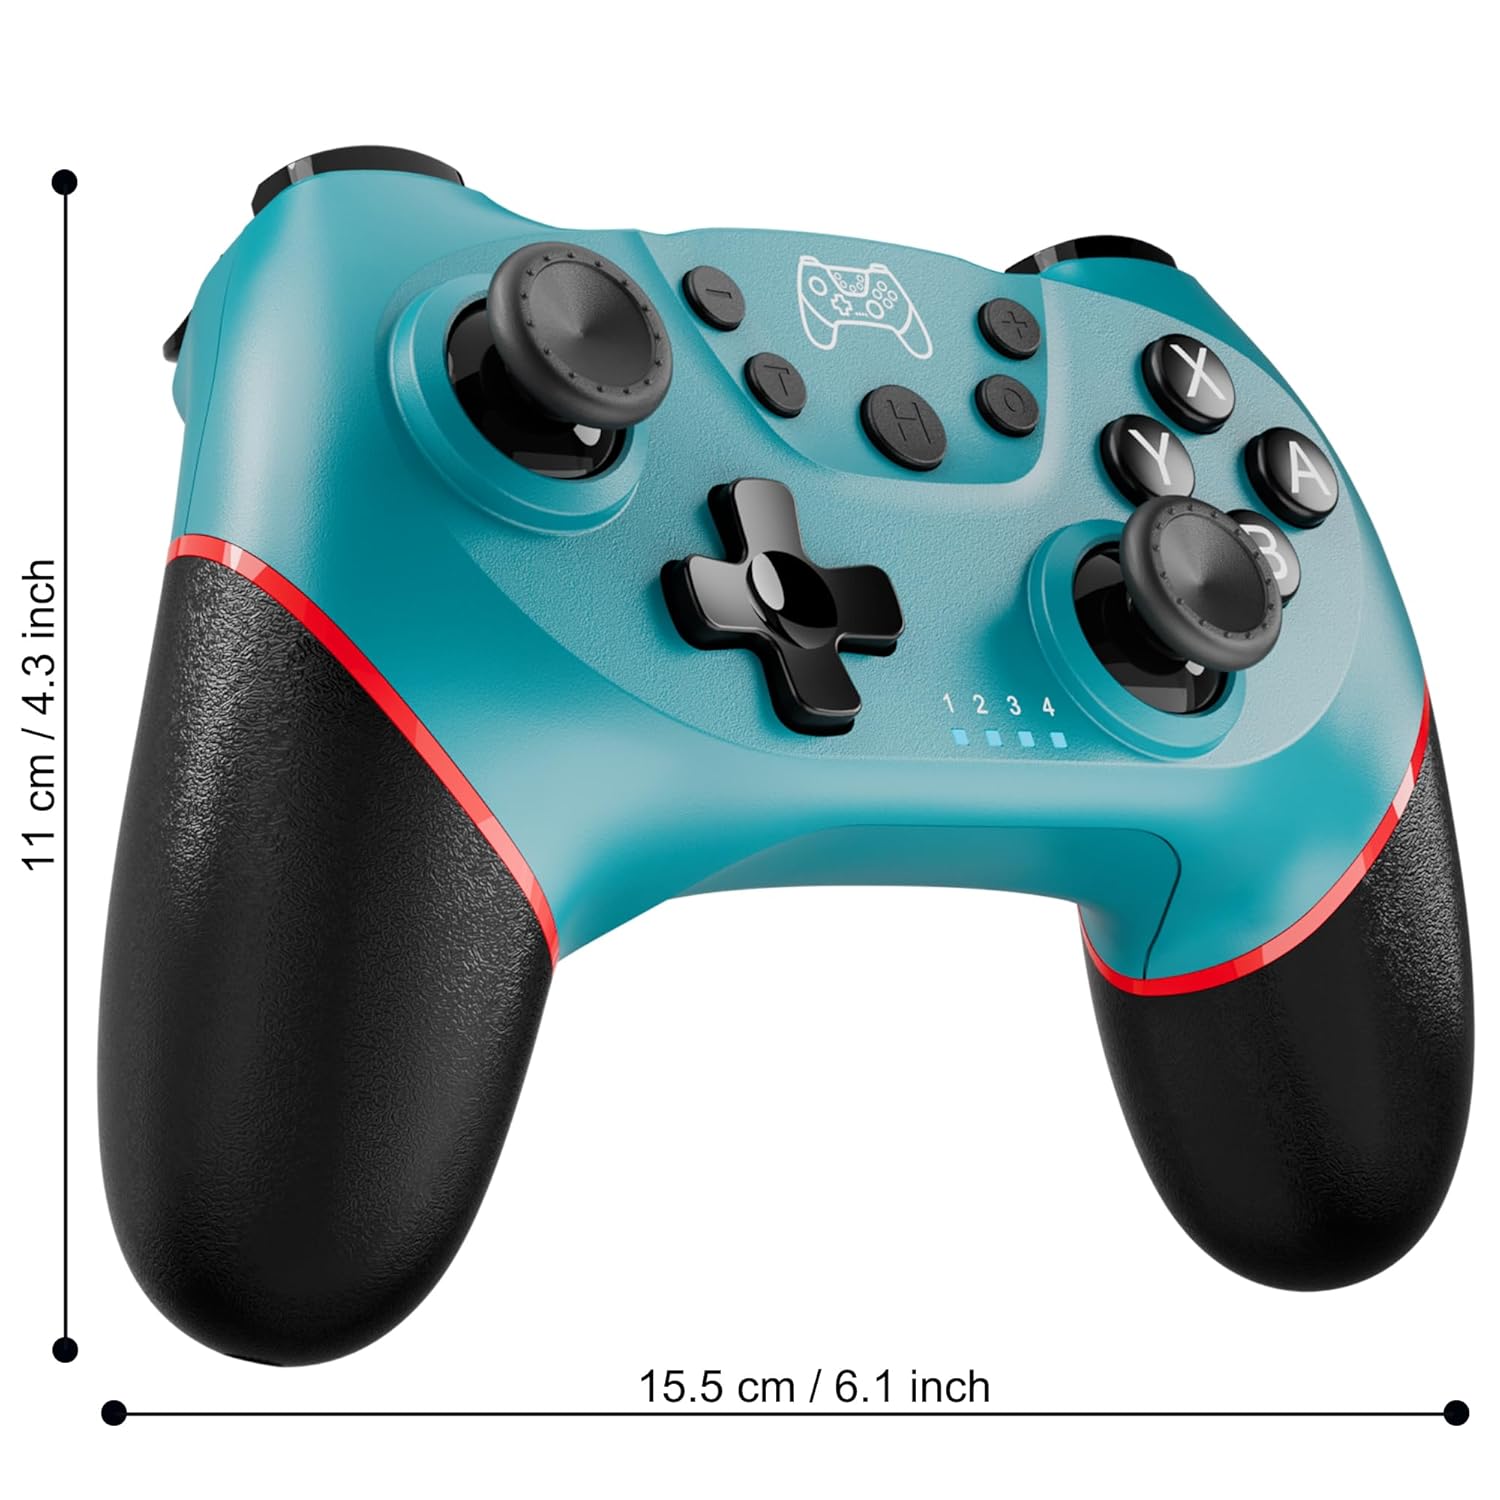
Figure 2: Charging the controller via USB-C port.
2.2 Wireless Bluetooth Connection (Nintendo Switch/Lite/OLED)
- Rii daju pe console Nintendo Switch rẹ ti wa ni agbara ati imudojuiwọn si ẹya tuntun ti eto naa.
- Lati Akojọ aṣyn Ile, yan Awọn oludari > Yi Dimu / Bere fun.
- On the Diswoe Pro Controller, press and hold the H (Home) button for 3-5 seconds until the player indicator lights begin to flash rapidly.
- Once the controller is successfully paired, the player indicator light(s) will remain solid.
- The controller provides a stable and reliable signal without delay or drop-off within 8 meters.

Figure 3: Controller pairing and one-button wake-up feature.
2.3 Wired Connection (PC)
The controller supports USB cable connection with PC. Simply connect the controller to your PC using the provided USB-C cable. No additional drivers are required for basic functionality.
AKIYESI: The controller does not support wake-up for Switch 2 or audio functions via wired connection.
3. Awọn ilana Iṣiṣẹ
3.1 Ipilẹ idari
The controller features standard button layouts for intuitive gameplay:
- Awọn bọtini A/B/X/Y: Awọn bọtini iṣe deede.
- D-Pad: Ìfilọ́lẹ̀ ìtọ́sọ́nà.
- Osi/Ọtun Analog Sticks: For 360-degree movement and camera control.
- Awọn bọtini L/R/ZL/ZR: Awọn bọtini ejika ati okunfa fun awọn iṣe inu-ere oriṣiriṣi.
- +/- Awọn bọtini: Plus and Minus buttons for menu navigation.
- Bọ́tìnì Ilé (H): Returns to the console's HOME Menu.
- Bọtini Sikirinifoto: Ó máa ń ya àwọn àwòrán nígbà tí a bá ń ṣeré.

Nọmba 4: Alaye view awọn bọtini oludari.
3.2 Gbigbọn esi
The controller is equipped with dual vibration motors that provide excellent haptic feedback, enhancing game immersion. The intensity of the vibration can be adjusted to suit your preference, offering three levels of vibration.
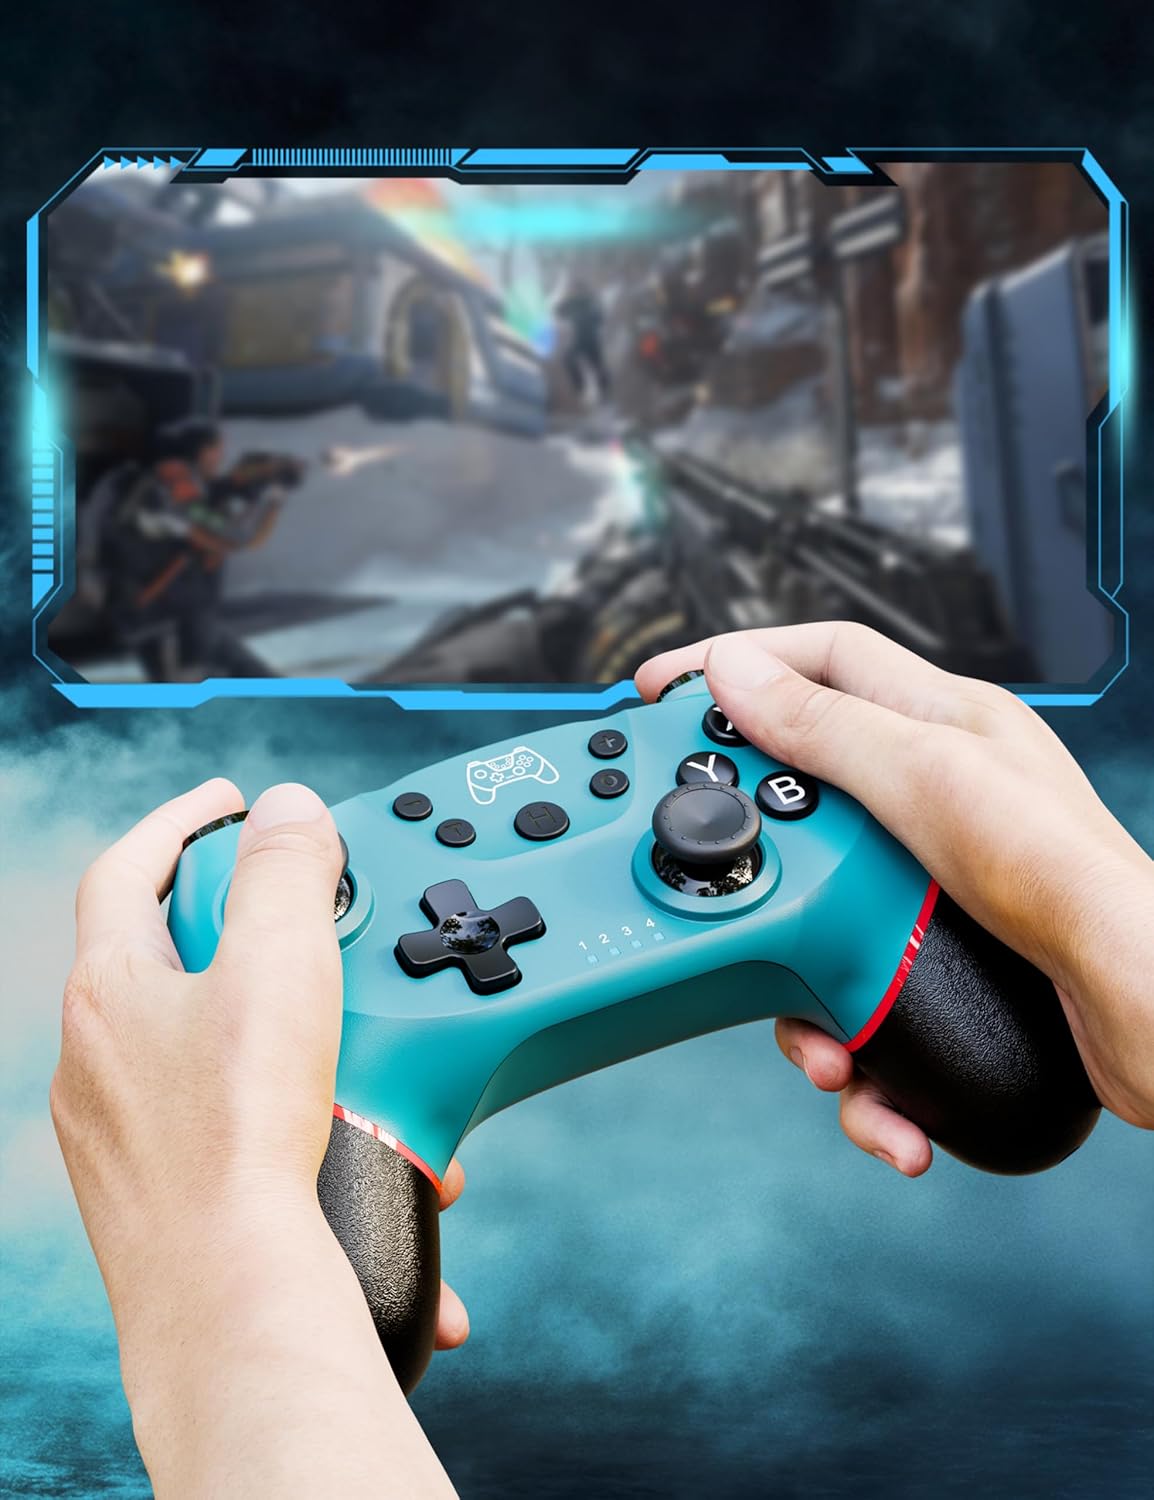
Figure 5: Illustration of adjustable vibration levels.
Sensọ Gyro Apá 6 3.3
The integrated 6-axis gyro sensor allows the controller to detect its inclination and motion, providing quick and precise responses for motion-sensing games. This feature adds an extra layer of fun and control to compatible titles.

Figure 6: Controller with 6-axis gyro sensor in action.
3.4 Turbo Išė
Activate the turbo function for rapid, continuous input of a button press. This is particularly useful in games requiring fast, repetitive actions. The controller supports three turbo speeds: 5 shots/s, 12 shots/s, and 20 shots/s.

Figure 7: Turbo speed settings on the controller.
3.5 Screenshot Išė
Capture your favorite in-game moments instantly by pressing the dedicated screenshot button. This allows for easy sharing of your gameplay experiences.

Figure 8: Location of the screenshot button.
4. Itọju
4.1 Ninu
To maintain the controller's condition, wipe it regularly with a soft, dry cloth. Avoid using harsh chemicals or abrasive materials that could damage the surface.
4.2 batiri Itọju
- Yago fun ṣiṣafihan oludari si awọn iwọn otutu to gaju.
- Do not attempt to disassemble or replace the built-in battery.
- Charge the controller regularly, even if not in frequent use, to prolong battery life.
5. Laasigbotitusita
5.1 Adarí Ko Nsopọ / so pọ
- Rii daju pe oludari ti gba agbara ni kikun.
- Verify that the Nintendo Switch console is powered on and in the "Change Grip/Order" screen.
- Press and hold the H (Home) button on the controller for 3-5 seconds until the player indicator lights flash rapidly.
- If issues persist, try restarting both the controller and the console.
5.2 Àìsí ìṣípò tàbí ìjápọ̀
- Ensure the controller is within the 8-meter operating range of the console.
- Din kikọlu kuro lati awọn ẹrọ alailowaya miiran.
- Check for any physical obstructions between the controller and the console.
- Ensure the controller's battery is not critically low.
5.3 Ìwakọ̀ Joystick
If you experience unintended movement from the analog sticks (joystick drift), try the following:
- Calibrate the joysticks through your Nintendo Switch system settings: Eto Eto > Awọn oludari ati awọn sensọ > Calibrate Iṣakoso duro lori.
- Rí i dájú pé firmware olùdarí náà wà ní ìpele tuntun (ṣàyẹ̀wò ti olùpèsè webaaye fun awọn imudojuiwọn).
- Fi afẹ́fẹ́ tí a fi omi rọ̀ mọ́ àyíká ìsàlẹ̀ àwọn ohun èlò orin náà láti mú àwọn ìdọ̀tí kúrò.
6. Awọn alaye ọja
| Ẹya ara ẹrọ | Ẹ̀kúnrẹ́rẹ́ |
|---|---|
| Nọmba awoṣe | ET16801 |
| Brand | Ìyọnu |
| Ibamu | Nintendo Switch/Switch 2/Switch Lite/Switch OLED, Windows PC, Android Phone |
| Asopọmọra | Wireless Bluetooth, Wired USB-C |
| Agbara Batiri | 550mAh Litiumu Ion (pẹlu) |
| Akoko gbigba agbara | Isunmọ. 2-3 wakati |
| Akoko Lilo | Isunmọ. 6-8 wakati |
| Pataki Awọn ẹya ara ẹrọ | Dual Vibration Motors, 6-Axis Gyro Sensor, Turbo Function, Screenshot Button |
| Iwọn Nkan | 9.9 iwon |
| Package Mefa | 6.42 x 4.76 x 2.6 inches |
| Ọjọ Akọkọ Wa | Oṣu kejila ọjọ 11, ọdun 2019 |
7. atilẹyin ọja Information
Specific warranty details for the Diswoe Switch Pro Controller are typically provided with the product packaging or available on the official Diswoe webojula. Jọwọ tọka si awọn orisun wọnyi fun awọn ofin atilẹyin ọja okeerẹ ati ipo.
8. Onibara Support
For further assistance, technical support, or inquiries regarding your Diswoe Switch Pro Controller, please visit the official Diswoe website or contact their customer service department. Contact information can usually be found on the product packaging or the brand's official online presence.