Ọrọ Iṣaaju
Welcome to your new TELLUR Dash Patrol DC1 Car Camera. This manual provides instructions for installation, operation, and maintenance to ensure optimal performance and longevity of your device. Please read this manual thoroughly before using the product.
Alaye Aabo
- Ensure the dash camera is securely mounted and does not obstruct the driver's view tabi dabaru pẹlu awọn iṣakoso ọkọ.
- Do not operate the device while driving. Adjust settings only when the vehicle is safely parked.
- Yago fun ṣiṣafihan ẹrọ naa si awọn iwọn otutu to gaju, oorun taara fun awọn akoko gigun, tabi ọrinrin.
- Use only the provided power adapter and cables to prevent damage and ensure proper operation.
- Keep the lens clean to ensure clear video recordings.
- Ma ṣe gbiyanju lati tunto tabi tun ẹrọ naa funrararẹ. Kan si oṣiṣẹ iṣẹ ti o pe fun iranlọwọ.
Package Awọn akoonu
- 1 x Dash Patrol Dashcam DC1
- 1 x Oofa akọmọ
- 1 x MicroUSB okun
- 1 x Dual USB Car Charger
- 1 x Itọsọna olumulo
Ọja Pariview
Awọn eroja


Awọn iṣakoso ati Awọn Atọka
- Bọtini agbara: Press and hold to turn the device on or off. Short press to toggle screen display.
- M (Ipo) Bọtini: Switches between video recording, still photo, and playback modes.
- Awọn bọtini oke/isalẹ: Lọ kiri nipasẹ awọn aṣayan akojọ aṣayan tabi ṣatunṣe awọn eto.
- Bọtini O dara: Confirms selections or starts/stops recording in video mode.
- Iho Kaadi TF: Insert a microSD card for storing recordings.
- Ibudo MicroUSB: So pọ mọ ṣaja ọkọ ayọkẹlẹ fun agbara.
- Gbohungbohun: Awọn igbasilẹ ohun.
Ṣeto
1. Fi kaadi iranti sii
Before first use, insert a Class 10 or higher microSD card (not included) into the TF Card slot. Ensure the card is inserted correctly until it clicks into place.
2. Oke Dash kamẹra
Clean the windshield area where the camera will be mounted. Attach the magnetic bracket to the windshield using its adhesive. Ensure the camera's position does not obstruct your view. Once the bracket is secured, attach the dash camera to the magnetic bracket.
3. So Agbara pọ
Connect the MicroUSB cable to the dash camera's MicroUSB port and the other end to the Dual USB Car Charger. Plug the car charger into your vehicle's 12V power outlet (cigarette lighter socket). The camera will automatically power on and begin recording when the vehicle starts.
Awọn ilana Iṣiṣẹ
Gbigbasilẹ ipilẹ
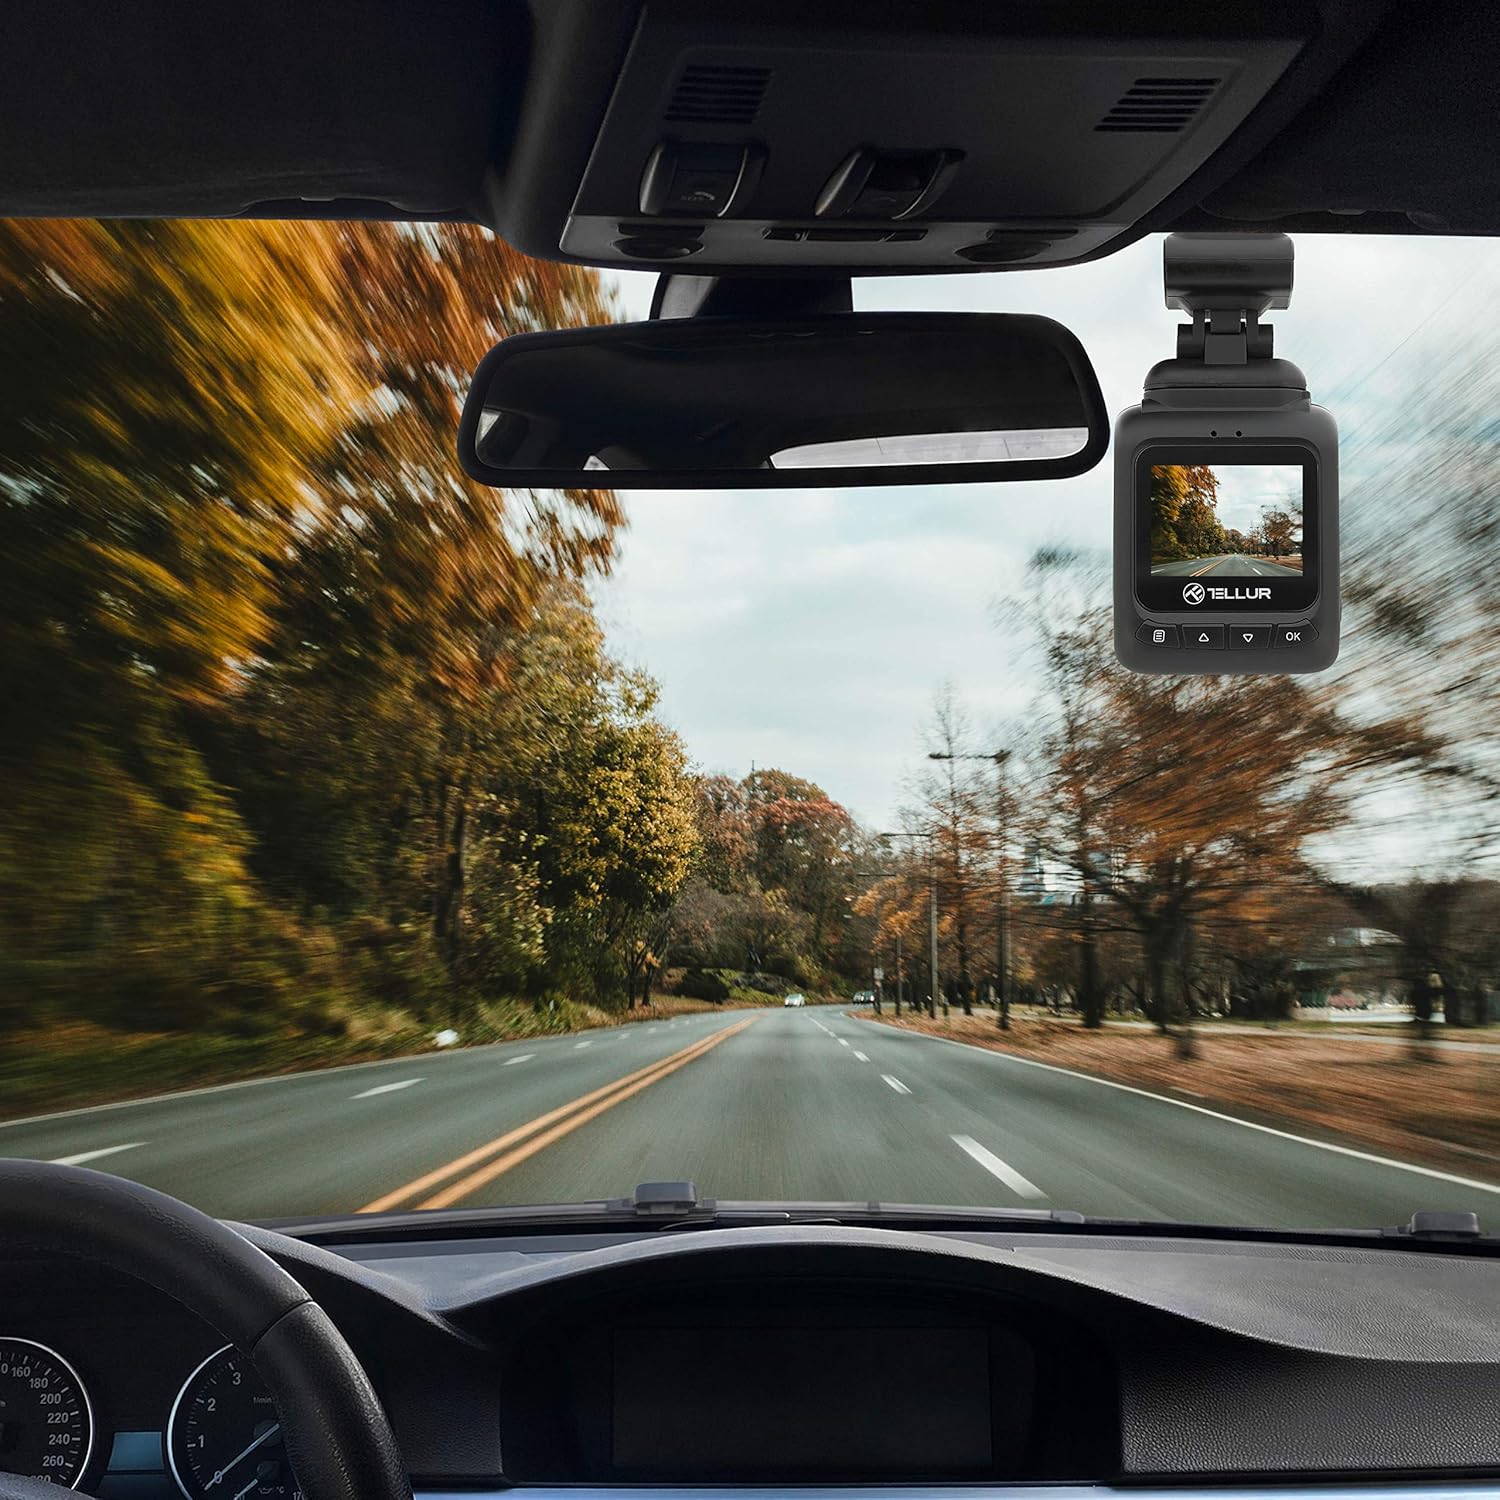
Once powered on, the camera automatically starts recording in a continuous loop. The recording indicator (usually a red dot) will flash on the screen. Videos are recorded in FullHD 1080P resolution with a 140-degree wide-angle lens.
Iṣẹ G-Sensor
The built-in G-sensor detects sudden impacts or collisions. When an event is detected, the current video segment is automatically locked and saved to prevent it from being overwritten by loop recording. This ensures critical footage ti wa ni ipamọ.

Pa Abojuto Išė
When the parking monitoring function is enabled, the camera will automatically start recording if it detects motion or an impact while the vehicle is parked and the engine is off. This feature provides surveillance for your vehicle when unattended.

Lilọ kiri Akojọ aṣyn
Tẹ awọn M button to enter the menu. Use the Soke / Isalẹ awọn bọtini lati lọ kiri nipasẹ awọn aṣayan ati OK Tẹ bọtini lati yan. M lẹẹkansi lati jade kuro ni akojọ aṣayan.
Sisisẹsẹhin fidio
In playback mode (accessed via the M bọtini), lo Soke / Isalẹ awọn bọtini lati yan fidio kan file ati OK to play it. Press M lati pada si awọn file akojọ.
Itoju
Ninu awọn lẹnsi
Regularly clean the camera lens with a soft, lint-free cloth to ensure clear video quality. Do not use abrasive cleaners.
Iṣakoso kaadi iranti
It is recommended to format the microSD card periodically (e.g., once a month) within the camera's settings to maintain optimal performance and prevent data corruption.
Laasigbotitusita
- Kamẹra ko ṣiṣẹ: Check the power connection to the car charger and the vehicle's 12V outlet. Ensure the vehicle's ignition is on.
- Gbigbasilẹ duro lairotẹlẹ: Ensure the microSD card is properly inserted and is a Class 10 or higher. Format the card if issues persist.
- Didara fidio ti ko dara: Clean the camera lens. Check menu settings to ensure 1080P resolution is selected.
- G-Sensọ ko nfa: Adjust the G-sensor sensitivity in the camera's settings.
- Parking Monitor not working: Ensure the parking monitoring function is enabled in the settings.
Awọn pato
| Ẹya ara ẹrọ | Ẹ̀kúnrẹ́rẹ́ |
|---|---|
| Orukọ awoṣe | DC1 |
| Nọmba Awoṣe Nkan | TLL711001 |
| Ipinnu Yaworan fidio | 1080p |
| Aaye Ti View | Awọn iwọn 140 |
| Pataki Ẹya | Automatic Incident Detection (G-Sensor), Parking Monitoring |
| Asopọmọra Technology | USB |
| Iṣagbesori Iru | Magnetic Mount with Adhesive |
| Ọja Mefa | 1.72 x 1.47 x 2.17 inches |
| Iwọn Nkan | 8.4 iwon |
| Awọn batiri | 1 Batiri litiumu polima nilo |
| Àwọ̀ | Dudu |
| Olupese | TELLUR |
Atilẹyin ọja ati Support
TELLUR products are designed for reliability and performance. For warranty information, technical support, or service inquiries, please refer to the contact details provided on the official TELLUR webAaye ayelujara tabi awọn iwe aṣẹ rira rẹ. Pa ẹri rira rẹ mọ fun awọn ẹtọ atilẹyin ọja.