Ọrọ Iṣaaju
Thank you for choosing the PHEANOO D6 Sound Bar System. This 2.1 channel soundbar with a dedicated wired subwoofer is designed to enhance your audio experience, providing clear dialogue, powerful bass, and immersive sound for your home entertainment. This manual provides detailed instructions for setup, operation, maintenance, and troubleshooting to ensure optimal performance and longevity of your device.
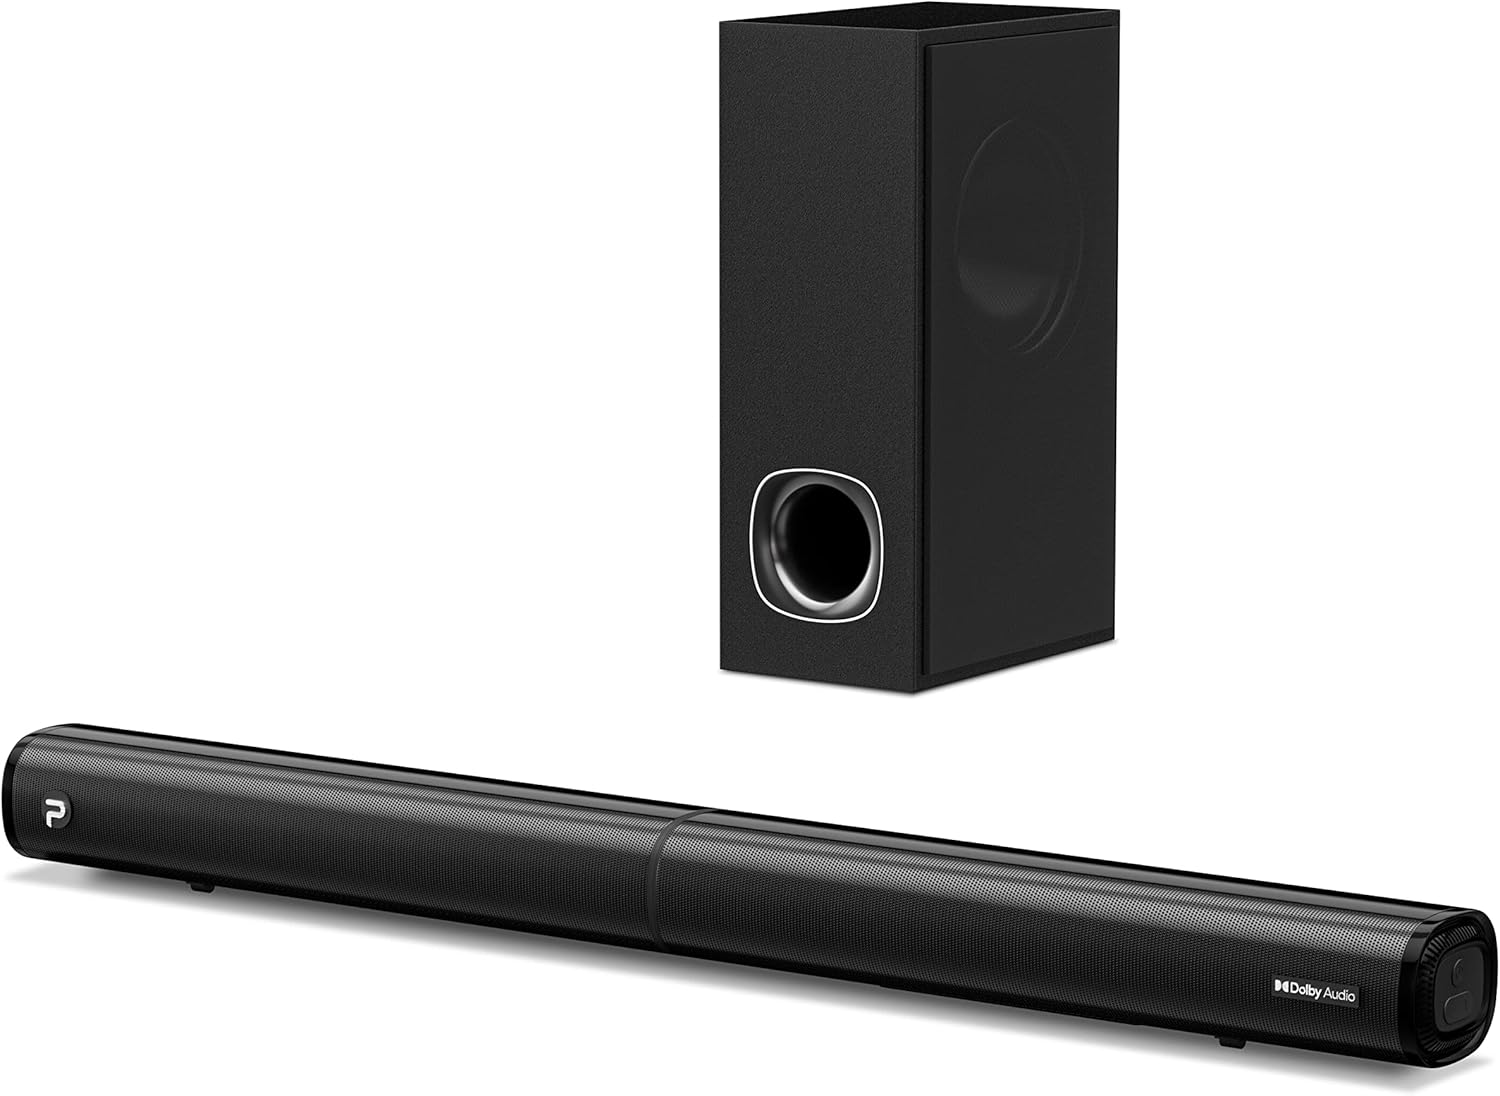
Image: The PHEANOO D6 Sound Bar and its accompanying wired subwoofer, showcasing wọn aso dudu oniru.
Ohun ti o wa ninu Apoti
Jọwọ ṣayẹwo awọn akoonu ti package farabalẹ. Ti awọn ohun kan ba nsọnu tabi bajẹ, kan si atilẹyin alabara.
- Soundbar and Wired Subwoofer
- HDMI okun
- RCA ohun afetigbọ
- Wall Mount Kit (screws and anchors)
- Iṣakoso latọna jijin (awọn batiri ko si)
- Adapter agbara

Image: All components included in the PHEANOO D6 Sound Bar package, laid out for clear identification, including the soundbar, subwoofer, cables, remote, and wall mount kit.
Ṣeto
1. Assembling the Soundbar (Detachable Design)
The PHEANOO D6 soundbar features a unique detachable design for flexible placement. Follow these steps to assemble it:
- Align the audio connector from one half of the soundbar with the corresponding port on the other half.
- Gently push the two halves together until they click into place.
- Twist the two halves to secure the connection, ensuring the soundbar is firmly assembled.

Image: A three-step visual guide demonstrating how to connect the two halves of the detachable soundbar, ensuring proper alignment and secure locking.

Aworan: A sunmọ-soke view of the soundbar's detachable connection point, showing the male and female connectors.
2. Nsopọ Subwoofer
Connect the wired subwoofer to the soundbar using the dedicated subwoofer cable. Ensure the connection is secure.
3. Placement Aw
You can place the soundbar on a tabletop or mount it on a wall.
- Ibi Tabili: Place the soundbar directly in front of your TV, ensuring it does not obstruct the TV's remote sensor.
- Iṣagbede ogiri: Use the included wall mount kit. It is recommended to measure and mark the drilling points accurately, rather than relying solely on the paper stencil, to ensure a level installation.
4. Awọn isopọ Audio
The PHEANOO D6 offers multiple connectivity options. Choose the best one for your device:
- HDMI (ARC): For the best audio quality and control, connect an HDMI cable from the soundbar's HDMI (ARC) port to your TV's HDMI (ARC) port. This allows your TV remote to control the soundbar's volume.
- Ojú: Connect an optical cable from the soundbar's Optical port to your TV's Optical Digital Audio Out port.
- AUX: Use the 3.5mm AUX cable to connect to devices with a 3.5mm audio output.
- Bluetooth 5.0: For wireless connection, pair your device via Bluetooth.

Image: The rear panel of the PHEANOO D6 Sound Bar, highlighting the HDMI (ARC), Bluetooth, Optical, and AUX input ports with corresponding icons.

Aworan: A alaye view of the soundbar's input panel, showing the AUX, Optical, and HDMI (ARC) ports clearly labeled.
5. Asopọ agbara
Connect the power adapter to the soundbar and then plug it into a wall outlet.
Awọn ilana Iṣiṣẹ
Isakoṣo latọna jijin
The included remote control allows you to manage all functions of the soundbar. Insert two AAA batteries (not included) into the remote before use.

Image: The remote control for the PHEANOO D6 Sound Bar, showing its buttons and an indicator light.
Titan / Paa
Press the power button on the remote or the soundbar to turn the unit on or off.
Aṣayan titẹ sii
Press the "Input" button on the remote to cycle through available input sources: HDMI (ARC), Optical, AUX, and Bluetooth.
Asopọ Bluetooth
Lati so ẹrọ Bluetooth pọ:
- Select Bluetooth input on the soundbar. The indicator light will flash.
- Enable Bluetooth on your device (smartphone, tablet, etc.) and search for "PHEANOO D6".
- Select the soundbar from the list to pair. Once connected, the indicator light will be solid.

Image: A smartphone displaying a music app, wirelessly connected to the PHEANOO D6 Sound Bar via Bluetooth, indicated by a Wi-Fi like symbol.
Awọn ipo Ohun
Ohùn orin naa nfunni ni ọpọlọpọ awọn ipo ohun lati mu iriri gbigbọ rẹ dara si:
- Ipo ibaraẹnisọrọ: Ó mú kí ohùn yé kedere síi, ó sì mú kí ọ̀rọ̀ rọrùn láti lóye.
- Ipo Orin: Optimized for music playback, providing balanced audio.
- Ipo Fiimu: Delivers an immersive cinematic experience with enhanced effects.
- Ipo 3D: Creates a wider, more enveloping soundstage.

Image: Icons representing different sound modes: Dialogue, Music, Movie, and 3D, indicating the soundbar's versatility.
Bass Atunṣe
Use the dedicated bass control buttons on the remote to increase or decrease the subwoofer's output level to your preference.

Image: A close-up of the subwoofer, with a visual effect suggesting powerful bass emanating from it.
Dolby Digital Support
The PHEANOO D6 Sound Bar supports Dolby Digital decoding, providing a rich and dynamic audio experience for compatible content.

Image: A living room setup with the soundbar and TV, overlaid with a grid pattern indicating premium 3D surround sound powered by Dolby Audio.

Image: The Dolby Audio logo accompanied by visual representations of sound waves, emphasizing the enhanced audio quality.
Roku TV Ṣetan
This soundbar is certified to work seamlessly with your Roku TV. Enjoy smooth setup, easy access to sound settings, and compatibility with any Roku TV remote.

Image: A television screen displaying the "Roku TV Ready" setup interface, with the PHEANOO Soundbar and subwoofer positioned below it, illustrating seamless integration.
Itoju
- Ninu: Lo asọ ti o rọ, ti o gbẹ lati nu awọn aaye ti ọpa ohun ati subwoofer. Maṣe lo awọn olutọpa olomi tabi awọn aerosols.
- Afẹfẹ: Rí i dájú pé afẹ́fẹ́ ń tàn káàkiri ibi ìró ohùn àti subwoofer kí ó má baà gbóná jù. Má ṣe dí àwọn ihò afẹ́fẹ́ kankan.
- Ibi ipamọ: Ti o ba tọju ẹyọ naa fun akoko ti o gbooro sii, ge asopọ kuro ni agbara ki o tọju rẹ si ibi ti o tutu, ti o gbẹ.
Laasigbotitusita
| Isoro | Owun to le Fa | Ojutu |
|---|---|---|
| Ko si agbara | Okun agbara ko sopọ; Agbara agbara ko ṣiṣẹ. | Rii daju pe okun agbara ti sopọ ni aabo. Gbiyanju iṣan agbara ti o yatọ. |
| Ko si ohun | A ti yan titẹ sii ti ko tọ; Iwọn didun kere ju; Awọn okun waya ko sopọ mọ daradara. | Select the correct input source. Increase volume. Check all audio cable connections. |
| Sisopọ Bluetooth kuna | Pẹpẹ ohun ko si ni ipo sisopọ; Ẹrọ ti o jinna pupọ; kikọlu. | Ensure soundbar is in Bluetooth input and indicator is flashing. Move device closer. Turn off other Bluetooth devices. |
| Didara ohun ko dara | Incorrect sound mode; Source audio quality is low. | Try different sound modes (Music, Movie, Dialogue). Ensure the audio source is high quality. |
| Isakoṣo latọna jijin ko ṣiṣẹ | Batteries dead or incorrectly inserted; Obstruction between remote and soundbar. | Ropo awọn batiri, aridaju ti o tọ polarity. Yọ awọn idena eyikeyi kuro. |
For more detailed troubleshooting, refer to the official Troubleshooting Guide PDF available on the product page or contact PHEANOO customer support.
Awọn pato
| Ẹya ara ẹrọ | Ẹ̀kúnrẹ́rẹ́ |
|---|---|
| Awoṣe | D6 |
| Brand | PHEANOO |
| Agbọrọsọ Iru | Pẹpẹ ohun pẹlu Ti firanṣẹ Subwoofer |
| Iṣeto ni ikanni | 2.1 CH |
| Asopọmọra Technology | HDMI (ARC), Bluetooth 5.0, Optical, AUX |
| Bluetooth Ibiti | Títí dé mítà mẹ́ẹ̀ẹ́dógún (tó tó ẹsẹ̀ bàtà mẹ́ẹ̀ẹ́dógún) |
| Agbọrọsọ Agbara Ijade ti o pọju | 240 Wattis |
| Awọn iwọn Ọja (ọpa ohun) | 29.5"W x 2.4"H x 2.8"D |
| Iwọn Nkan | 11.57 iwon |
| Adarí Iru | Isakoṣo latọna jijin |
| Pataki Awọn ẹya ara ẹrọ | Dolby Digital Decoding, Dialogue Enhancement, Bass Adjustable, Detachable Design, Roku TV Ready |
Atilẹyin ọja ati Support
The PHEANOO D6 Sound Bar System comes with a Atilẹyin ọja to lopinJọ̀wọ́ tọ́ka sí káàdì ìdánilójú tí ó wà nínú àpò rẹ fún àwọn òfin àti àdéhùn pàtó kan.
For technical support, warranty claims, or further assistance, please visit the official PHEANOO website or contact their customer service department. You can also find additional resources like the Itọsọna olumulo (PDF) ati Itọsọna Laasigbotitusita (PDF) online.


