1. Ifihan
This manual provides comprehensive instructions for the Rebel KOM1060 USB DVB-T2 H.265 HEVC Digital TV Tuner. This device allows you to receive digital television and radio broadcasts on your personal computer. It supports DVB-T, DVB-T2, and DVB-C standards, along with H.265 HEVC decoding for high-quality video. Key features include Full HD channel support, recording capabilities, TimeShift functionality, and EPG (Electronic Program Guide) support.

Aworan 1.1: Oke view of the Rebel KOM1060 USB Digital TV Tuner.
Jọ̀wọ́ ka ìwé ìtọ́ni yìí dáadáa kí o tó lo ọjà náà láti rí i dájú pé ó fi sori ẹ̀rọ àti iṣẹ́ tó yẹ.
2. Package Awọn akoonu
Daju pe gbogbo awọn nkan ti a ṣe akojọ rẹ si isalẹ wa ninu package rẹ:
- Rebel KOM1060 USB Digital TV Tuner
- Isakoṣo latọna jijin
- Eriali Extendable
- CD Awakọ
- Afowoyi Olumulo (iwe-ipamọ yii)

Image 2.1: Rebel KOM1060 USB Digital TV Tuner, antenna, and connecting cable.
3. System Awọn ibeere
To ensure optimal performance, your computer system should meet the following specifications:
- Eto isesise: Windows XP / Vista / 7/8/10
- Olupilẹṣẹ: Intel Pentium 4 2.0 GHz or equivalent AMD Athlon XP (minimum)
- Ramu: 512 MB (1 GB recommended for Full HD viewing)
- Agbara Ibi ipamọ: 300 MB free space (1 GB recommended)
- Kaadi eya aworan: DirectX 9.0 ni ibamu
- Kaadi Ohun: Ti beere fun
- Ibudo USB: USB 2.0 ibudo
- Awakọ Optical: CD drive for driver installation
- Isopọ Ayelujara: Recommended for software updates and EPG data
4. Eto Itọsọna
4.1 Fifi sori ẹrọ Hardware
- Asopọmọra Antenna: Attach the extendable antenna to the BLC antenna connection port on the USB TV tuner. For best reception, position the antenna in an area with clear signal.
- Insert the Tuner: Plug the Rebel KOM1060 USB Digital TV Tuner into an available USB 2.0 port on your computer.

Image 4.1: Rebel KOM1060 USB Digital TV Tuner with its protective cap removed, showing the USB connector.
4.2 Software fifi sori
- Fi CD awakọ sii: Place the provided Driver CD into your computer's CD drive.
- Ṣiṣẹ Eto: Follow the on-screen instructions to install the necessary drivers and application software. If auto-run does not start, navigate to the CD drive in 'My Computer' or 'This PC' and run the 'setup.exe' file.
- Fifi sori ẹrọ ni kikun: Tun kọmputa rẹ bẹrẹ ti o ba ṣetan lẹhin fifi sori ẹrọ ti pari.
- Awọn imudojuiwọn sọfitiwia: It is recommended to check the manufacturer's website for the latest software updates to ensure compatibility and access to new features.
5. Awọn ilana Iṣiṣẹ
5.1 Launching the Application
After successful installation, launch the TV application from your desktop shortcut or Start Menu. The application interface will appear, allowing you to control the tuner.
5.2 Iyẹwo ikanni
- Upon first launch, the software will typically prompt you to perform a channel scan. If not, locate the 'Channel Scan' or 'Settings' menu within the application.
- Select your region and the type of broadcast (DVB-T, DVB-T2, or DVB-C) you wish to scan for.
- Initiate the scan. This process may take several minutes.
- Once complete, the available TV and radio channels will be listed.
5.3 Watching TV and Listening to Radio
- Aṣayan ikanni: Use the channel list within the application or the provided remote control (Image 5.1) to navigate between channels.
- Iṣakoso iwọn didun: Adjust the volume using the application's controls or the remote control.
- Atilẹyin HD kikun: The tuner supports Full HD channels, providing high-resolution viewing where available.
- Gbigba Redio: Switch to radio mode within the application to access FM, DAB, DAB+, VHF, and UHF radio stations.
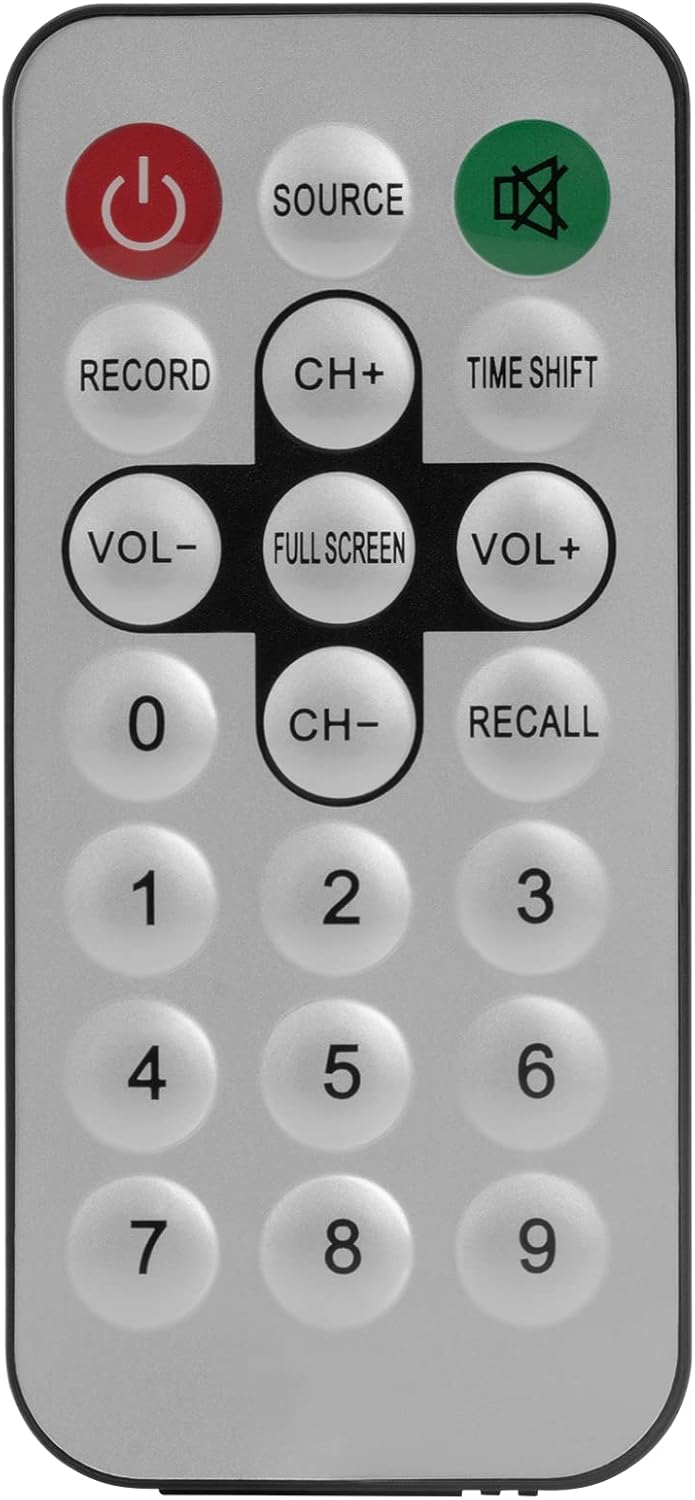
Image 5.1: The included remote control for the Rebel KOM1060 tuner.
5.4 Recording and TimeShift
- Išẹ Gbigbasilẹ: Use the 'Record' button on the remote control or the corresponding option in the software to record live TV programs. Ensure you have sufficient storage space on your computer.
- TimeShift Function: The TimeShift feature allows you to pause live TV and resume watching later. Activate TimeShift via the remote control or software interface.
- Gbigbasilẹ fidio: The device supports direct video recording of broadcasts.
5.5 EPG and Teletext
- EPG (Itọsọna Eto Itanna): Access the EPG through the software to view upcoming program schedules and information.
- Ọrọ telifoonu: The tuner supports teletext services, which can be accessed via the software interface.
6. Itọju
- Jeki ẹrọ naa di mimọ ati ofe kuro ninu eruku. Lo asọ asọ ti o gbẹ fun mimọ.
- Avoid exposing the tuner to extreme temperatures, humidity, or direct sunlight.
- Ma ṣe gbiyanju lati tunto tabi tun ẹrọ naa funrararẹ. Tọkasi awọn oṣiṣẹ iṣẹ ti o peye.
- Ensure the antenna connection is secure for optimal signal reception.
7. Laasigbotitusita
- Ko si ifihan agbara/Gbigba ti ko dara:
- Ensure the antenna is properly connected and positioned for best reception.
- Perform a channel scan again.
- Check for local broadcast availability in your area.
- Sọ́fítíwètì Kò Ń Ṣí/Kò bàjẹ́:
- Verify that your system meets the minimum requirements.
- Reinstall the drivers and software from the provided CD or the manufacturer's webojula.
- Rii daju pe ẹrọ iṣẹ rẹ ti wa ni imudojuiwọn.
- No Audio/Video Issues:
- Check your computer's sound settings.
- Ensure the correct codecs are installed (usually included with the software).
- Ṣe imudojuiwọn awọn awakọ kaadi eya rẹ.
- Iṣakoso latọna jijin Ko Ṣiṣẹ:
- Ensure there are no obstructions between the remote and the tuner's IR receiver.
- Check if the remote control requires batteries and if they are correctly inserted and charged.
8. Awọn pato
| Ẹya ara ẹrọ | Ẹ̀kúnrẹ́rẹ́ |
|---|---|
| Brand | Olote |
| Nọmba awoṣe | KOM1060 |
| Àwọ̀ | Dudu |
| Ni wiwo | USB 2.0 |
| Chipset | R828D |
| Asopọmọra eriali | BLC |
| Supported TV Standards | DVB-T, DVB-T2, DVB-C |
| Supported Radio Standards | FM, DAB, DAB+, VHF, UHF |
| Awọn kodẹki atilẹyin | MPEG-2, H.264, H.265, HEVC |
| Atilẹyin HD ni kikun | Bẹẹni |
| Iṣẹ igbasilẹ | Bẹẹni |
| TimeShift Function | Bẹẹni |
| EPG Support | Bẹẹni |
| Teletext Support | Bẹẹni |
| Isakoṣo latọna jijin To wa | Bẹẹni |
| Awọn ẹrọ ibaramu | PC (Windows XP/Vista/7/8/10) |
9. Atilẹyin ọja ati Support
Rebel products are designed for reliability and performance. For warranty information, please refer to the documentation included with your purchase or visit the official Rebel website. For technical support, driver updates, or further assistance, please visit the manufacturer's support page or contact their customer service.
Jeki ẹri rira rẹ fun awọn iṣeduro atilẹyin ọja.


