1. Ifihan
This manual provides detailed instructions for the installation, operation, and maintenance of your diymore 30A 12V/24V PWM Solar Charge Controller. This intelligent controller is designed to manage the power flow from your solar panel to your battery, ensuring efficient charging and protecting your battery from overcharge and over-discharge. It features a large LCD screen, dual USB outputs, and comprehensive 3-stage PWM isakoso idiyele.
Awọn ẹya pataki:
- Light control and time control discharge functionality.
- Compatible with lead-acid batteries (OPEN, AGM, GEL).
- 3-stage PWM charge management: direct charge, boost charge, and float charge.
- Dual MOS reverse current protection, low heat generation.
- Built-in overcurrent, short-circuit, open-circuit, and reverse connection protection.
- Dual USB output (5V/2A Max) for mobile phone charging.
- Automatic 12V/24V voltage idanimọ.
2. Alaye Aabo ati Awọn iṣọra
Please read all safety instructions carefully before installation and operation to prevent damage to the controller, battery, or other components.
- This solar charge controller is designed exclusively for awọn batiri asiwaju-acid (OPEN, AGM, GEL). Do not use it with other battery types, including lithium batteries or nickel-metal hydride batteries.
- The controller can only use photovoltaic panels as its power source. Do not use DC or other power sources as a power source.
- Ensure the battery has sufficient voltage for the controller to recognize its type (12V or 24V) during the first installation.
- Install the controller close to the battery to minimize voltage drop due to excessive wire length, which can affect accurate voltage erin.
- The controller will generate heat during operation. Install it on a flat, well-ventilated surface to ensure proper heat dissipation.
- Always connect the components in the specified order to avoid damage.
3. Ọja Ipariview
Familiarize yourself with the components and display of the solar charge controller.

olusin 1: Iwaju view of the diymore 30A 12V/24V PWM Solar Charge Controller, showing the LCD display, control buttons, and USB ports.
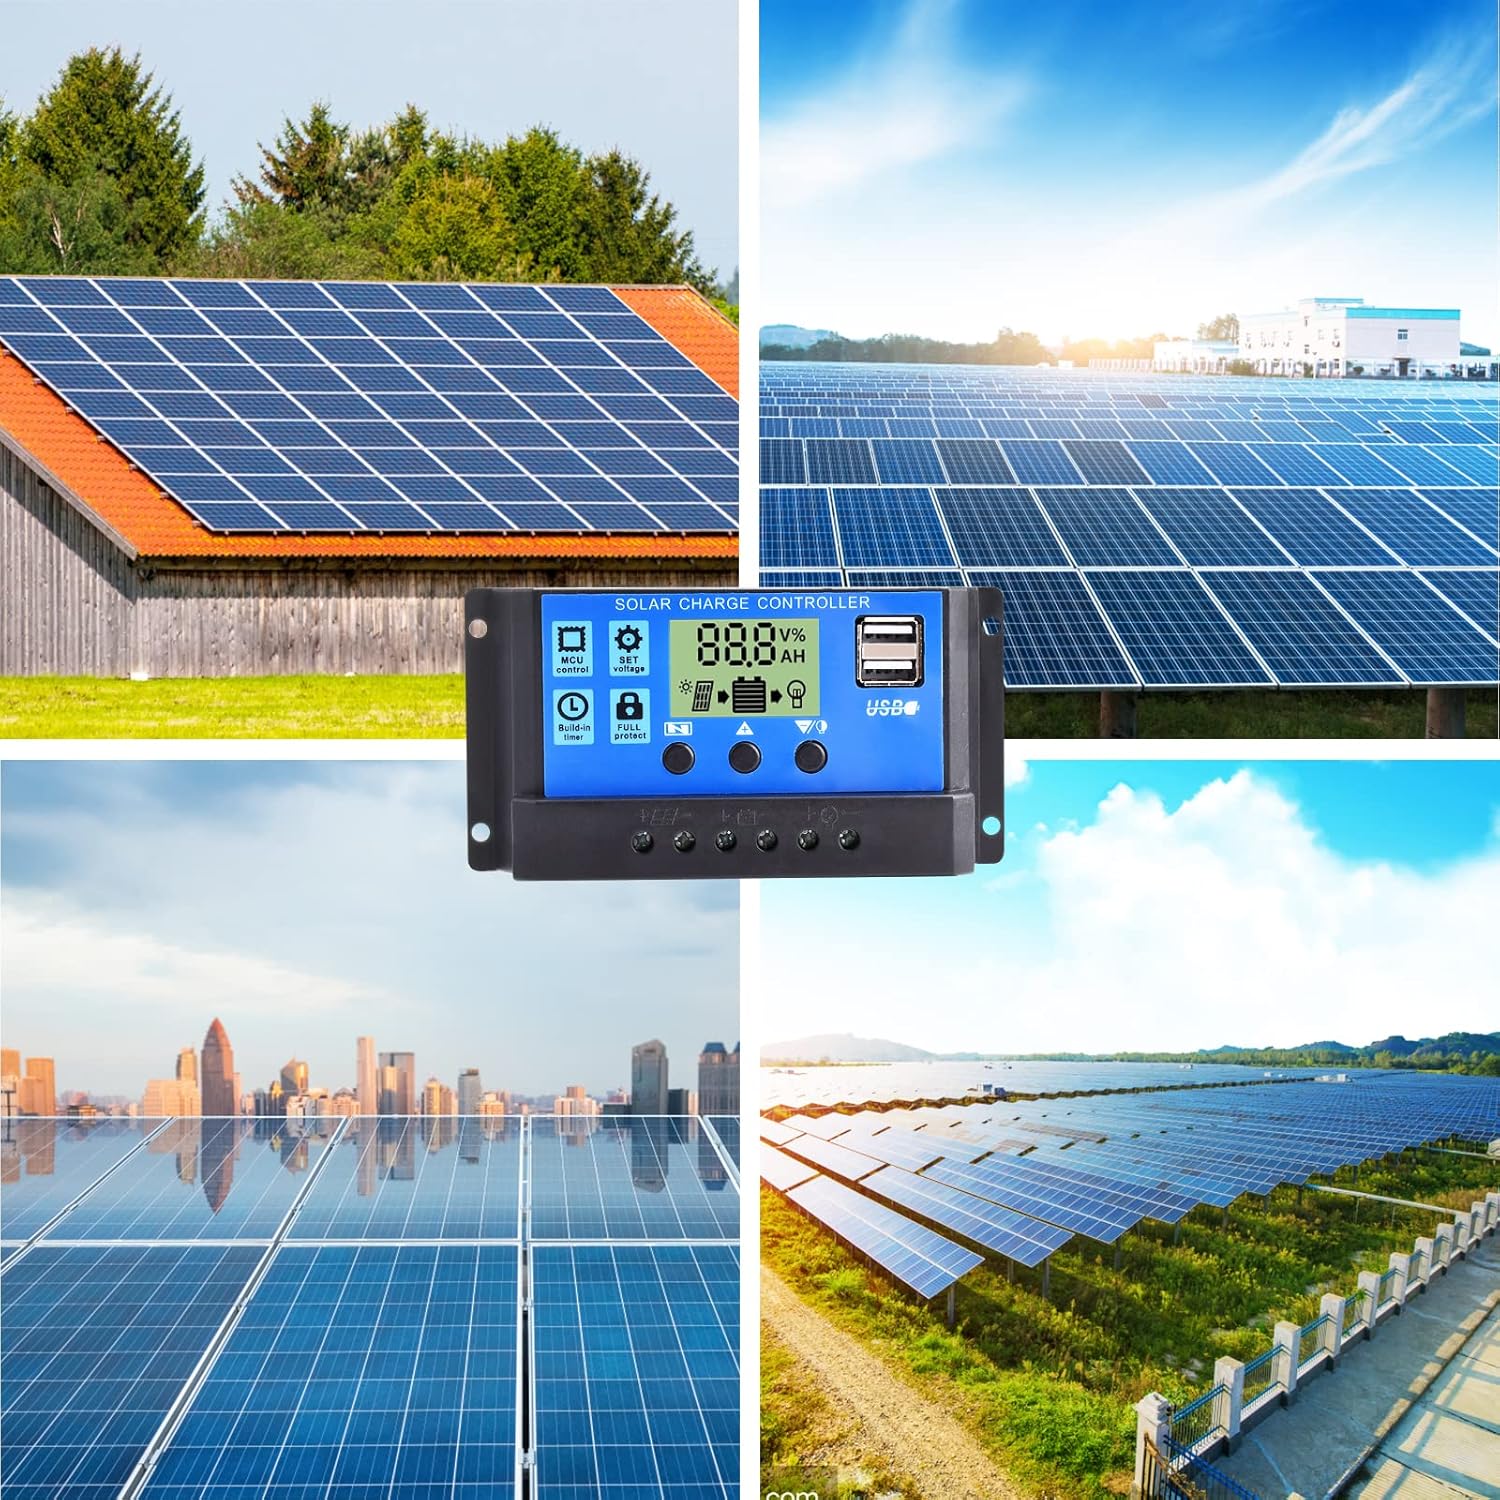
Nọmba 2: Alaye view of the LCD display and control buttons. The display shows voltage, ogoruntage, and icons for solar panel, battery, and load. Buttons are labeled for Menu, Up, and Down/Manual.
The LCD screen displays various parameters such as voltage, charging/discharging current, accumulated electricity generation, temperature, and battery status. The three buttons below the screen are used for navigation and setting adjustments.
4. Eto ati fifi sori
Follow these steps for proper installation of the solar charge controller. Ensure all connections are secure and correct to prevent damage.
- Prepare the Installation Location: Choose a flat, well-ventilated surface near the battery. Avoid direct sunlight, high temperatures, and humid environments.
- So batiri pọ: Connect the positive and negative terminals of the battery to the corresponding battery terminals on the controller. The controller will automatically detect the battery voltage (12V or 24V). Ensure the battery has sufficient charge for detection.
- Solar Panel: Connect the positive and negative terminals of the solar panel to the corresponding solar panel terminals on the controller.
- So fifuye naa pọ: Connect the positive and negative terminals of your DC load to the corresponding load terminals on the controller. Be careful not to reverse the connections.

Figure 3: Wiring diagram illustrating the connection order: Battery first, then Solar Panel, then Load.
Pàtàkì: Máa so batiri náà pọ̀ ní àkọ́kọ́, lẹ́yìn náà, páànẹ́lì oòrùn, àti ní ìkẹyìn, kí o sì so ẹrù náà pọ̀. Gé ìsopọ̀ náà kúrò ní ìtòlẹ́sẹẹsẹ ìyípadà: load, lẹ́yìn náà, páànẹ́lì oòrùn, lẹ́yìn náà, páànẹ́lì batiri.
5. Awọn ilana Iṣiṣẹ
The controller features an intuitive LCD display and three control buttons for easy operation.
5.1 LCD Ifihan Alaye
The LCD screen provides real-time information about your solar system:
- Voltage aami: Tọkasi lọwọlọwọ voltage.
- Agbegbe Ifihan oni-nọmba: Shows numerical values for voltage, lọwọlọwọ, iwọn otutu, bbl
- Awọn wakati: Displays time-related settings or accumulated hours.
- Panels Icon: Ó ń tọ́ka sí ìṣiṣẹ́ àwọn páànẹ́lì oòrùn.
- Charging Logo: Shows charging status (steady on for straight charge/lift charge, slow flash for float charge).
- Five Battery Level Mark: Àwòrán ìrísí ipele agbára bátírì.
- Load Identification: Indicates load status.
- Output Identification: Shows output status.
5.2 bọtini Awọn iṣẹ
- Bọtini Akojọ aṣyn: Used to cycle through display modes and enter/exit setting menus.
- Bọtini itọka oke: Ti a lo lati mu awọn iye pọ si tabi lilö kiri si oke ninu awọn akojọ aṣayan.
- Down Arrow / Manual Key: Used to decrease values, navigate downwards in menus, or manually control the load output (when in manual mode).
5.3 Eto paramita
To adjust parameters like charge voltage, idasilẹ gige-pipa voltage, or load control mode:
- Tẹ awọn Bọtini Akojọ aṣyn lati tẹ ipo eto sii.
- Lo awọn Ọfà oke ati Ọfà isalẹ keys to navigate through the different parameters.
- Once you've selected a parameter, press the Bọtini Akojọ aṣyn again to make it blink, indicating it's ready for adjustment.
- Lo awọn Ọfà oke ati Ọfà isalẹ awọn bọtini lati yi iye.
- Tẹ awọn Bọtini Akojọ aṣyn once more to confirm the setting and save it.
- Jade ni ipo eto nipa titẹ awọn Bọtini Akojọ aṣyn until the display returns to the main interface.
The controller also features light control and time control functions, allowing discharge to be controlled by sunlight and set time periods. Refer to the display icons for current status.
6. Itọju
Itọju deedee n ṣe idaniloju iṣẹ ṣiṣe to dara julọ ati igba pipẹ ti oludari agbara oorun rẹ.
- Ṣayẹwo awọn isopọ: Periodically check all wire connections to ensure they are tight and free from corrosion. Loose connections can cause voltage silė ati overheating.
- Nu Adarí: Keep the controller clean and free from dust and debris. Use a dry cloth to wipe the surface. Do not use liquids or solvents.
- Afẹfẹ: Ensure the installation area remains well-ventilated to prevent overheating of the controller.
- Ayewo Batiri: Regularly check the battery terminals for corrosion and ensure the battery itself is in good condition.
- Awọn ipo Ayika: Avoid exposing the controller to extreme temperatures or excessive moisture.
7. Laasigbotitusita
This section addresses common issues you might encounter with your solar charge controller.
| Isoro | Owun to le Fa | Ojutu |
|---|---|---|
| Ifihan oludari wa ni pipa. | No power from battery or solar panel; reversed battery connection. | Check battery and solar panel connections. Ensure correct polarity. Verify battery voltage is above minimum operating level. |
| Batiri ko ngba agbara. | Solar panel not connected; insufficient sunlight; faulty solar panel; battery voltage too high (already full). | Check solar panel connections. Ensure panels are receiving adequate sunlight. Test solar panel output. Verify battery status. |
| Fifuye ko ṣiṣẹ. | Load not connected; battery voltage too low; load overcurrent; load output disabled by settings. | Check load connections. Charge battery. Reduce load or check for short circuit. Adjust load control settings on the controller. |
| Ìjáde USB kìí ṣe àwọn ẹ̀rọ gbigba agbara. | Device incompatible; low battery voltage; faulty USB cable. | Ensure device is compatible with 5V/2A USB charging. Charge battery. Try a different USB cable. |
| Controller overheating. | Poor ventilation; excessive load or charging current. | Ensure adequate airflow around the controller. Reduce load or check for system imbalances. |
Ti iṣoro naa ba wa lẹhin igbiyanju awọn iṣeduro wọnyi, jọwọ kan si atilẹyin alabara.
8. Awọn pato
Detailed technical specifications for the diymore 30A 12V/24V PWM Solar Charge Controller.
| Ẹya ara ẹrọ | Sipesifikesonu |
|---|---|
| Awoṣe | DMXB0070-01 |
| Ti won won idiyele Lọwọlọwọ | 30A |
| Batiri Voltage | 12V/24V Automatic Identification |
| Ijade USB | 5V/2A Max (Dual USB Ports) |
| Awọn iwọn otutu ti nṣiṣẹ | 30°C (as specified) |
| Awọn iwọn Ọja (L x W x H) | 13.3 x 3.5 x 7 cm |
| Iwọn Ọja | 130 giramu |
| Ifihan Iru | LCD |
| Ibamu Batiri Orisi | Lead-acid (OPEN, AGM, GEL) |

Figure 4: Product dimensions in millimeters and inches.
9. Atilẹyin ọja ati Support
Specific warranty details are not provided in the product information. For warranty claims or technical support, please contact the seller directly through your purchase platform. Ensure you have your purchase details and model number (DMXB0070-01) available when contacting support.


