1. Ifihan
This manual provides essential information for the safe and efficient operation, installation, and maintenance of your Powerplus POWXG6305 Robot Lawn Mower. Please read these instructions carefully before using the product and retain them for future reference. Proper use and maintenance will ensure the longevity and optimal performance of your robot lawn mower.
2. Package Awọn akoonu
Before beginning installation, verify that all components listed below are present in the packaging. If any items are missing or damaged, contact your retailer.
- Powerplus POWXG6305 Robot Lawn Mower
- Gbigba agbara gbigba agbara
- Adapter agbara
- Aala Waya
- Pegs for Boundary Wire
- Replacement Blades and Screws
- Itọsọna olumulo

Nọmba 2.1: The Powerplus POWXG6305 Robot Lawn Mower shown with its charging station, boundary wire, pegs, and replacement blades.
3. Eto
3.1 Igbaradi Aye
The robot lawn mower is designed for lawns up to approximately 500m². Proper installation of the boundary wire is crucial for correct operation.
- Boundary Wire Installation: Lay the boundary wire around the perimeter of your lawn, ensuring it defines the mowing area. Secure the wire to the ground using the provided pegs. Maintain a minimum distance from obstacles as specified in the full installation guide.
- Gbigbe Ibusọ Gbigba agbara: Position the charging station on a flat, level surface in an area with access to a power outlet. Ensure the charging station is within the boundary wire area and has clear space for the mower to approach and depart.

Nọmba 3.1: The robot lawn mower is suitable for lawns up to 500m².
3.2 Gbigba agbara akọkọ
Before first use, ensure the robot lawn mower is fully charged. Place the mower onto the charging station. The charging indicator lights on the mower will illuminate, indicating that charging is in progress. A full charge may take several hours.

Nọmba 3.2: The robot lawn mower correctly positioned on its charging station for recharging.
4. Awọn ilana Iṣiṣẹ
4.1 Iṣakoso Pariview
The robot lawn mower features intuitive controls for easy operation.

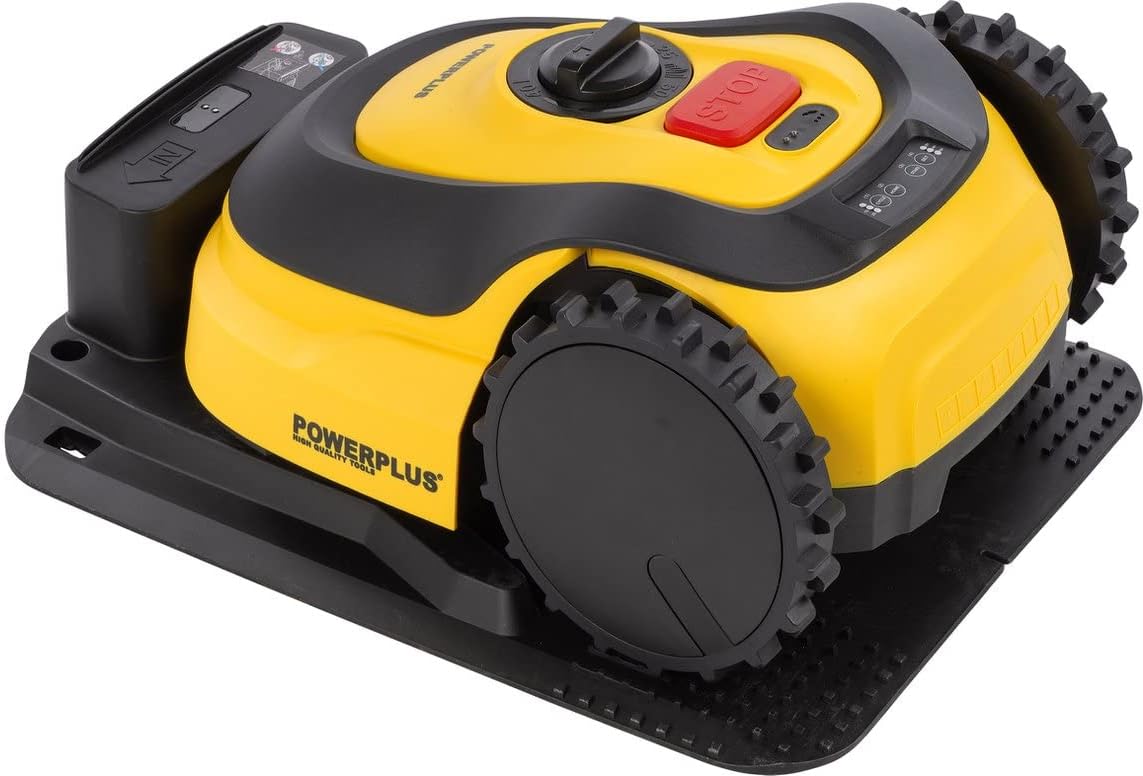
Nọmba 4.1: Oke view of the mower, highlighting the main controls.
- Bọtini Duro: Press this large red button to immediately stop the mower's operation and blade rotation.
- Cutting Height Adjustment Dial: Rotate this dial to set the desired cutting height.
- Ibi iwaju alabujuto: Features buttons for various functions such as 'SET', 'HOME', 'CYCLE', and status indicators.
Nọmba 4.2: Alaye view ti awọn bọtini nronu Iṣakoso.
4.2 Bíbẹ̀rẹ̀ ẹ̀rọ ìgéko
- Ensure the mower is charged and within the defined boundary area.
- Press the 'START' or 'ON' button (refer to specific button on control panel).
- The mower will begin its mowing cycle according to its programmed schedule or immediate command.
4.3 Siṣàtúnṣe iwọn Ige
The cutting height can be adjusted to suit your lawn's needs. Locate the cutting height adjustment dial on the top of the mower. Rotate the dial to select the desired cutting height. Refer to the markings on the dial for specific height settings.

Nọmba 4.3: Adjusting the cutting height using the rotary dial.
4.4 Stopping the Mower
To stop the mower at any time, press the large red 'STOP' button. This will immediately halt all operations, including blade rotation. To resume, you may need to re-enter a security code or press the start button again, depending on the model's settings.
5. Itọju
Regular maintenance ensures the longevity and efficiency of your robot lawn mower.
5.1 Blade Rirọpo
The blades of your robot lawn mower are consumable parts and should be replaced regularly to ensure a clean cut. Dull or damaged blades can negatively impact mowing performance and increase energy consumption. Replacement blades are included with your purchase.
- Nigbagbogbo wọ awọn ibọwọ aabo nigba mimu awọn abẹfẹ mu.
- Turn off the mower and remove the battery (if accessible) before replacing blades.
- Unscrew the old blades and replace them with new ones, ensuring the screws are tightened securely.
5.2 Ninu
Periodically clean the mower's chassis, wheels, and blade area to remove grass clippings, dirt, and debris. Use a soft brush or cloth. Avoid using high-pressure water jets directly on the mower.
5.3 Ibi ipamọ
During the off-season or extended periods of non-use, clean the mower thoroughly, fully charge the battery, and store it in a dry, frost-free location. Disconnect the charging station from the power supply.
6. Laasigbotitusita
This section addresses common issues you might encounter with your robot lawn mower. For more detailed troubleshooting, refer to the full online manual.
- Ẹ̀rọ ìgé igi kò bẹ̀rẹ̀: Check if the battery is charged, the STOP button is released, and the boundary wire is correctly installed and connected.
- Mower n di: Inspect the mowing area for obstacles or uneven terrain. Adjust boundary wire placement if necessary.
- Iṣe gige ti ko dara: Replace dull or damaged blades. Clean the blade area of accumulated grass.
- Mower not returning to charging station: Ensure the charging station is correctly placed and connected. Check for obstructions on the path to the station.
7. Awọn pato
| Sipesifikesonu | Iye |
|---|---|
| Nọmba awoṣe | POWXG6305 |
| Brand | AGBARA |
| Ọja Mefa | 45 x 35 x 22 cm |
| Ohun elo | Ṣiṣu |
| Àwọ̀ | Yellow |
| Gige Iwọn | 180 Milimita |
| Niyanju odan Area | Up to approx. 500m² |
| Akọkọ Wa Ọjọ | Oṣu kọkanla ọjọ 3, ọdun 2022 |
| Awọn imudojuiwọn sọfitiwia ti iṣeduro Titi | Aimọ |
8. Atilẹyin ọja ati Support
For detailed warranty information, technical support, and additional tips for installation and maintenance, please refer to the official Powerplus support resources.
You can find more information and support materials online:
Visit Powerplus Tips for POWXG6305

Nọmba 8.1: Refer to the online resources for comprehensive installation and maintenance guides.


