Ọja Pariview
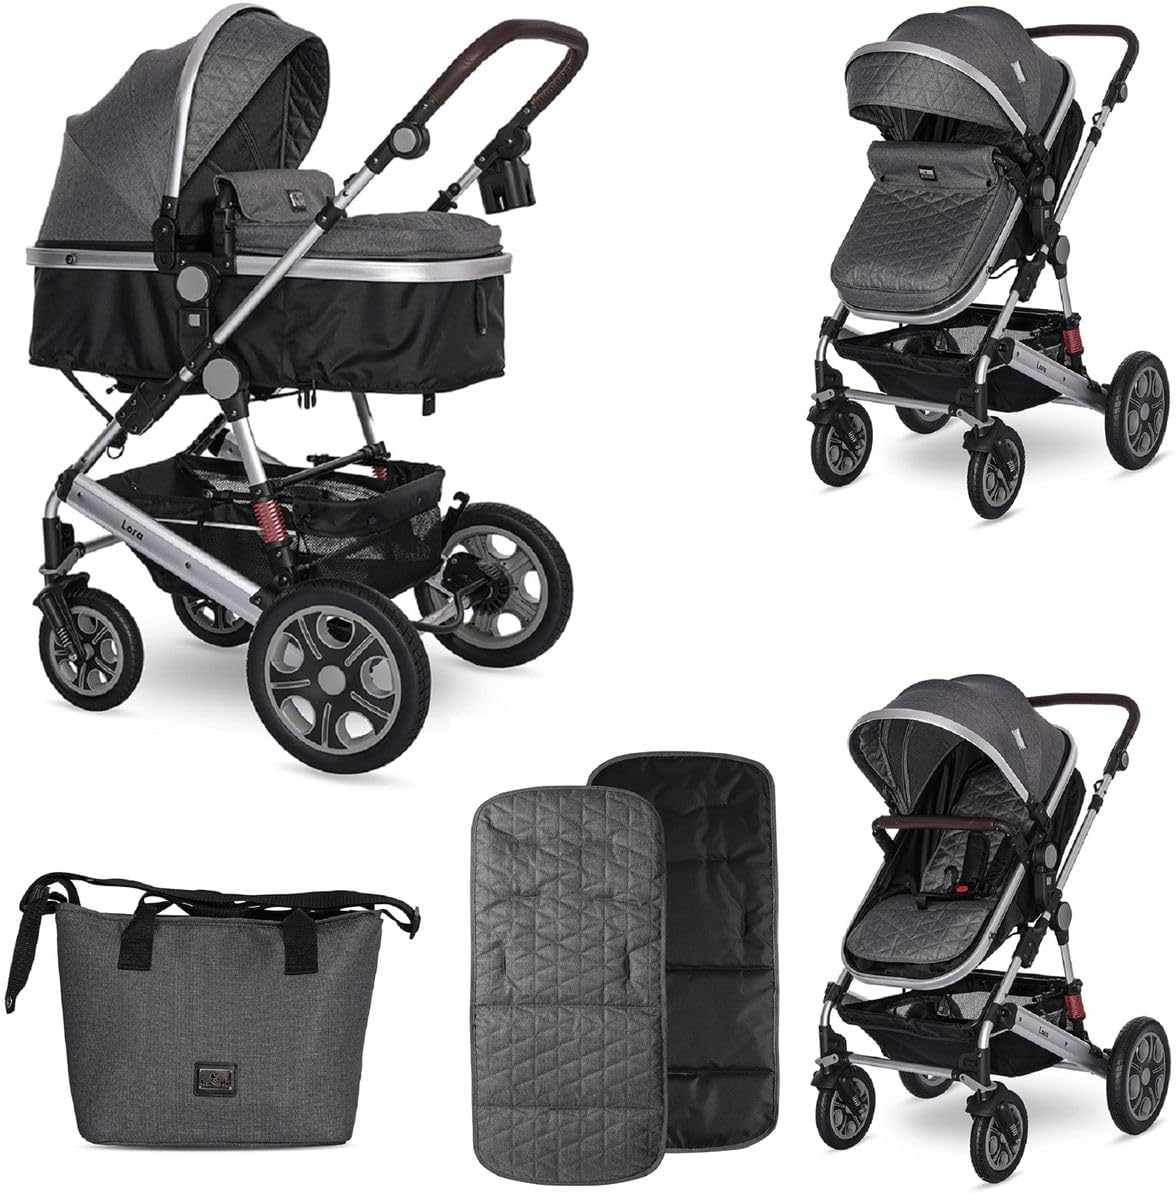
Aworan: A okeerẹ view of the Lorelli Lora Stroller, showcasing its carrycot and sport seat modes, along with included accessories like the changing bag and foot covers.
Ọrọ Iṣaaju
The Lorelli Lora Stroller is a versatile and practical solution designed to provide comfort and safety for your child from birth up to a maximum weight of 15 kg. This manual provides essential information for the proper assembly, operation, and maintenance of your stroller, ensuring a safe and enjoyable experience for both parent and child. Please read all instructions carefully before use and retain this manual for future reference.
Ọja Awọn ẹya ara ẹrọ
- Suitable from birth, supporting up to 15 kg.
- High-quality, lightweight aluminum frame.
- Carrycot easily transforms into a sport seat.
- Reversible seat unit for forward or parent-facing positions.
- Padded 5-point safety harness for secure restraint.
- Adjustable and extendable canopy for sun and wind protection.
- Height-adjustable handle for ergonomic pushing.
- Soft reversible cushion for added comfort.
- Includes a foot cover for colder weather.
- Removable front bar for easy access.
- Adjustable backrest for multiple recline positions.
- Spacious storage basket for essentials.
- Shock absorbers on rubber wheels for a smooth ride.
- Swiveling front wheels with locking mechanism.
- Rear wheel brake for secure parking.
- Compact folding for easy storage and transport.
- Includes a mosquito net and changing bag.
- Manufactured according to European standard EN1888.
Eto ati Apejọ
Follow these steps to assemble your Lorelli Lora Stroller:
- Ṣii silẹ: Ni ifarabalẹ yọ gbogbo awọn paati kuro ninu apoti. Ṣayẹwo fun eyikeyi bibajẹ tabi sonu awọn ẹya ara.
- Awọn kẹkẹ ti o somọ:
- Insert the rear wheels into their respective slots on the frame until they click into place.
- Attach the front wheels by pushing them onto the axle pins until they are securely fastened. Ensure they swivel freely.

Image: Detail of the stroller's suspension and wheels, showing the robust design.
- Attaching the Seat Unit/Carrycot:
- Align the connectors on the seat unit/carrycot with the corresponding slots on the stroller frame.
- Push down firmly until you hear a click, indicating it is securely locked. Ensure it is stable before placing a child inside.

Image: The Lorelli Lora Stroller configured in carrycot mode, ideal for newborns.
- Adjusting Handlebar: Locate the adjustment buttons on the side of the handlebar. Press them and adjust the handle to your desired height, then release to lock.
Image: The adjustable handlebar, allowing for comfortable pushing for users of different heights.
Awọn ilana Iṣiṣẹ
Converting Carrycot to Sport Seat
The Lorelli Lora features a versatile seat unit that transforms from a carrycot for infants to a sport seat for older children. To convert, follow the instructions provided with your specific model, typically involving releasing internal straps and adjusting the base to form a seat shape.
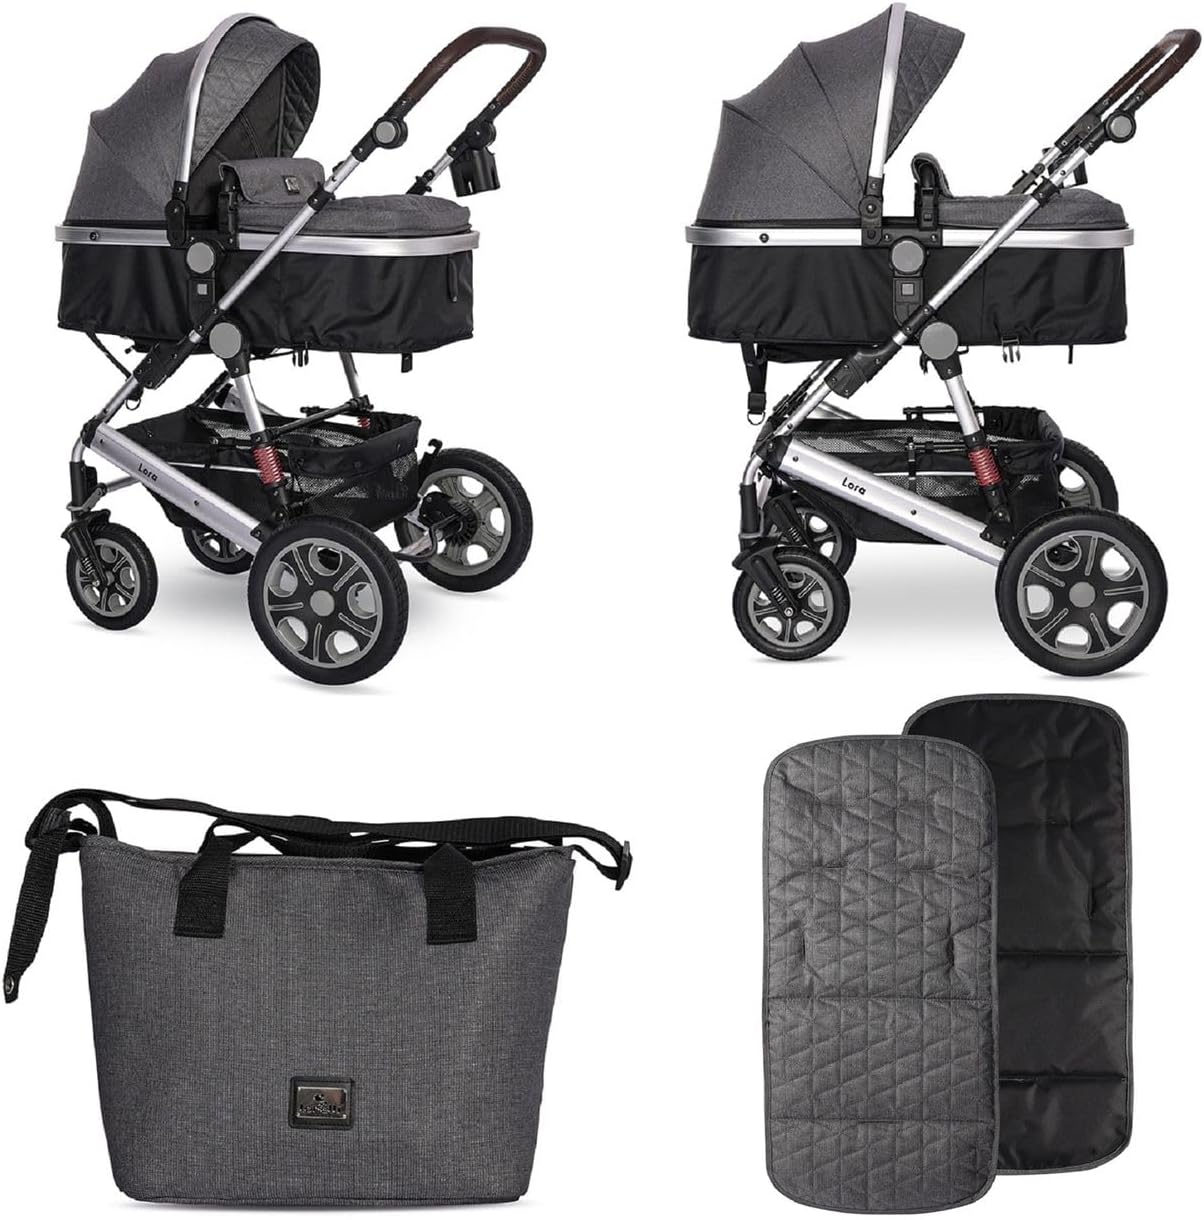
Image: The stroller demonstrating its ability to convert between a flat carrycot and an upright sport seat.
Yiyipada ijoko Unit
The seat unit can be easily reversed to face either the parent or the world. To reverse, disengage the seat unit from the frame (usually by pressing buttons on both sides), lift it, turn it 180 degrees, and re-attach until it clicks securely.

Image: The stroller with its seat unit facing forward and parent-facing, highlighting the reversible feature.
Adjusting Backrest and Canopy
- Isinmi: Locate the recline lever or button on the back of the seat. Press it and adjust the backrest to the desired position (e.g., lie-flat for sleeping, upright for sitting).
- Aṣayan aṣọ ile: The canopy can be extended or retracted by pulling or pushing its frame. It provides protection from sun and wind.
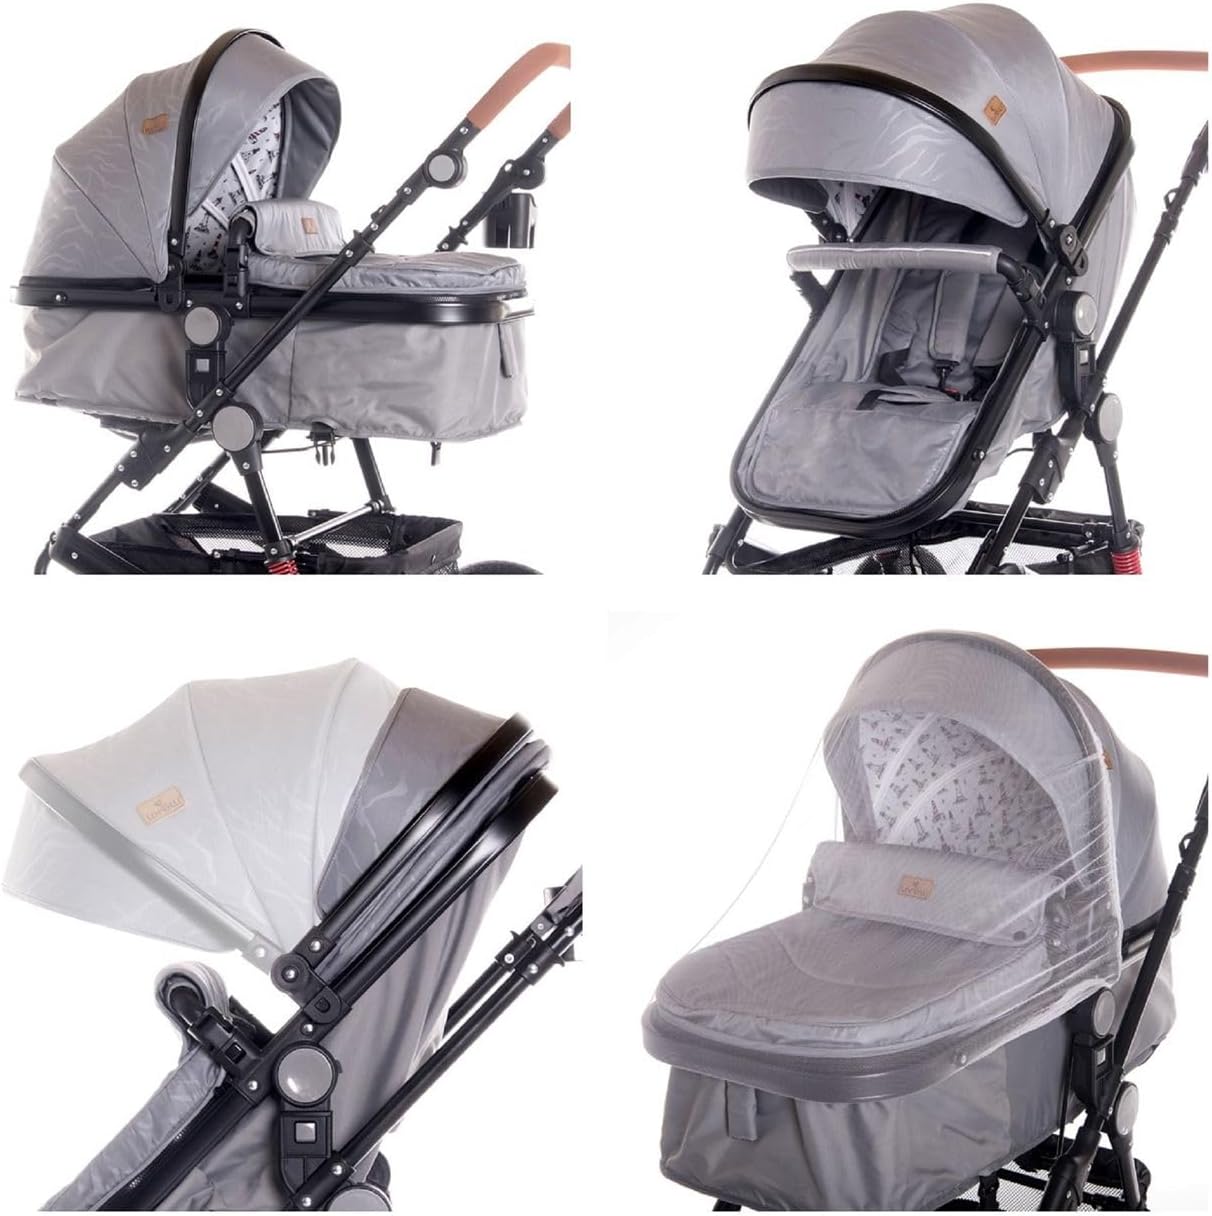
Aworan: Alaye view of the adjustable canopy and the recline mechanism of the stroller seat.
Lilo Ijanu Aabo 5-Point
Always secure your child with the 5-point safety harness. Insert each buckle tongue into the central buckle until it clicks. Adjust the straps to ensure a snug fit without being too tight. To release, press the button on the central buckle.
Image: A close-up of the 5-point safety harness, showing the buckle and padded straps for child security.
Isẹ Brake
To engage the brake, push down on the brake pedal located near the rear wheels until the stroller is stationary. To release, lift the pedal up. Always engage the brake when parking the stroller, even on flat surfaces.
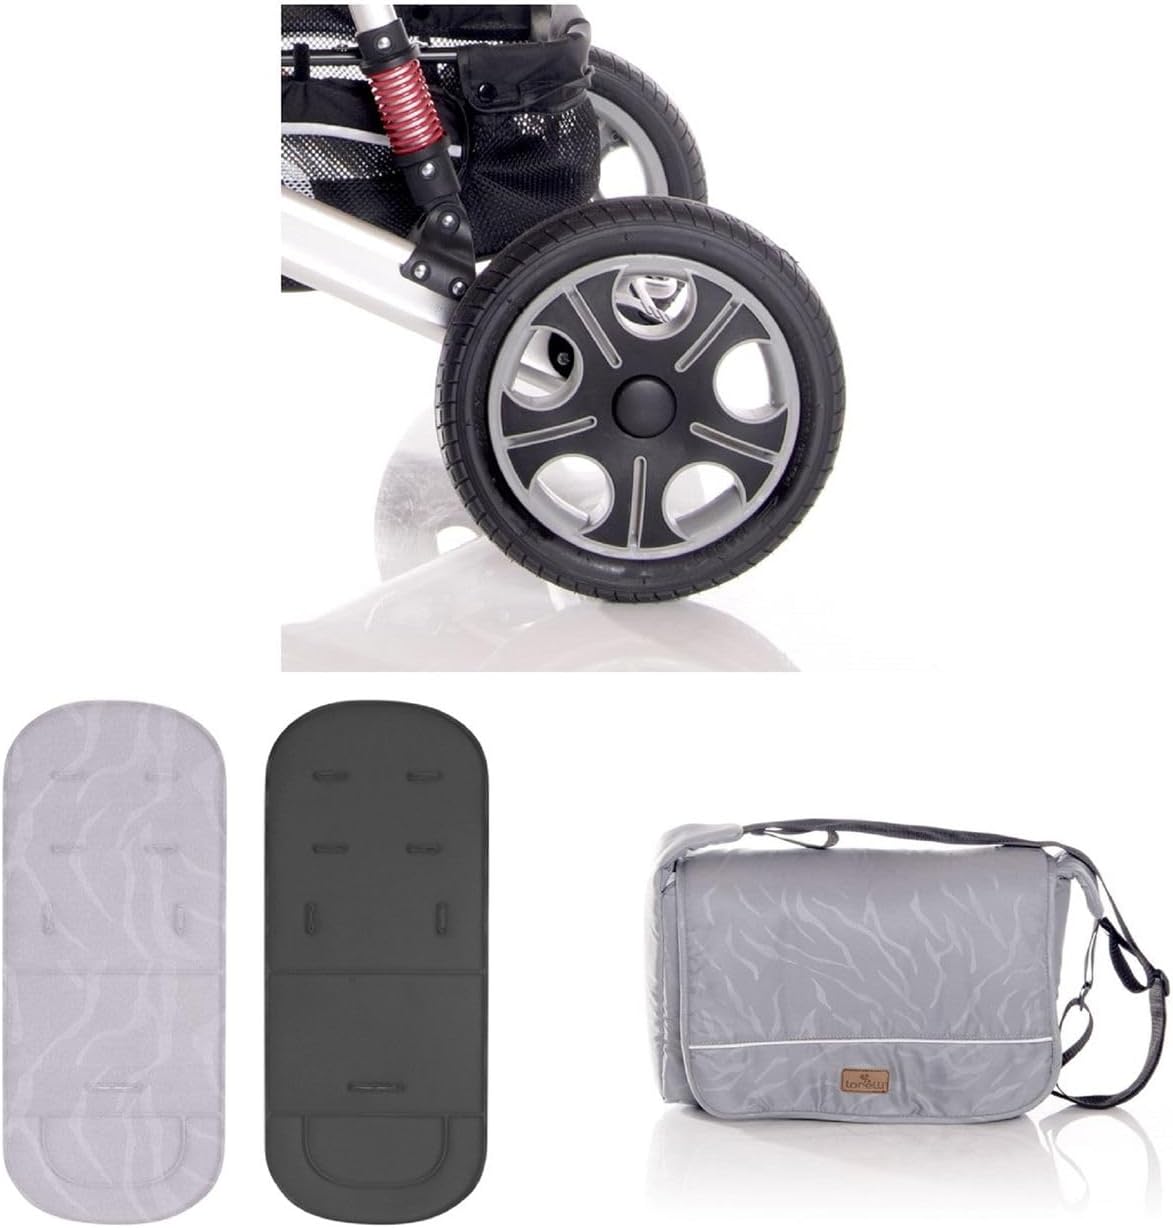
Image: Detail of the rear wheel and the foot-operated brake mechanism.
Kika awọn Stroller
The Lorelli Lora stroller is designed for compact folding. Refer to the specific folding mechanism instructions in your product's quick start guide, typically involving pressing release buttons and collapsing the frame. Ensure all items are removed from the basket before folding.
Image: The stroller shown in its compact folded state, demonstrating ease of storage and transport.
Itoju
- Awọn Ẹya Aṣọ mimọ: The fabric parts (100% polyester) can be spot cleaned with a damp cloth and mild soap. Do not machine wash or tumble dry. Allow to air dry completely.
- Férémù ìfọ́nùmọ́: Pa fireemu aluminiomu nu pẹlu ipolowoamp cloth. Avoid abrasive cleaners. Dry thoroughly to prevent rust.
- Itọju Kẹkẹ: Regularly check wheels for debris and clean them. Lubricate axles periodically with a silicone-based spray to ensure smooth movement.
- Ibi ipamọ: Tọju stroller ni ibi gbigbẹ, kuro lati orun taara ati awọn iwọn otutu to gaju, lati yago fun ibajẹ ohun elo.
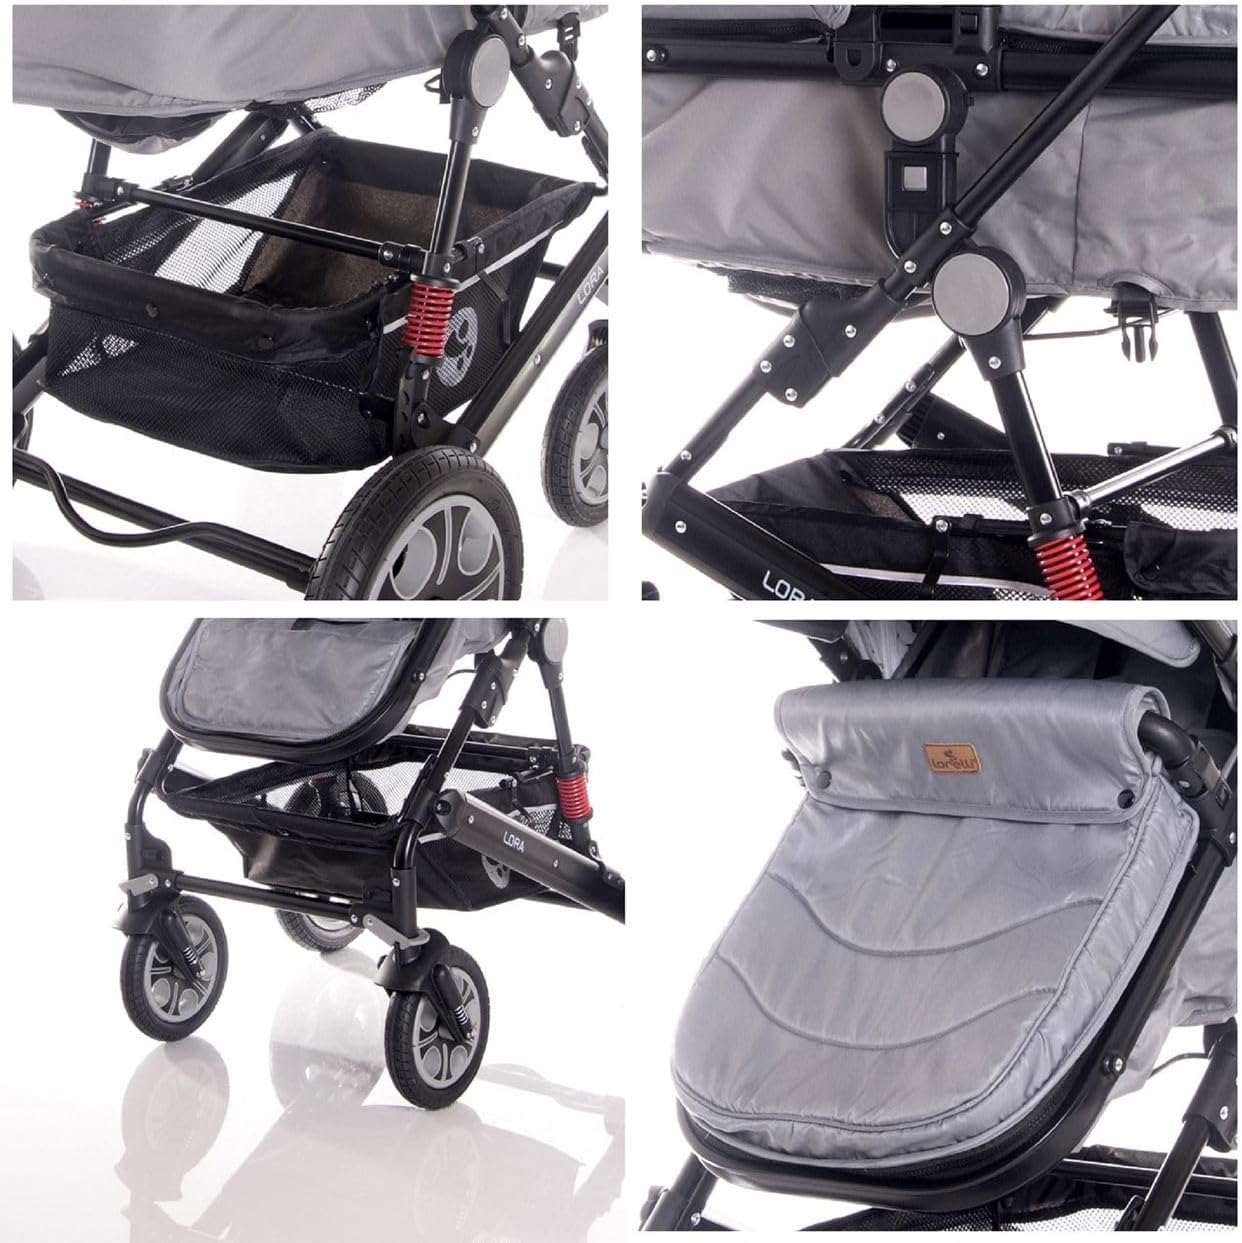
Image: Close-up of the stroller's storage basket and frame, indicating areas for regular cleaning and inspection.
Laasigbotitusita
| Isoro | Owun to le Fa | Ojutu |
|---|---|---|
| Stroller not folding smoothly. | Mechanism obstructed or not fully disengaged. | Ensure all locking mechanisms are released. Check for debris in the folding joints. |
| Wheels squeak or do not turn freely. | Dirt/debris in axles or lack of lubrication. | Clean wheels and axles thoroughly. Apply a silicone-based lubricant to moving parts. |
| Bírékì kò ní ìfàmọ́ra tàbí kò ní ìfàmọ́raasing. | Brake mechanism obstructed or misaligned. | Check for debris around the brake pedal and mechanism. Ensure the brake is fully pressed down or lifted. |
| Seat unit not locking securely. | Titete ti ko tọ tabi idilọwọ. | Re-align the seat unit with the frame connectors. Ensure no fabric or debris is blocking the locking mechanism. |
Awọn pato
| Ẹya ara ẹrọ | Ẹ̀kúnrẹ́rẹ́ |
|---|---|
| Nọmba awoṣe | 10021272389 |
| Iwọn Atilẹyin ti o pọju | 15 kg (As per product description for overall use) |
| Ohun elo akọkọ | Aluminiomu |
| Aṣọ Tiwqn | 100% Polyester |
| Ijanu Iru | 5-ojuami |
| Nọmba ti Awọn ijoko | 1 |
| Olupese | Lorelli |
| Awọn iwọn Ọja (L x W x H) | 85 x 68 x 112 cm |
| Awọn iwọn ti a ṣe pọ (L x W x H) | 88 x 68 x 32 cm |
| Iwọn Nkan | 12 kg |
| Àwọ̀ | Grẹy/dudu |
| Kẹkẹ elo | Roba |
| Aabo Standard | European bošewa EN1888 |
Alaye Aabo
- Maṣe fi ọmọ rẹ silẹ laini abojuto ninu kẹkẹ-ẹṣin.
- Always use the 5-point safety harness to secure your child.
- Ensure the stroller is fully unfolded and all locking mechanisms are engaged before placing a child in it.
- Always engage the brake when parking the stroller.
- Do not overload the storage basket; adhere to the maximum weight limit specified.
- Ma ṣe gbe awọn baagi tabi awọn ohun miiran lelẹ lori mimu, nitori eyi le fa ki kẹkẹ-ẹṣin lati tẹ lori.
- Keep children away from moving parts during adjustment or folding.
- stroller yii ko dara fun ṣiṣe tabi iṣere lori yinyin.
- Nigbagbogbo ṣayẹwo awọn stroller fun alaimuṣinṣin awọn ẹya ara, bajẹ irinše, tabi wọ aṣọ. Da lilo lilo ti eyikeyi bibajẹ ba ri.
Atilẹyin ọja ati Support
Your Lorelli Lora Stroller is covered by a manufacturer's warranty against defects in materials and workmanship. Please refer to the warranty card included with your purchase for specific terms and conditions, including the warranty period and how to make a claim.
For technical support, spare parts, or any inquiries not covered in this manual, please contact Lorelli customer service through their official website or the retailer from whom you purchased the product. Keep your proof of purchase for warranty purposes.


