Ọrọ Iṣaaju
O ṣeun fun riraasing the VATOS RC Helicopter XK-1. This remote-controlled helicopter is designed for ease of use, featuring one-key take-off, altitude hold, and a stable coaxial rotor system, making it suitable for beginners. Please read this manual thoroughly before operation to ensure safe and correct use of the product.

Image: The VATOS RC Helicopter XK-1, showcasing awọn oniwe-apẹrẹ ati awọn ẹya ara ẹrọ.
Alaye Aabo
- Iṣeduro ọjọ ori: This product is not suitable for children under 3 years of age due to small parts. The manufacturer recommends this product for ages 6 years and older.
- Abojuto: A gbani nimọran abojuto awọn agbalagba, paapaa fun awọn olumulo ti o kere ju.
- Ayika: Operate the helicopter in open, clear spaces, away from people, animals, and obstacles. Avoid flying near walls as air suction can affect control. When flying outdoors, ensure there is no wind.
- Ifihan omi: Keep the helicopter and remote control away from water and moisture to prevent damage to electronic components.
- Aabo Batiri: Do not short-circuit, disassemble, or expose batteries to extreme temperatures. Use only the provided charging cables.
- Awọn oniroyin: Do not touch the rotating propellers. In case of collision, the helicopter features an automatic power-off function to stop propellers.
Package Awọn akoonu
Jọwọ ṣayẹwo awọn akoonu package lati rii daju pe gbogbo awọn ohun kan wa:
- RC Helicopter (x1)
- Iṣakoso latọna jijin (x1)
- Spare A/B Propellers (x1 set)
- USB Charging Cables (x2)
- Rechargeable Batteries (x2)
- Olupilẹṣẹ (x1)

Image: The package includes the VATOS RC Helicopter, one remote control, a set of spare A/B propellers, two USB charging cables, two rechargeable batteries, and a screwdriver.
Ṣeto
1. Awọn batiri gbigba agbara
The helicopter comes with two rechargeable batteries. Ensure they are fully charged before first use.
- Connect one end of the USB charging cable to the battery and the other end to a USB power source (e.g., computer, USB adapter).
- Alternatively, you can charge the battery directly while it is installed in the helicopter by connecting the USB cable to the helicopter's charging port. Ensure the helicopter is powered OFF during this method.
- The battery indicator light will be red during charging and will turn off automatically when charging is complete.
- Gbigba agbara ni kikun maa n gba to iṣẹju 60.

Image: The helicopter batteries can be charged directly by connecting a USB cable to the helicopter (ensure helicopter is powered off), or by charging the battery separately using a USB cable. The battery indicator is red during charging and turns off when complete. Safe charging time is 60 minutes.
2. Installing Helicopter Battery
Carefully insert a charged battery into the battery compartment of the helicopter. Ensure it is securely connected.
3. Fifi awọn batiri Iṣakoso latọna jijin
Isakoṣo latọna jijin nilo awọn batiri AAA 3 (kii ṣe pẹlu).
- Open the battery compartment on the back of the remote control using the provided screwdriver.
- Fi awọn batiri AAA meji sii, ki o rii daju pe polarity ti o tọ (+/-).
- Pa abala batiri naa ki o ni aabo pẹlu dabaru.

Image: The remote control requires the installation of 3 AAA batteries (not included). Open the battery compartment on the back of the remote control to insert them.
4. Sisopọ isakoṣo latọna jijin
- Gbe baalu naa sori ilẹ alapin.
- Power on the helicopter. The LED lights on the helicopter will flash.
- Agbara lori isakoṣo latọna jijin.
- Push the throttle stick (left stick) all the way up, then all the way down. The remote control will beep, and the helicopter's LED lights will become solid, indicating successful pairing.
Awọn ilana Iṣiṣẹ
1. Awọn iṣakoso ipilẹ
- Ìṣípò Pàtàkì Kan: After pairing, press the one-key take-off button on the remote control. The helicopter will automatically ascend and hover at a stable altitude.
- Ibalẹ bọtini Ọkan: Press the one-key landing button, and the helicopter will slowly descend and land automatically.
- Idaduro Giga: The helicopter features an altitude hold function, allowing it to maintain a stable height without constant throttle input.
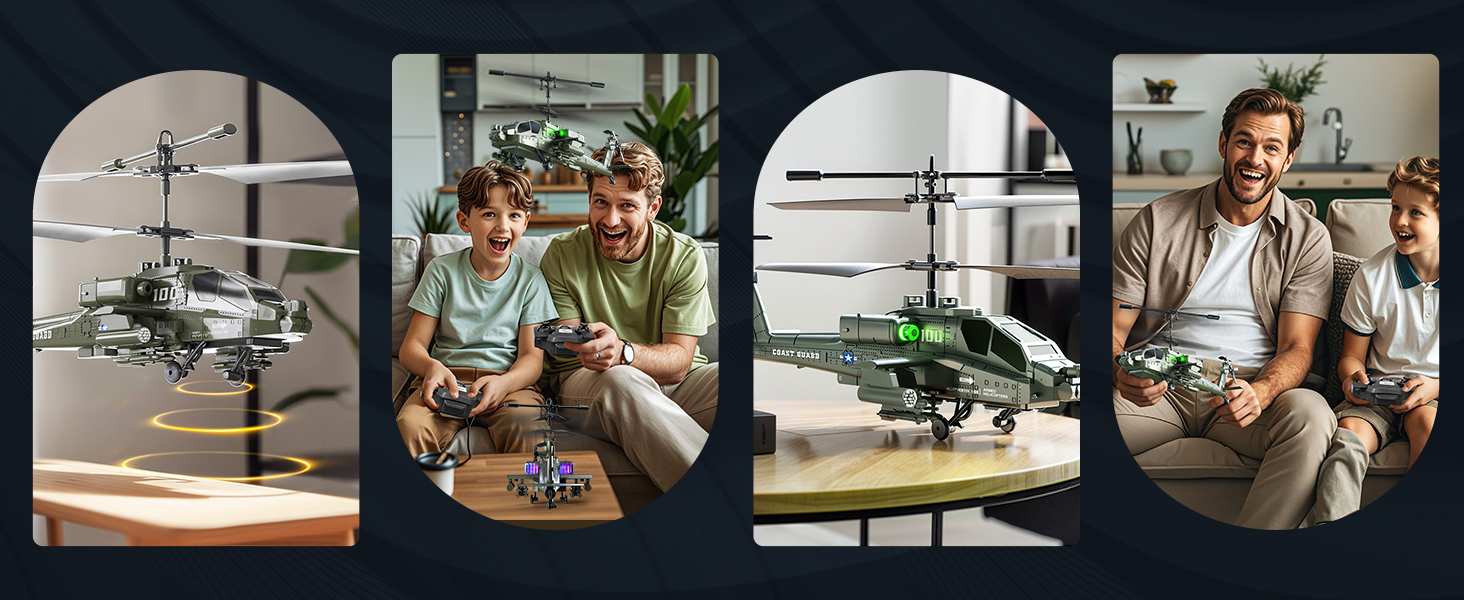
Image: The helicopter features one-key take-off and landing for simplified operation. It also includes an altitude hold function, allowing it to maintain a stable height automatically.
2. 3.5 Channel Control
The 3.5-channel remote control allows for various flight maneuvers:
- Throttle Stick (Left): Push up to rise, pull down to fall.
- Direction Stick (Right): Push up for forward flight, pull down for backward flight. Push left to turn left, push right to turn right.
- Titunṣe Iyara: The remote control allows for acceleration and deceleration, making flight more flexible.

Image: The 3.5-channel design allows for comprehensive control, including rising, falling, moving forward, backward, turning left, and turning right. It also supports speed adjustment.
3. Awọn Imọlẹ LED
The helicopter is equipped with colorful LED lights that illuminate when powered on, enhancing visibility and adding to the flying experience, especially in low-light conditions.

Image: The helicopter features colorful LED lights that are visible during flight.
Itoju
- Ninu: Lo asọ, asọ ti o gbẹ lati nu baalu kekere ati isakoṣo latọna jijin. Maṣe lo omi tabi awọn olutọju kemikali.
- Itọju Batiri: Always remove batteries from the remote control when not in use for extended periods. Store rechargeable helicopter batteries in a cool, dry place. Do not overcharge or completely discharge the batteries.
- Ayewo Propeller: Regularly check the propellers for any damage or cracks. Replace damaged propellers with the provided spare parts using the screwdriver.
- Ibi ipamọ: Store the helicopter and remote control in a safe place, away from direct sunlight and extreme temperatures.
Laasigbotitusita
| Isoro | Owun to le Fa | Ojutu |
|---|---|---|
| Helikopta kò dáhùn sí ìṣàkóso latọna jijin. | Not paired; low batteries in helicopter or remote. | Ensure both helicopter and remote are powered on and successfully paired. Charge helicopter batteries; replace remote control batteries. |
| Kukuru flight akoko. | Batiri kò gba agbara ni kikun; batiri ti o ti dagba. | Ensure batteries are fully charged (60 minutes). Consider replacing old batteries if performance significantly degrades. |
| Ọkọ ofurufu ti ko duro tabi iṣoro iṣakoso. | Windy conditions; damaged propellers; incorrect calibration. | Fly in calm conditions. Check and replace damaged propellers. Ensure helicopter is placed on a flat surface before take-off. |
| LED lights flashing quickly. | Olurannileti batiri kekere. | Land the helicopter immediately and recharge the battery. |
| Helicopter propellers stop after a collision. | Automatic power-off protection activated. | This is a safety feature. Check for damage, then power cycle the helicopter and remote to resume operation. |

Image: The helicopter is equipped with double protection functions. In case of a collision, the propellers will automatically stop rotating to prevent damage. A low battery reminder is indicated by quickly flashing LED lights.
Awọn pato
| Ẹya ara ẹrọ | Ẹ̀kúnrẹ́rẹ́ |
|---|---|
| Nọmba awoṣe | XK-1 |
| Ọja Mefa | 18 x 10 x 8 cm (7.09 x 3.94 x 3.15 inches); 450 g |
| Niyanju Ọjọ ori | 6 ọdun ati agbalagba |
| Ipo Iṣakoso | Remote Control (2.4G) |
| Awọn ikanni | 3.5 Awọn ikanni |
| Orisun agbara | Batiri (Lithium-ion) |
| Awọn batiri Iṣakoso latọna jijin | Awọn batiri 3 x AAA (kii ṣe pẹlu) |
| Pataki Awọn ẹya ara ẹrọ | Flashing LED lights, One-Key Take-off/Landing, Altitude Hold, Anti-collision design |
| Ohun elo Iru | Ṣiṣu |
| Àwọ̀ | Alawọ ewe |

Image: The helicopter measures approximately 23 cm (9.05 inches) in length, 8.5 cm (3.35 inches) in height (to main rotor), and 9.5 cm (3.70 inches) in tail height.
Atilẹyin ọja ati Support
This product is covered by a standard manufacturer's warranty. For specific warranty details, please refer to the product packaging or contact the retailer where the product was purchased. For technical support or inquiries, please contact VATOS customer service through their official channels.


