1. Ọja Ipariview
The Nokia G310 5G Smartphone (Model TA-1573) offers lightning-fast 5G connectivity and modern mobile technology. It features a vibrant display for various tasks, a powerful processor for smooth performance, and an advanced camera system for detailed photos. Designed for daily use, it provides a comfortable grip and durable build quality. Enjoy extensive network compatibility, ample storage, a long-lasting battery with quick charging, and a user-friendly interface with regular software updates.
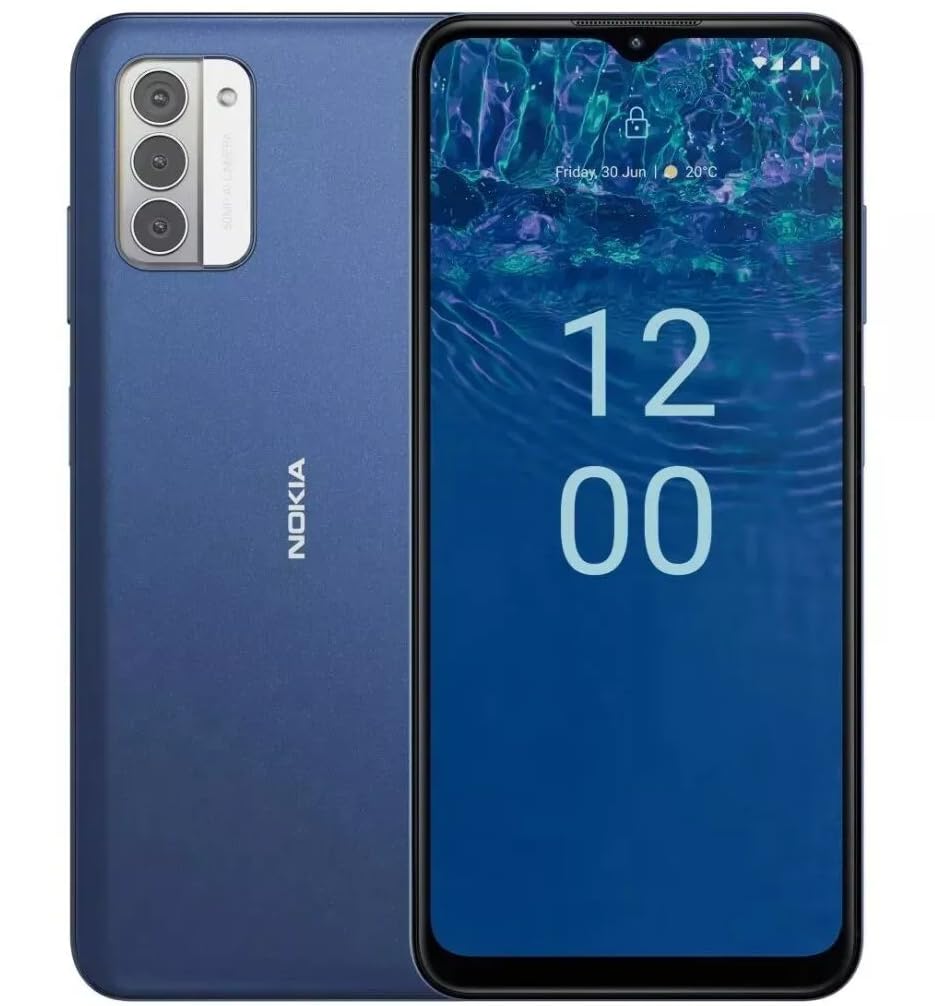
Aworan: Ẹyin view of the Nokia G310 5G Smartphone, showcasing the triple camera module and Nokia branding.
Key Awọn ẹya ara ẹrọ
- 5G Asopọmọra: Experience ultra-fast mobile data speeds and low latency.
- Ìfihàn alárinrin: Large touchscreen display delivers vibrant colors and sharp visuals.
- Iṣe Ti o munadoko: Processor handles everyday tasks smoothly, from browsing to gaming.
- Apẹrẹ ti o tọ: Sleek and modern smartphone design with durable construction.
2. Bibẹrẹ
Ohun ti o wa ninu Apoti
- Nokia G310 5G Foonuiyara
- Ṣaja
SIM and MicroSD Card Installation
Locate the SIM/MicroSD card tray on the side of your device. Use the provided SIM ejector tool to open the tray. Insert your Nano-SIM card(s) and/or MicroSD card into the designated slots. Ensure the cards are correctly oriented. Gently push the tray back into the device until it clicks into place.
Titan / Pipa agbara
To power on your Nokia G310, press and hold the Power/Fingerprint Sensor button located on the right side of the device until the Nokia logo appears. To power off, press and hold the Power/Fingerprint Sensor button, then select 'Power off' from the options that appear on the screen.
3. Device Ìfilélẹ
Awọn bọtini Ti ara ati Awọn ibudo
- Awọn bọtini iwọn didun: Located on the right side, above the Power/Fingerprint Sensor button, for adjusting media and call volume.
- Power/Fingerprint Sensor Button: Located on the right side, used for powering the device on/off, locking/unlocking the screen, and fingerprint authentication.
- Ibudo USB-C: Ti o wa ni isalẹ, ti a lo fun gbigba agbara ati gbigbe data.
- Jack Audio 3.5 mm: Located at the bottom, for connecting wired headphones.
- Agbọrọsọ: Located at the bottom for audio output.
- Gbohungbohun: Ṣepọ fun awọn ipe ati awọn pipaṣẹ ohun.
Modulu kamẹra
The rear of the device features a multi-lens camera module, including a main camera, along with a flash for low-light photography. The front-facing camera is discreetly placed within a notch at the top of the display.
4. Awọn ilana Iṣiṣẹ
Ipilẹ Lilọ kiri
The Nokia G310 operates on the Android operating system, offering an intuitive touchscreen interface. Swipe up from the bottom of the screen to access the app drawer, swipe down from the top for notifications and quick settings, and use gestures or navigation buttons (configurable in settings) to move between apps and screens.
Asopọmọra
- 5G Cellular Data: The device supports 5G connectivity for ultra-fast mobile data speeds. Ensure your SIM card and plan support 5G.
- Wi-Fi: Connect to wireless networks for internet access. Go to Settings > Network & internet > Wi-Fi to manage connections.
- Bluetooth: Pair with other Bluetooth-enabled devices like headphones or speakers. Go to Settings > Connected devices > Bluetooth.
- GPS: Utilize built-in GPS for location services and navigation.
5. Lilo kamẹra
The Nokia G310 features an advanced camera system designed to capture memorable moments. Access the camera app from your home screen or app drawer.
Yiya Awọn fọto
Open the Camera app, frame your shot, and tap the shutter button on the screen to take a picture. The advanced AI camera assists in optimizing settings for various scenes.
Awọn fidio Gbigbasilẹ
In the Camera app, switch to video mode, then tap the record button to start and stop recording. The phone supports various video resolutions.
Awọn ọna kamẹra
Explore different camera modes available in the camera app, such as Portrait, Panorama, and Night mode, to enhance your photography experience.
6. Iṣakoso batiri
Gbigba agbara ẹrọ rẹ
The Nokia G310 is equipped with a 5000 Milliamp Hours (5000.0 Battery Power Rating) battery. Connect the provided USB-C charger to the port at the bottom of the device. The phone supports quick charging for reduced downtime.
Iṣapeye Igbesi aye batiri
- Ṣatunṣe imọlẹ iboju si ipele itunu.
- Mu Ipo Ipamọ Batiri ṣiṣẹ nigbati batiri ba lọ silẹ.
- Pa awọn ohun elo ti ko lo ti nṣiṣẹ ni abẹlẹ.
- Mu Wi-Fi, Bluetooth, tabi GPS ṣiṣẹ nigbati ko si ni lilo.
7. Imọ ni pato
| Nọmba awoṣe | TA-1573 |
| Eto isesise | Android |
| Sipiyu Awoṣe | MediaTek Helio P60T |
| Cellular Technology | 5G |
| Alailowaya ti ngbe | Ṣii silẹ |
| Agbara Ibi ipamọ Iranti | 4 GB |
| Ipinnu | 1080 x 2340 |
| Human Interface Input | Afi ika te |
| Agbara Batiri | 5000 Milionuamp Awọn wakati |
| Jack ohun | 3.5 mm |
| Àwọ̀ | Buluu |
| Olupese | Nokia |
| Ọjọ Akọkọ Wa | Oṣu Kẹta Ọjọ 31, Ọdun 2025 |
8. Laasigbotitusita
If you encounter issues with your Nokia G310, try the following common troubleshooting steps:
- Ẹrọ ti ko dahun: Tẹ mọlẹ bọtini Agbara fun bii iṣẹju 10-15 lati fi ipa mu atunbẹrẹ bẹrẹ.
- Awọn iṣoro Asopọmọra: Toggle Wi-Fi or Bluetooth off and on. Restart your device. Check network settings.
- App not working: Ko kaṣe app ati data rẹ kuro ninu Eto> Awọn ohun elo. Ti ọrọ naa ba tẹsiwaju, yọ kuro ki o tun fi ohun elo naa sori ẹrọ.
- Batiri mimu yarayara: Review battery usage in Settings > Battery to identify power-hungry apps. Adjust screen brightness and enable Battery Saver.
- Ibi ipamọ kun: Paarẹ ti ko wulo files, photos, or apps. Transfer media to a computer or cloud storage. Consider using a MicroSD card for additional storage.
9. Itọju ati Itọju
- Ninu: Lo asọ rirọ, ti ko ni lint lati nu ẹrọ rẹ mọ. Yago fun awọn kẹmika lile tabi awọn ohun elo abrasive.
- Awọn imudojuiwọn sọfitiwia: Regularly check for and install software updates to ensure your device runs optimally and has the latest security features. Go to Settings > System > System update.
- Isakoso Ibi ipamọ: Lorekore tunview your device's storage to free up space and maintain performance.
- Awọn ipo Ayika: Yẹra fún fífi ẹ̀rọ rẹ sí ojú ọjọ́ tí ó le koko, oòrùn tààrà, tàbí ọrinrin tí ó pọ̀ jù.
10. Atilẹyin ọja ati Support
For warranty information, please refer to the warranty card included in your product packaging or visit the official Nokia support website. For further assistance, contact Nokia customer support.


