1. Ifihan
The FreedConn KY PRO Motorcycle Intercom Headset is designed to enhance your riding experience with advanced communication features. Equipped with the latest Bluetooth 5.1 chip, it offers stable and clear communication for up to 6 riders over an impressive range of 1.2 kilometers. Its CVC noise-cancelling technology ensures crystal-clear conversations even at high speeds up to 120km/h. This versatile device supports various functions including music sharing, automatic call answering, FM radio, and universal compatibility with other intercom brands.
Awọn ẹya pataki:
- Bluetooth 5.1 & High-Quality Communication: Stable connection with CVC noise-cancelling for clear calls up to 120km/h, supporting HFP/HSP/A2DP protocols.
- Multi-functional & User-Friendly: High-fidelity stereo earphones with aptX/AAC codec, 2-person music sharing, 15-second auto-answer, switchable Japanese/English voice prompts, and built-in FM radio (76-108MHz).
- Long-Lasting & Fast Charging: 500mAh battery for up to 12 hours talk time, 10 hours music, 360 hours standby. Type-C fast charging (2.5 hours) allows use while charging and includes low battery notification.
- IP65 Mabomire & Ṣetan fun Gbogbo Oju-ọjọ: Durable in rain or snow, operates from -10℃ to 60℃. Lightweight (40g) for comfortable long-term helmet wear.
- Japanese Market Compliant: Includes Japanese instruction manual and voice prompts. Supports simultaneous connection to two smartphones. TELEC certified for safe use in Japan.
2. Eto ati fifi sori
Follow these steps to properly install your FreedConn KY PRO intercom on your motorcycle helmet.

Figure 1: FreedConn KY PRO intercom mounted on a motorcycle helmet, showcasing awọn oniwe-aso oniru ati ese awọn ẹya ara ẹrọ.
2.1. Fifi sori Agbọrọsọ
- Remove the helmet's inner lining and cheek pads.
- Attach the speaker Velcro pads to the designated areas inside the helmet, ensuring they are clean and dry.
- Place the speakers onto the Velcro pads, aligning them with your ears for optimal sound.
- Route the speaker wires discreetly under the helmet lining to avoid interference.
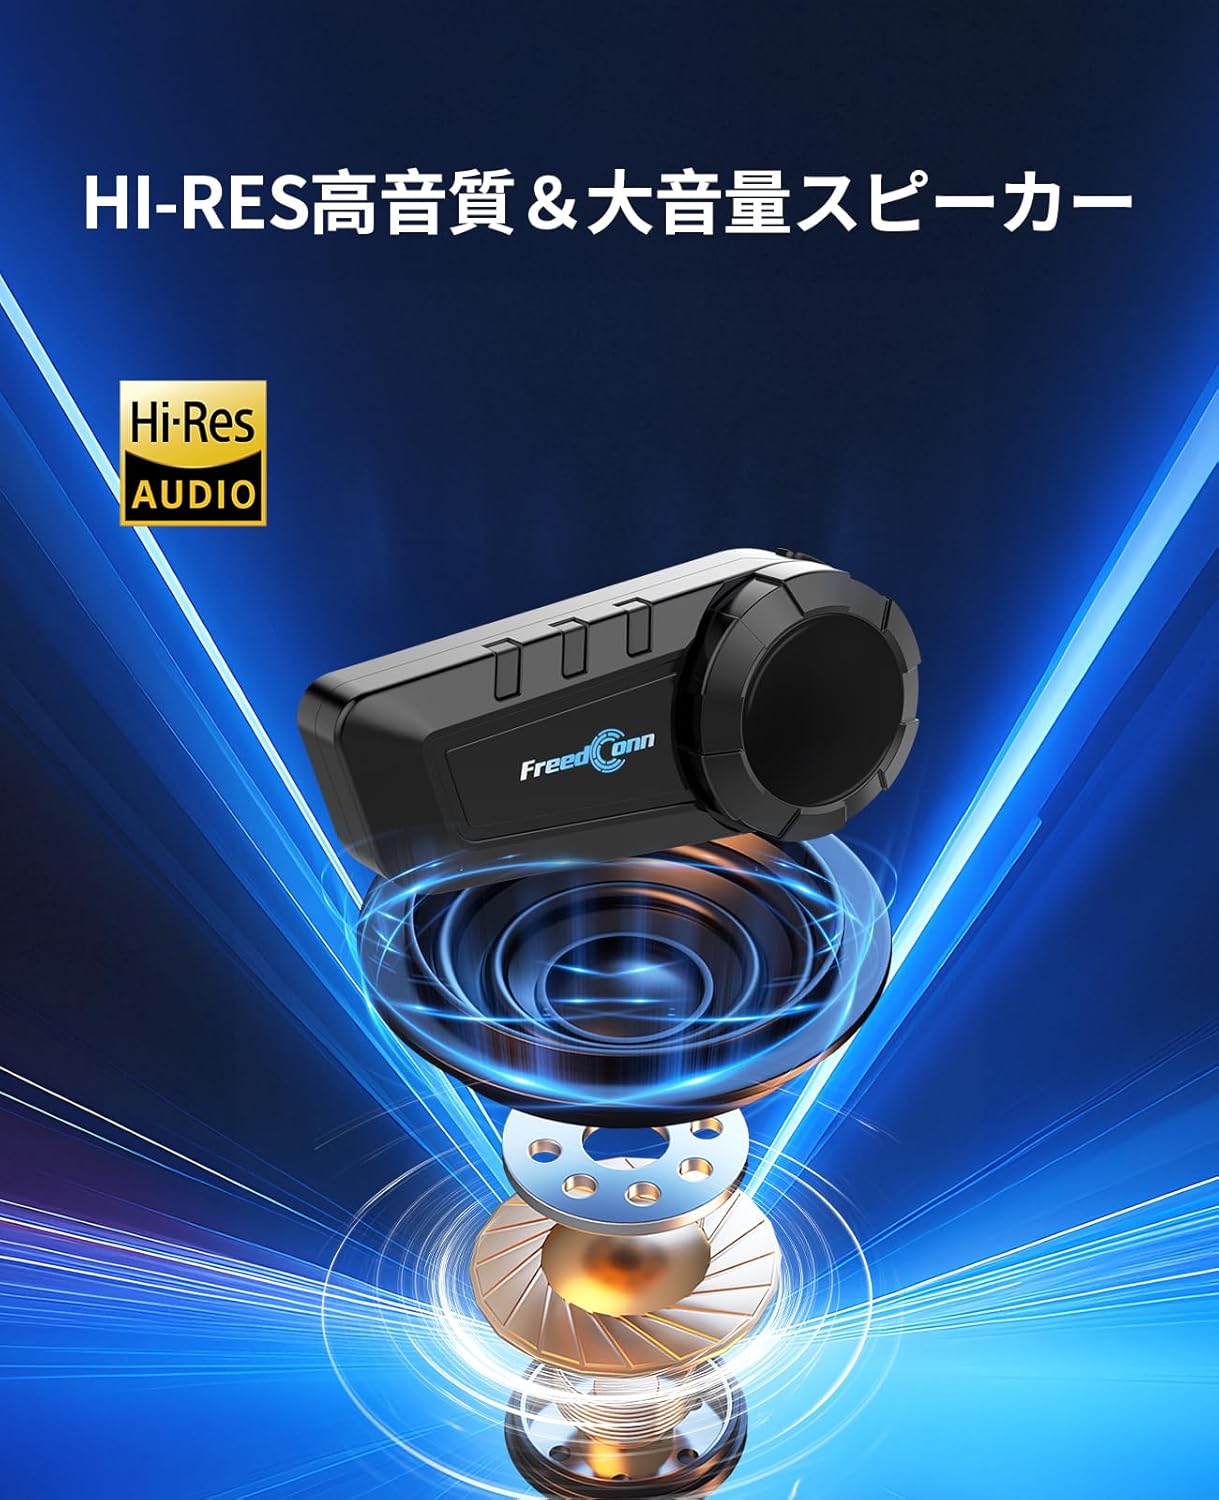
Figure 2: Diagram illustrating the placement of speakers inside the helmet for optimal audio experience.
2.2. Gbohungbohun fifi sori
- Choose the appropriate microphone type for your helmet (boom microphone for open-face helmets, soft-wire microphone for full-face helmets).
- Attach the microphone Velcro pad to a clean, flat surface near your mouth inside the helmet.
- Secure the microphone to the Velcro pad. Ensure the microphone is positioned to pick up your voice clearly without being obstructed.
- Connect the microphone cable to the main unit's designated port.

olusin 3: An loriview of the intercom unit, highlighting the speaker, LED indicator, power/intercom button, rotary button, multi-function button, and both hard-type and soft-type noise-cancelling microphones.
2.3. Main Unit Mounting
- Select a suitable mounting method: clip-on mount (for helmets with thin edges) or adhesive mount (for helmets with thick edges or where the clip-on is not suitable).
- For clip-on mount: Securely attach the clip to the helmet's edge.
- For adhesive mount: Clean the helmet surface, peel off the adhesive backing, and firmly press the mount onto the helmet. Allow 4 hours for the adhesive to cure before attaching the intercom unit.
- Slide the KY PRO main unit onto the installed mount until it clicks securely into place.
Video 1: Official FreedConn KY PRO installation guide, demonstrating how to attach the intercom to a helmet, including speaker and microphone placement.
3. Awọn ilana Iṣiṣẹ
3.1. Agbara Tan / Pa & Sisopọ
- Agbara Tan: Press and hold the Power/Intercom button and the Multi-function button simultaneously for 3 seconds until the LED indicator lights up.
- Agbara Pa: Press and hold the Power/Intercom button for 3 seconds until the LED indicator turns off.
- Mimuuṣiṣẹpọ Bluetooth: With the device off, press and hold the Power/Intercom button for 5 seconds until the LED flashes red and blue alternately. On your smartphone, search for