1. Ifihan
Thank you for choosing the RAVEMEN FR1000 Integrated Bike Light and Computer Mount. This product combines a powerful front light with a versatile bike computer bracket, designed to streamline your handlebar setup and enhance your cycling experience. The FR1000 features adjustable beam angle, multiple lighting modes, an auto on/off function, and can serve as an emergency power bank for other devices. Please read this manual thoroughly before use to ensure proper installation and operation.
2. Package Awọn akoonu
- FR1000 Headlight (1)
- Okun gbigba agbara USB-C (1)
- USB-C to Micro USB Cable (1)
- Adapting Kit (compatible with Wahoo/Bryton bike computers)
- Action Camera Adapter (1)
3. Alaye Aabo
- Aabo oju: Do not look directly into the light beam when the light is on.
- Fifi sori: Ensure the light is securely mounted to prevent detachment during riding.
- Omi Resistance: The FR1000 is IPX6 water-resistant, meaning it is protected against high-pressure water jets. It is suitable for use in wet weather but should not be submerged in water. Ensure the charging port cover is securely closed.
- Ooru: The light may become warm during prolonged use, especially on high settings. This is normal.
- Gbigba agbara: Lo okun USB-C ti a pese nikan tabi iwe-ẹri deede fun gbigba agbara.
4. Eto
4.1. Mounting the FR1000 on Handlebars
The FR1000 is designed to fit handlebars with diameters between 31.8mm and 35mm. The mount features a hinged design for easy installation.
- Ṣii ọpa mimu clamp by loosening the screw.
- Position the mount on your handlebar, ensuring it is centered and stable.
- Tighten the screw until the mount is secure and does not rotate. Do not overtighten.
- Slide the FR1000 headlight onto the mount until it clicks into place.

Figure 4.1: The RAVEMEN FR1000 integrated bike light and computer mount, showing its design for handlebar attachment.

Figure 4.2: A hand demonstrating the quick-release mechanism of the FR1000 from its handlebar mount. The light can be easily detached for charging or security.
4.2. Attaching a Bike Computer
The FR1000 mount is compatible with Garmin bike computers by default. Adapters for Wahoo and Bryton computers are included in the package.
- For Garmin computers, simply twist and lock your device onto the top mount.
- For Wahoo or Bryton computers, attach the appropriate adapter from the included kit to the top mount, then twist and lock your device.

Figure 4.3: The FR1000 with a Garmin bike computer securely mounted on top, illustrating the integrated design.

olusin 4.4: A sunmọ-soke view of the FR1000 mount showing its compatibility with Garmin devices, which is the default setup.

Figure 4.5: The FR1000 mount with a Wahoo bike computer attached using the included adapter kit.
4.3. Attaching an Action Camera
An action camera adapter is included for mounting compatible cameras underneath the FR1000.
- Attach the action camera adapter to the designated slot on the underside of the FR1000.
- Secure your action camera to the adapter.

Figure 4.6: The FR1000 with an action camera mounted underneath using the provided adapter, allowing for simultaneous lighting and recording.
5. Awọn ilana Iṣiṣẹ
5.1. Agbara Tan / Pa ati Aṣayan Ipo
The FR1000 features a single power button for controlling the light.
- Agbara Tan: Tẹ bọtini agbara naa ki o si di i mu fun bii iṣẹju-aaya kan.
- Yi awọn ọna pada: Briefly press the power button to cycle through the available brightness modes.
- Agbara Pa: Tẹ bọtini agbara naa ki o si di i mu fun bii iṣẹju-aaya kan.
5.2. Brightness Modes and Runtime
The FR1000 offers five distinct lighting modes to suit various riding conditions:
- Ga: 1000 lumens, approximately 2.5 hours runtime
- Aarin: 500 lumens, approximately 3.5 hours runtime
- Kekere: 300 lumens, approximately 7 hours runtime
- Iwoyi: 150 lumens, approximately 10 hours runtime
- Pulse Flashing: 500 lumens, approximately 39 hours runtime (for daytime visibility)

Figure 5.1: Illustration of the five different lighting modes (High, Mid, Low, Eco, Pulse Flashing) and their respective lumen outputs and runtimes.
5.3. Adjustable Beam Angle
The light head can be tilted from 0° to 30°, allowing you to direct the illumination precisely where needed, whether for long-range visibility or close-up road illumination.
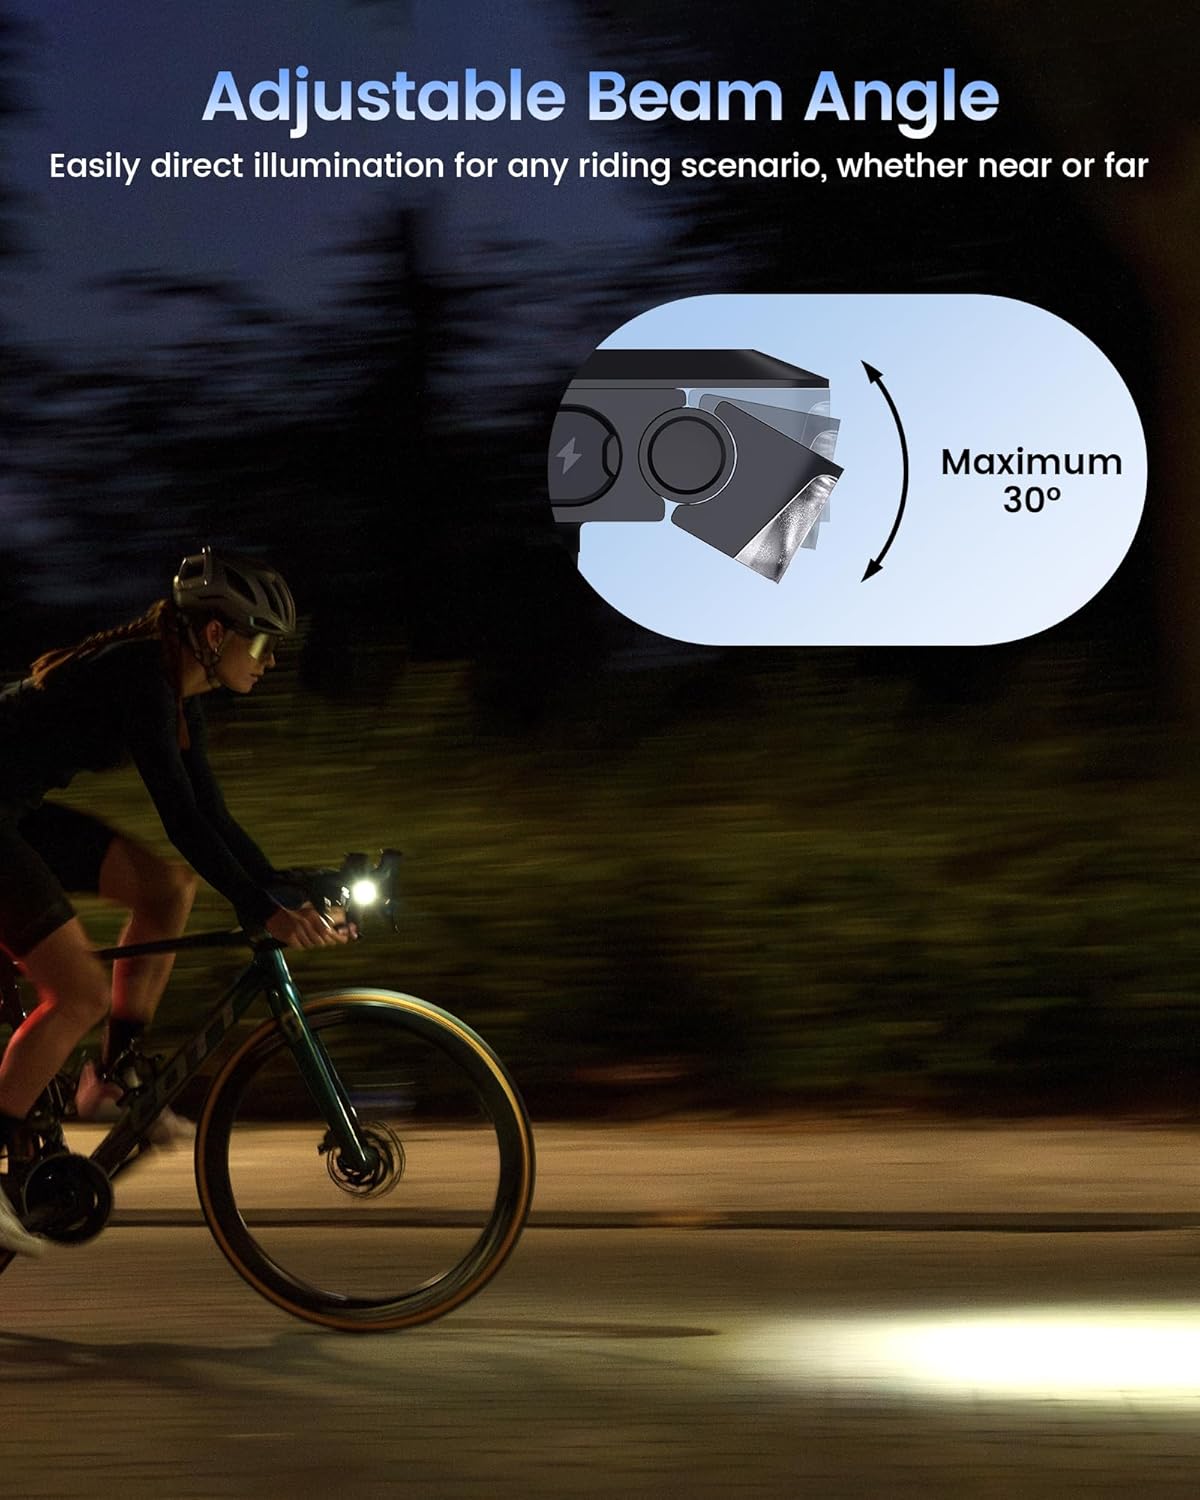
Figure 5.2: A cyclist riding at night, demonstrating the adjustable beam angle of the FR1000 light, which can be tilted up to 30 degrees.
5.4. Auto On/Off Function
The FR1000 features an intelligent auto mode that conserves battery life. Activate this mode by pressing the power button for 3 seconds. In auto mode:
- The light will automatically turn off after 2 minutes of inactivity (no motion detected).
- It will instantly turn back on when motion is detected, making it ideal for commutes with frequent stops.

Figure 5.3: An illustration showing the FR1000's motion-sensing auto on/off feature, where the light activates upon movement and rests when stationary to save energy.
5.5. Atọka batiri
To check the remaining battery power, even when the light is off, briefly press the power button. The indicator light will display the battery level:
- Alawọ ewe: 40% - 100%
- Pupa: 5% - 40%
- Pupa ti n paju: Kere ju 5%

Figure 5.4: The FR1000 showing its universal USB-C charging port and the power indicator light with its color codes for battery level.
5.6. Agbara Bank iṣẹ
The FR1000 can be used to emergency charge your bike computer or phone.
- Connect your device (e.g., bike computer) to the FR1000's USB-C port using the appropriate cable.
- The FR1000 will begin charging the connected device.
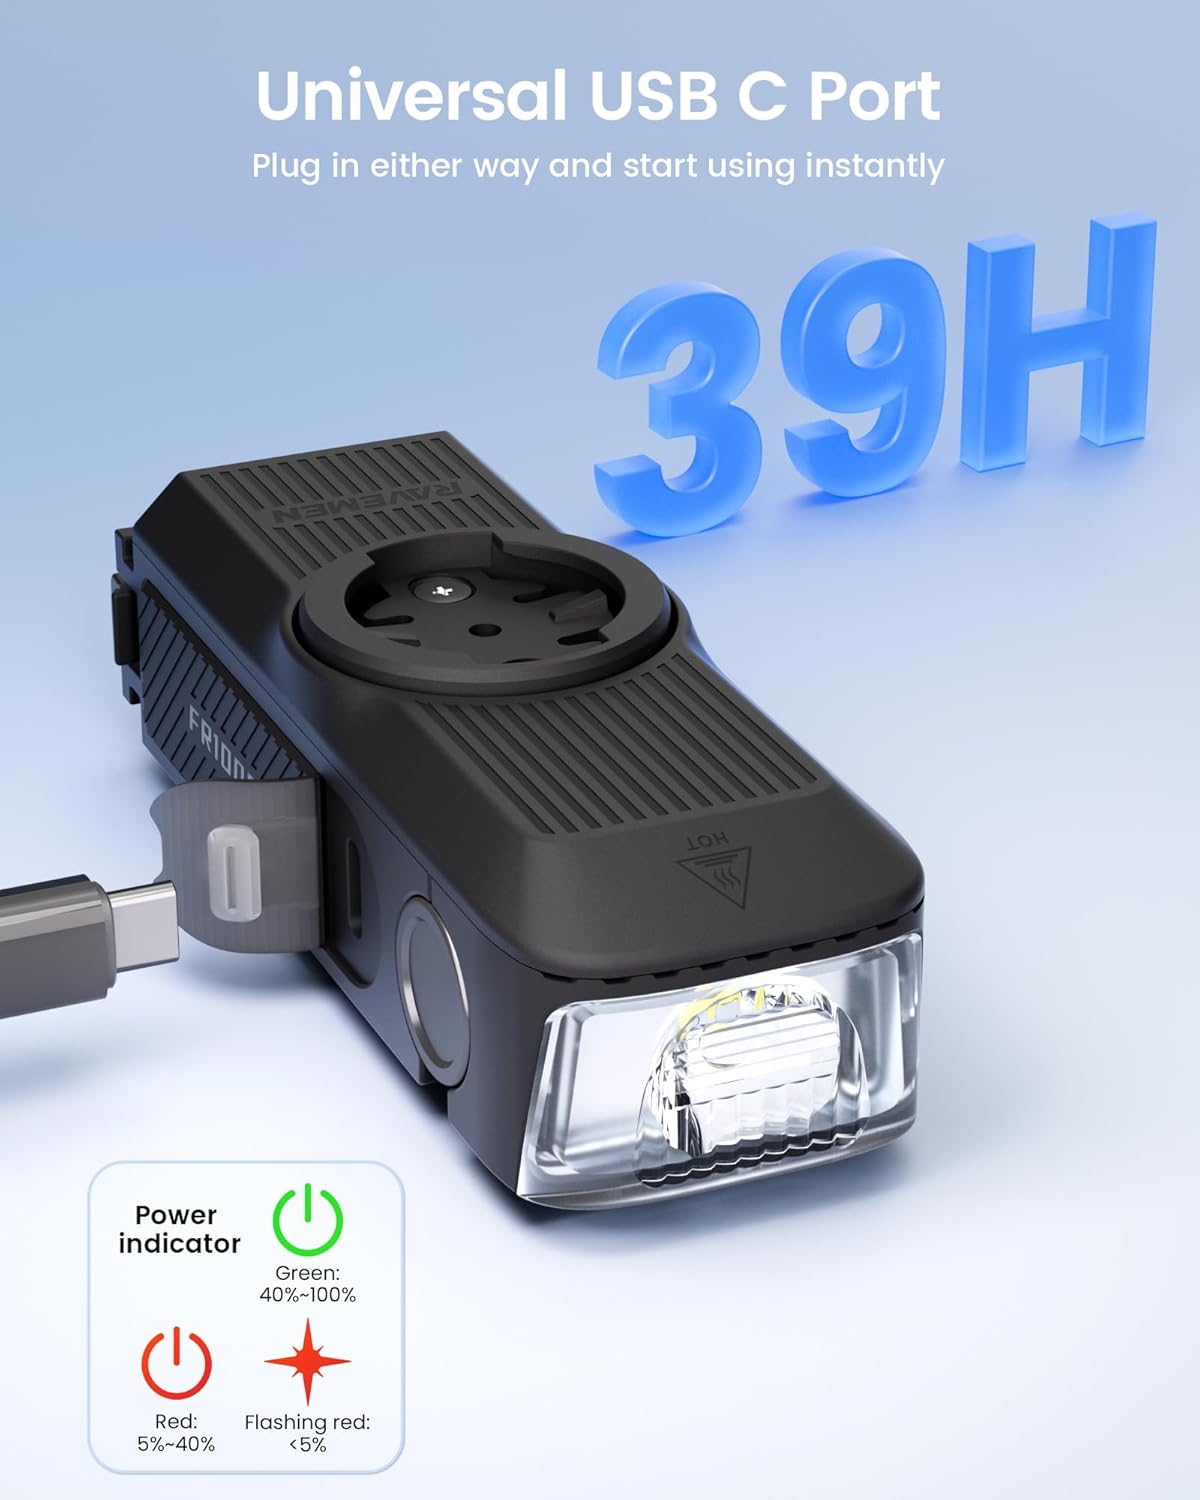
Figure 5.5: The FR1000 connected via USB-C cable to a Garmin bike computer, demonstrating its capability to provide emergency power to other devices.
5.7. Official ọja Video
Video 5.6: Official RAVEMEN FR1000 Bike Headlight overview. This video demonstrates the key features and functionality of the FR1000, including its integrated design, mounting options, and lighting capabilities.
6. Itọju
6.1. Gbigba agbara
To charge the FR1000, connect the provided USB-C cable to the light's charging port and to a USB power source. A full charge takes approximately 2.7 hours. The battery indicator will show charging status.
6.2. Ninu
Wipe the light and mount with a soft, damp Aṣọ. Má ṣe lo àwọn ohun ìfọṣọ tàbí àwọn ohun èlò ìfọṣọ, nítorí pé wọ́n lè ba ìparí tàbí àwọn ohun èlò inú jẹ́.
6.3. Ibi ipamọ
If storing the light for an extended period, charge it to approximately 50% and store in a cool, dry place. Recharge every 3-6 months to maintain battery health.
7. Laasigbotitusita
- Imọlẹ ko tan: Ensure the battery is charged. Press and hold the power button for 1 second to power on.
- Imọlẹ ko gba agbara: Check the USB-C cable and power source connection. Ensure the charging port is clean and free of debris.
- Bike computer not recognized: Ensure the computer is correctly seated on the mount. If using an adapter, ensure it is securely attached.
- Light beam is not straight: Adjust the light head's tilt angle as described in Section 5.3.
8. Awọn pato
| Orukọ awoṣe | FR1000 |
| Brand | Ravemen |
| Ohun elo | Aluminiomu, Ṣiṣu |
| Imọlẹ | Titi di 1000 Lumens |
| Orisun agbara | USB C Rechargeable |
| Omi Resistance Ipele | IPX6 (Mabomire) |
| Iṣagbesori Iru | Compatible with GARMIN/ Wahoo/ Bryton |
| Adijositabulu Igun | 0-30 iwọn |
| Akoko gbigba agbara | Isunmọ. wakati meji 2.7 |
| Awọn irinše to wa | Headlight, USB-C cable, USB-C to Micro USB cable, Wahoo/Bryton adapting kit |
9. Atilẹyin ọja ati Support
9.1. atilẹyin ọja Information
The RAVEMEN FR1000 comes with a 2-Odun olupese atilẹyin ọja. Atilẹyin ọja yi ni wiwa awọn abawọn ninu awọn ohun elo ati iṣẹ ṣiṣe labẹ lilo deede. Jọwọ ṣe idaduro ẹri rira rẹ fun awọn iṣeduro atilẹyin ọja.
9.2. Onibara Support
For any questions, technical assistance, or warranty claims, please contact RAVEMEN customer support through their official website or the retailer where you purchased the product. Please have your model number (FR1000) and purchase date available when contacting support.


